
This post contains affiliate links. Please see our disclosure policy.
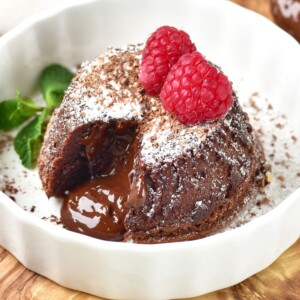
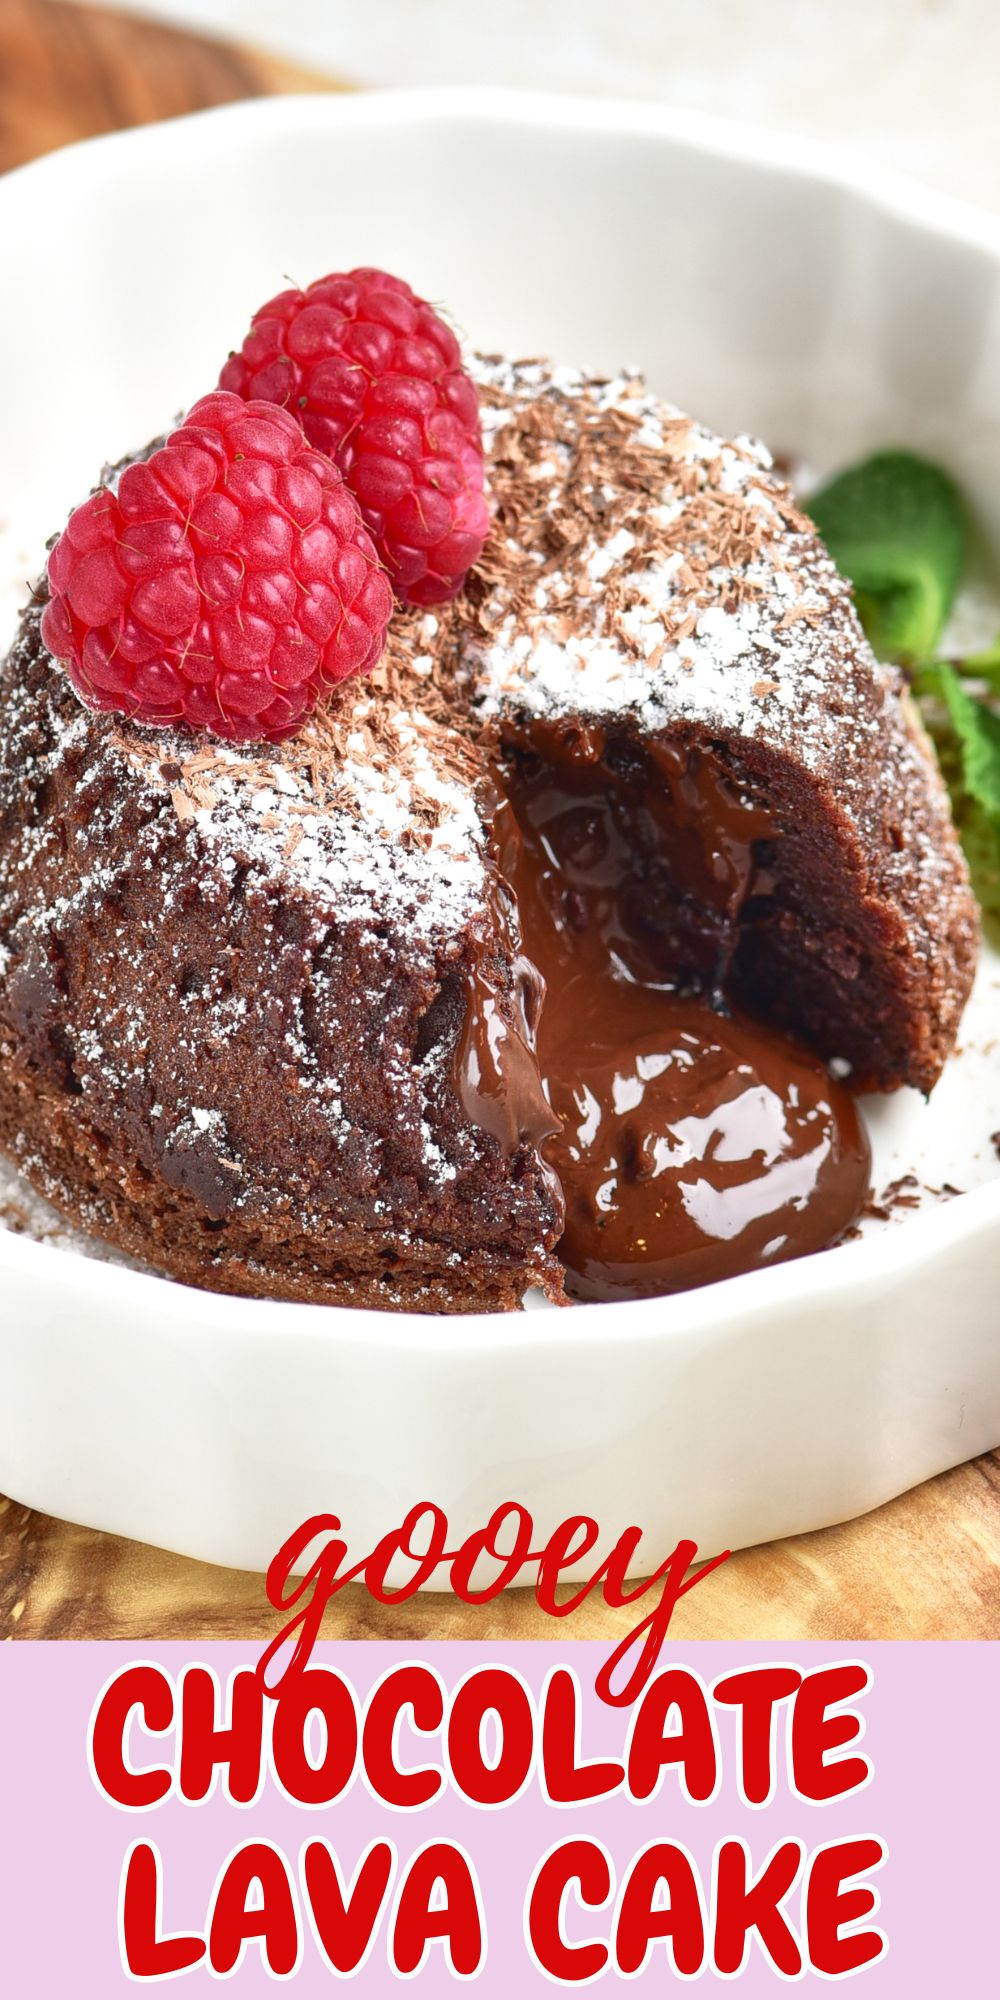
I absolutely love making this chocolate lava cake! With it’s rich, gooey center that melts in your mouth with every bite, it’s every chocolate lovers dream dessert! And with just a few simple ingredients, you can create a decadent dessert that looks and tastes like it came from a fancy restaurant.
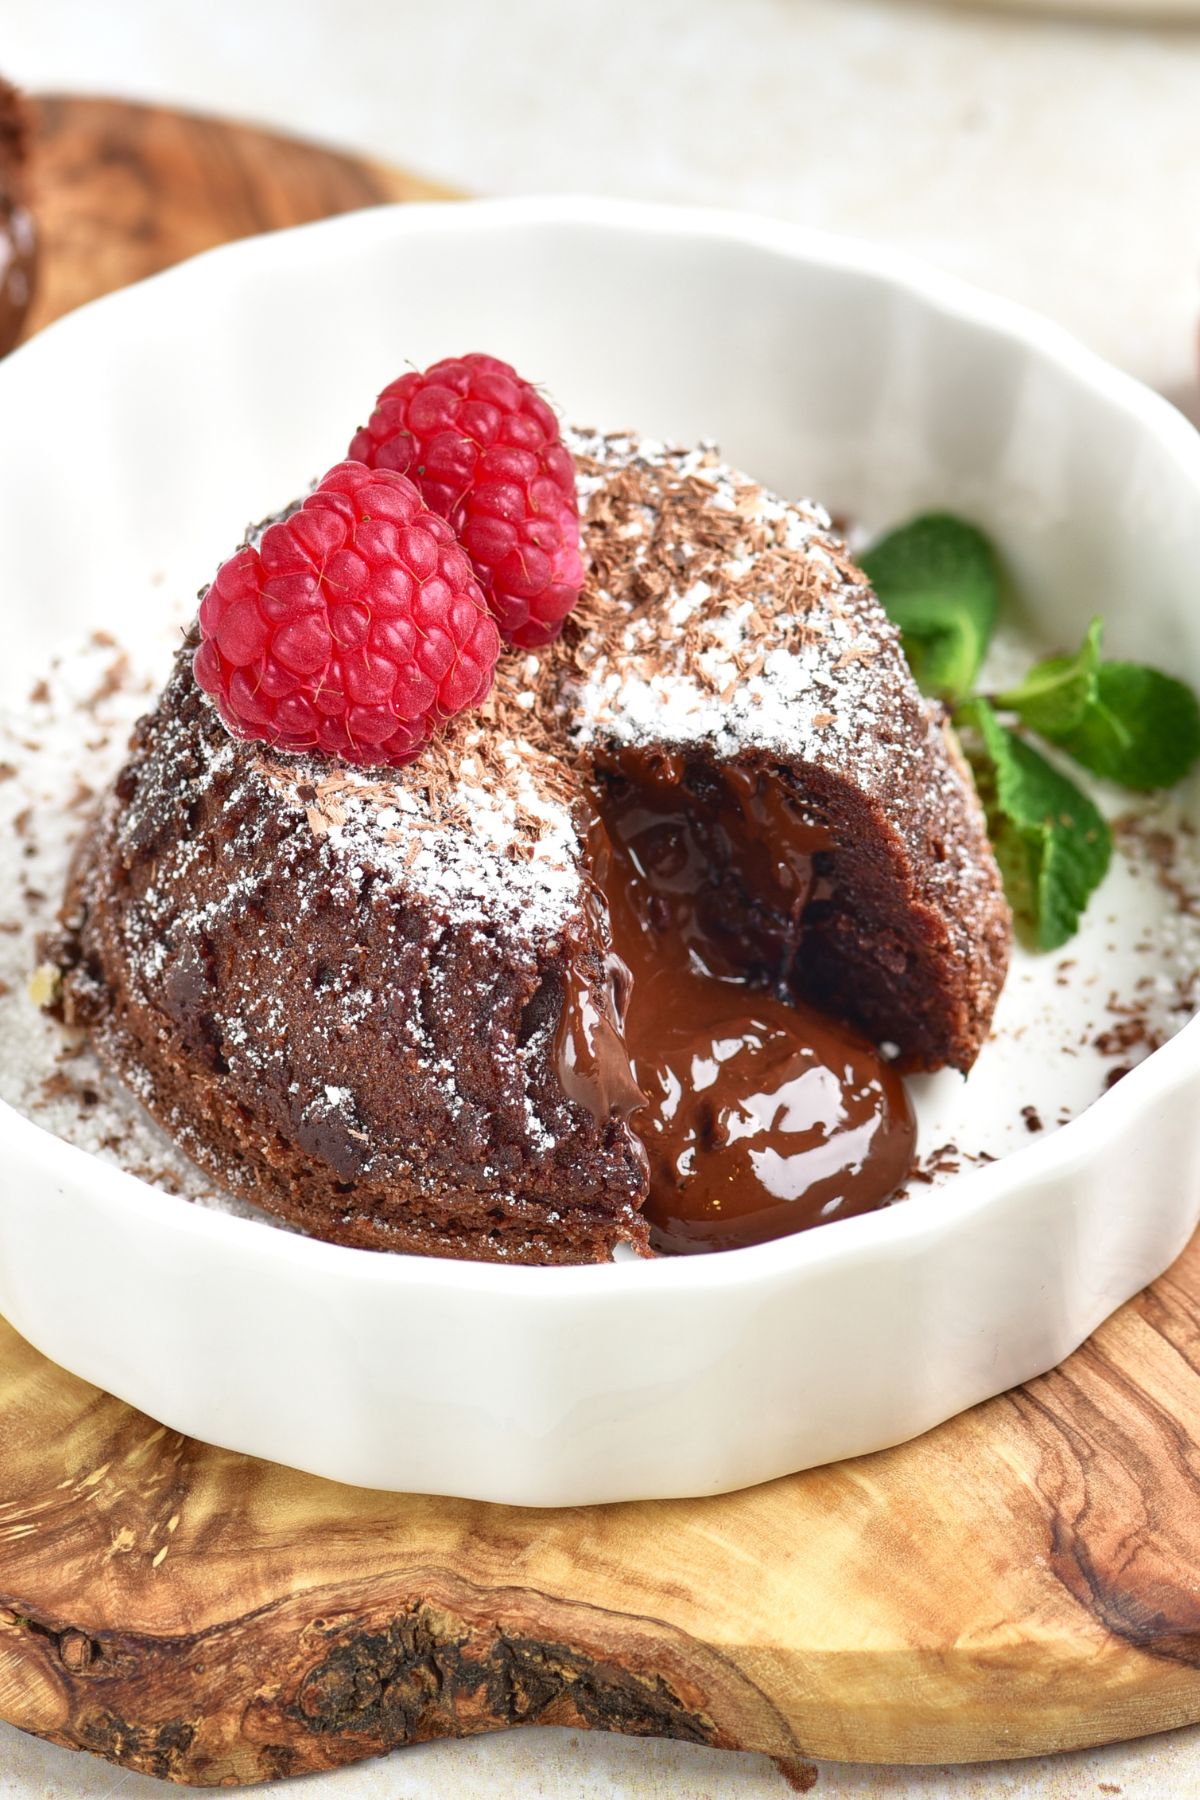
Table of Contents
Easy Chocolate Lava Cake Recipe
This homemade lave cake is pretty simple to make, and even prettier to serve! I love making this recipe for special occasions like Valentine’s Day or anniversaries, or for when I am craving a rich, decadent chocolate cake. Of course, out of town guests never complain when I serve it to them for dessert either!
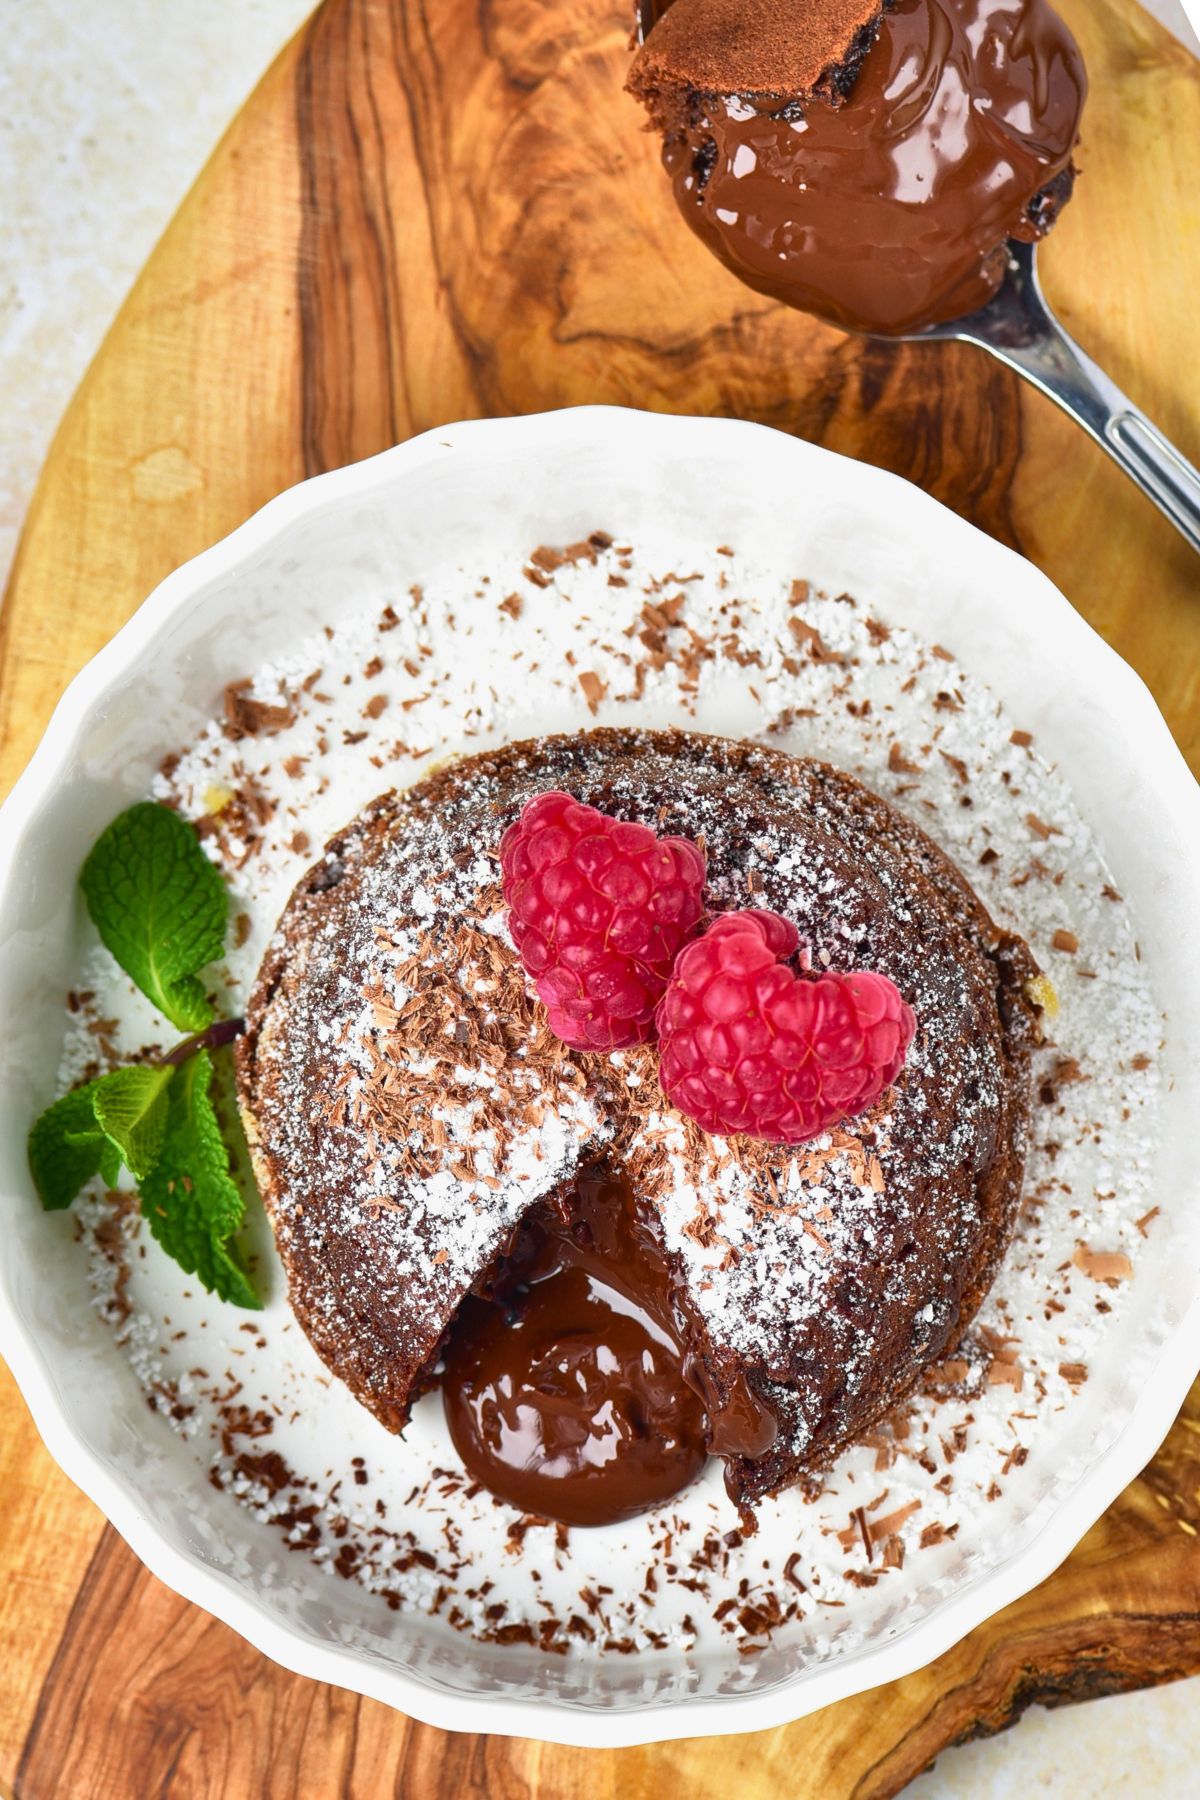
With a perfectly baked chocolate cake and a gooey, molten chocolate center, this classic dessert is a crowd favorite. If you love warm, melty chocolate, this lava cake recipe is a must try.
Ingredients You Will Need
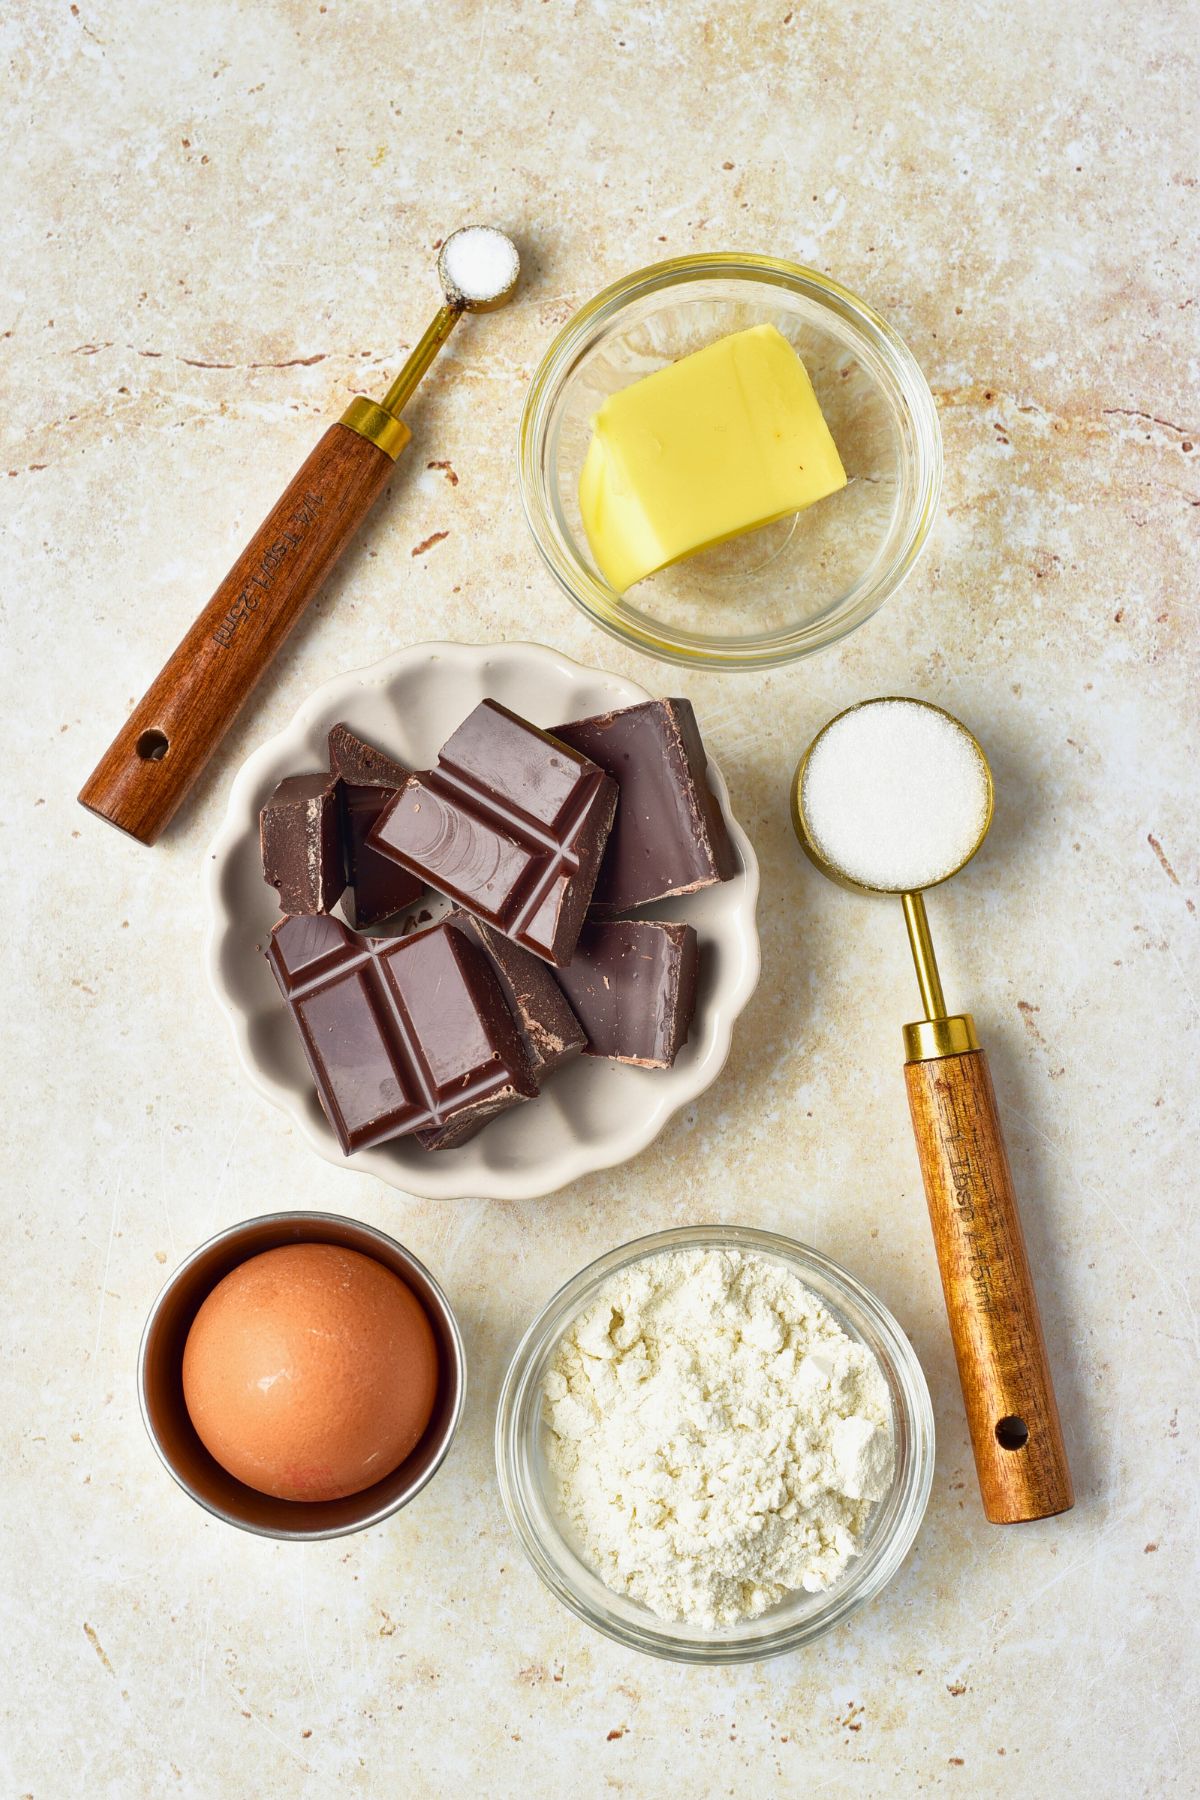
- unsalted butter: Adds richness and moisture to the cake.
- dark chocolate: Use high-quality chocolate for the best flavor.
- eggs: Provides structure and a light texture.
- egg yolks: Enhances the creamy center.
- granulated sugar: Adds sweetness and balances the bitterness of dark chocolate.
- kosher salt: Enhances the overall flavor.
- all purpose flour – Just enough to hold the batter together while keeping it soft.
Variations
- Swap Chocolates: Swap dark chocolate for milk or white chocolate for a different flavor.
- Espresso Richness: Add a teaspoon of espresso powder to deepen the chocolate flavor.
How to Make Chocolate Lava Cake
STEP 1: Preheat the oven to 450 degrees F (230 degrees C). Grease the ramekins with butter, coating all sides, then lightly dust with all purpose flour, for easy removal after baking.
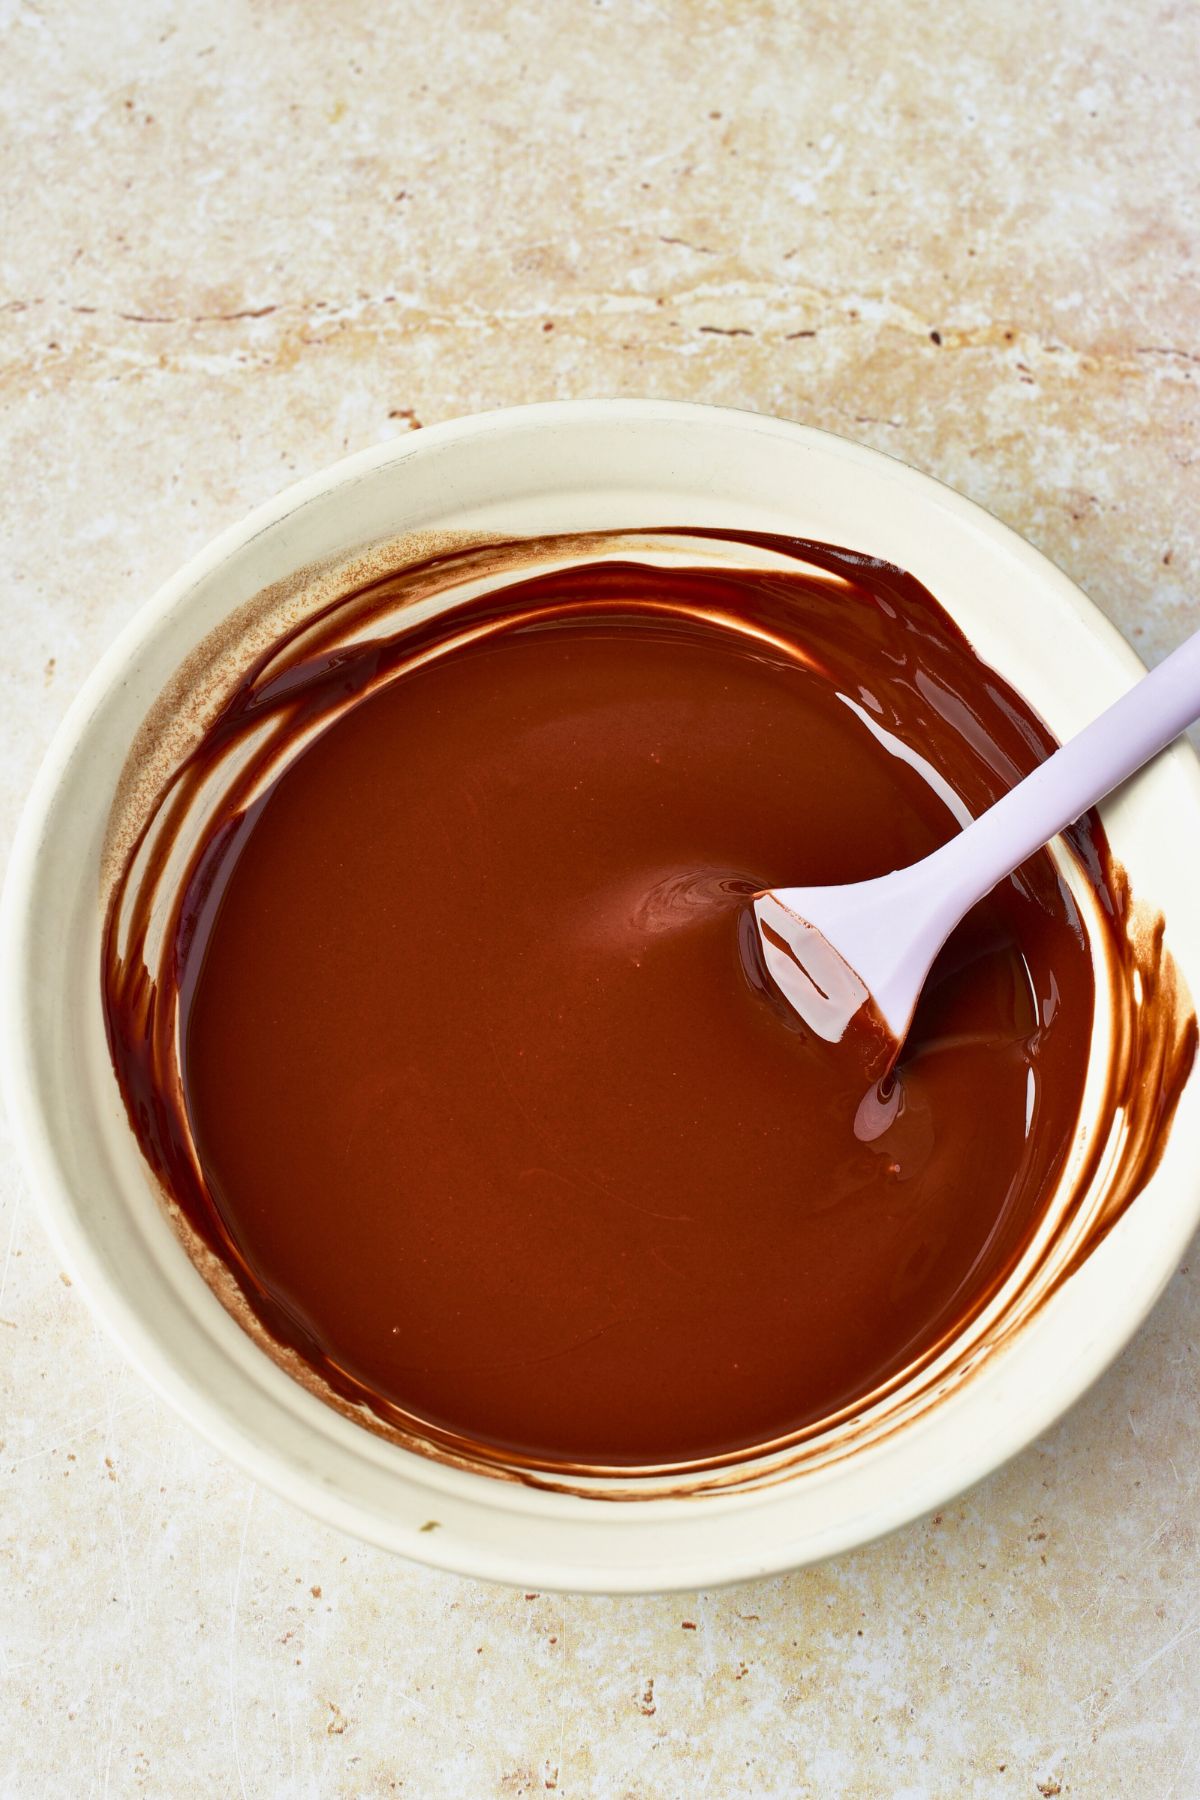
STEP 2: In a small microwave safe bowl, melt the butter and chocolate in 30 second intervals, stirring after each until smooth. Let it cool slightly, and set aside.
STEP 3: In a separate medium bowl, combine eggs, egg yolks, sugar, and salt. Beat on medium speed with a hand or stand mixer for 3 to 4 minutes, until the mixture becomes thick and fluffy.
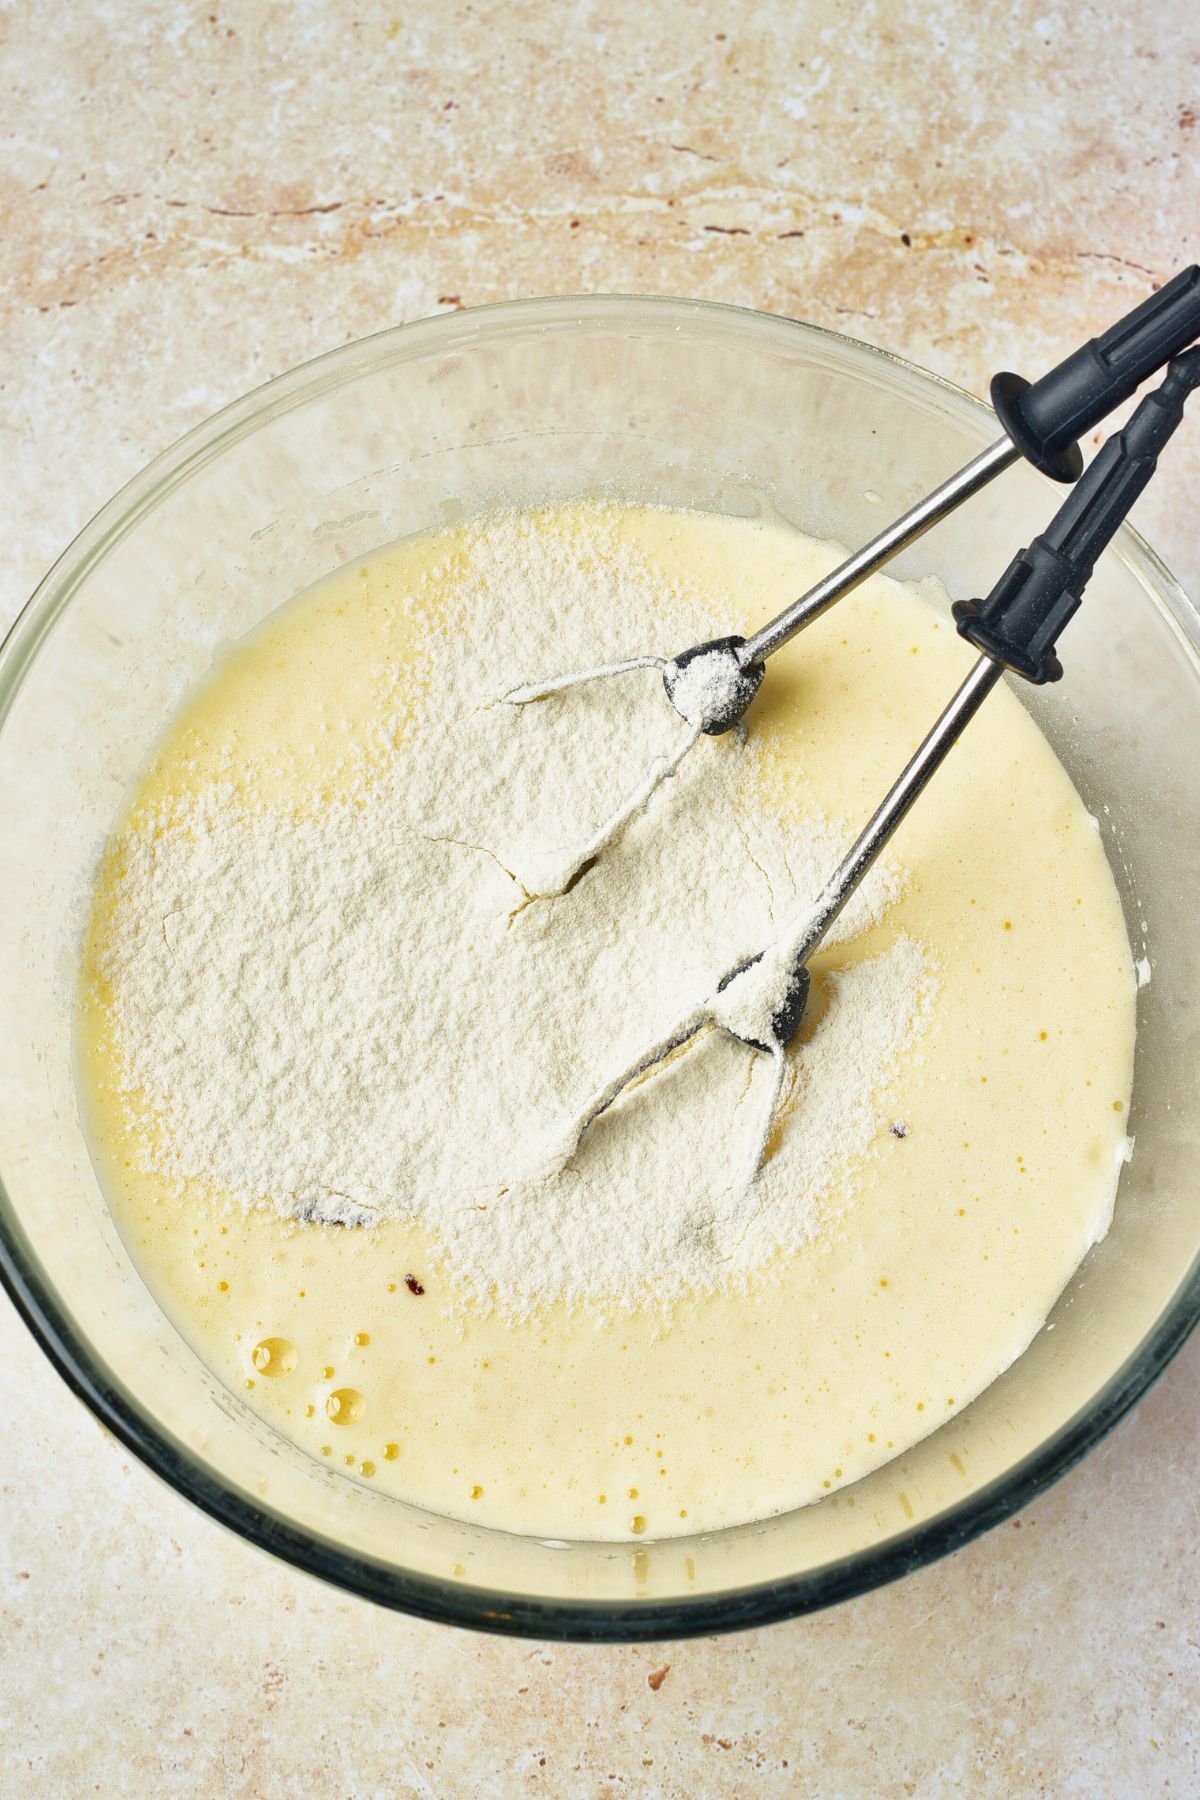
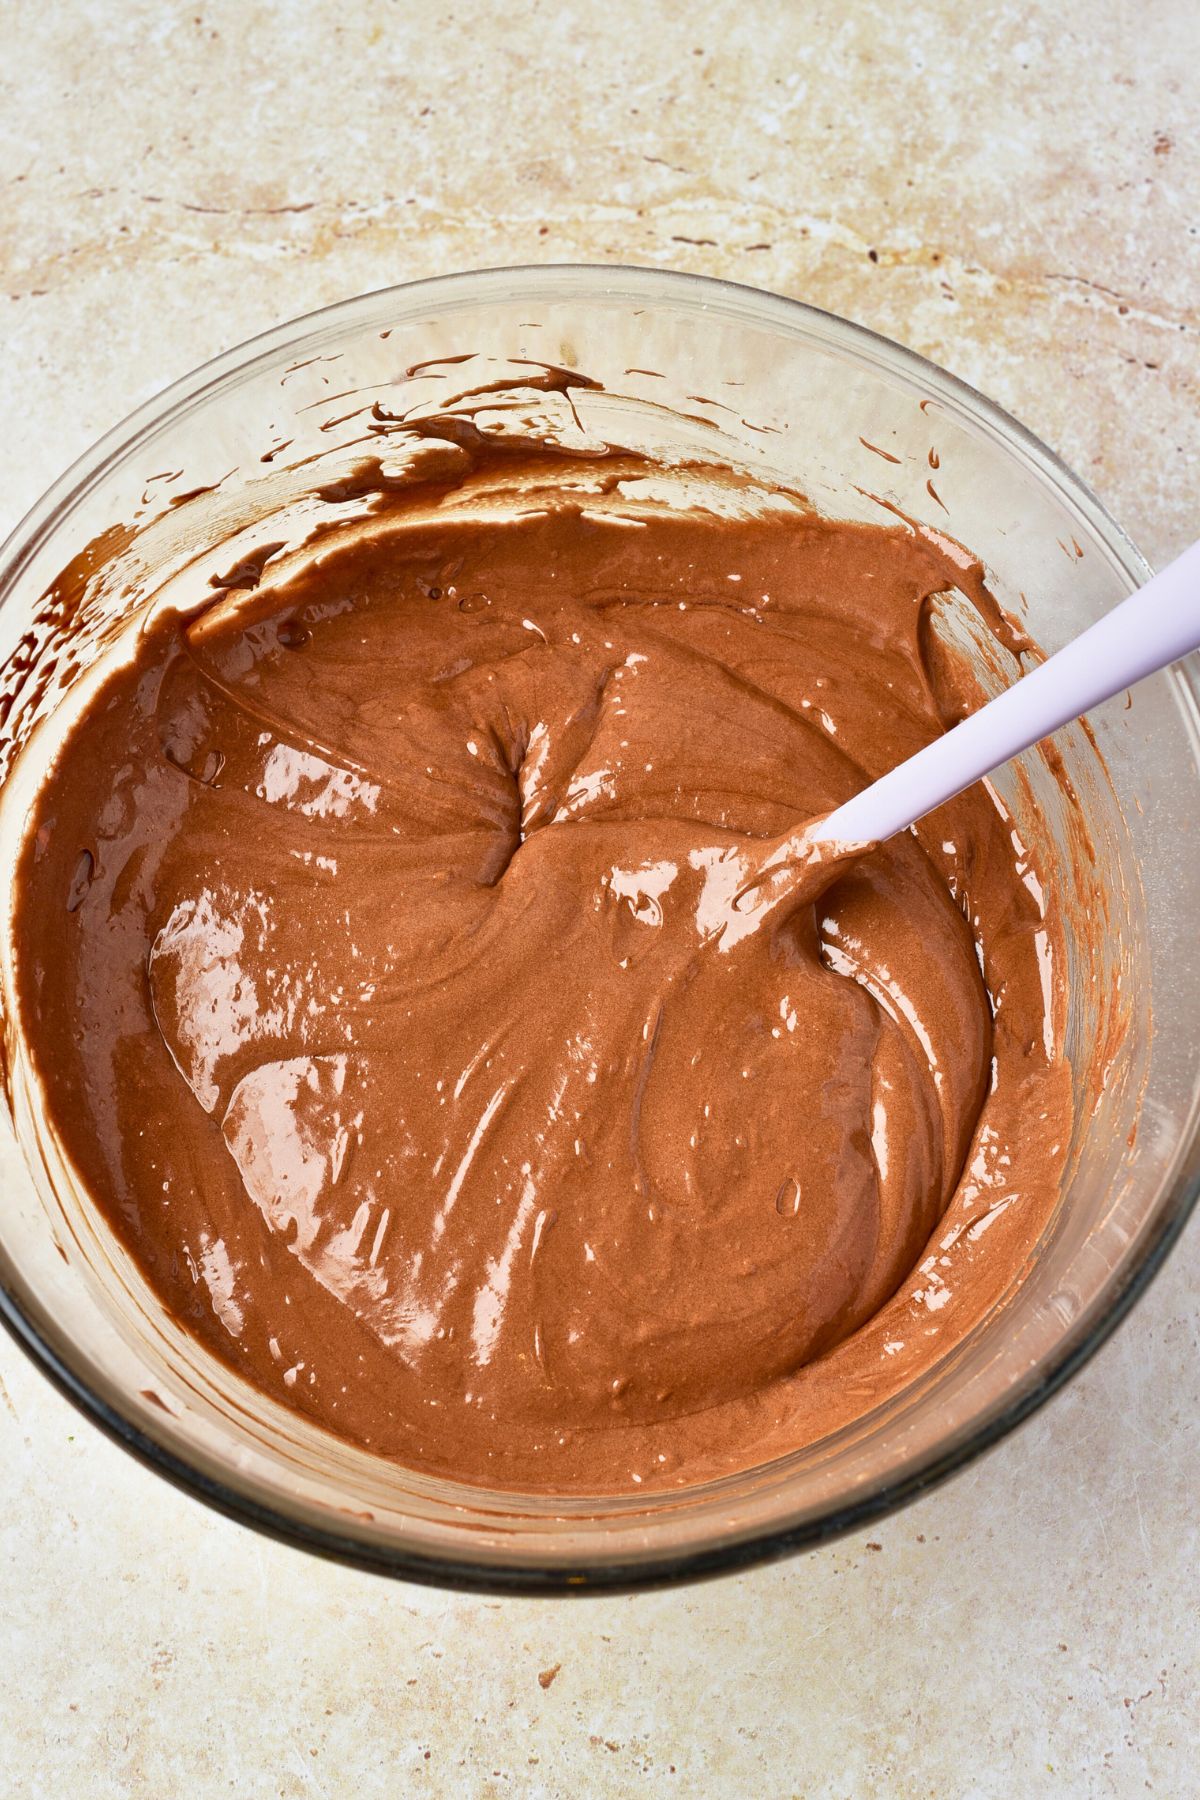
STEP 4: Gradually pour in the melted chocolate and butter mixture, stirring continuously to keep the batter airy. Then add the flour to the bowl and fold it gently with a spatula, ensuring a smooth, light batter.
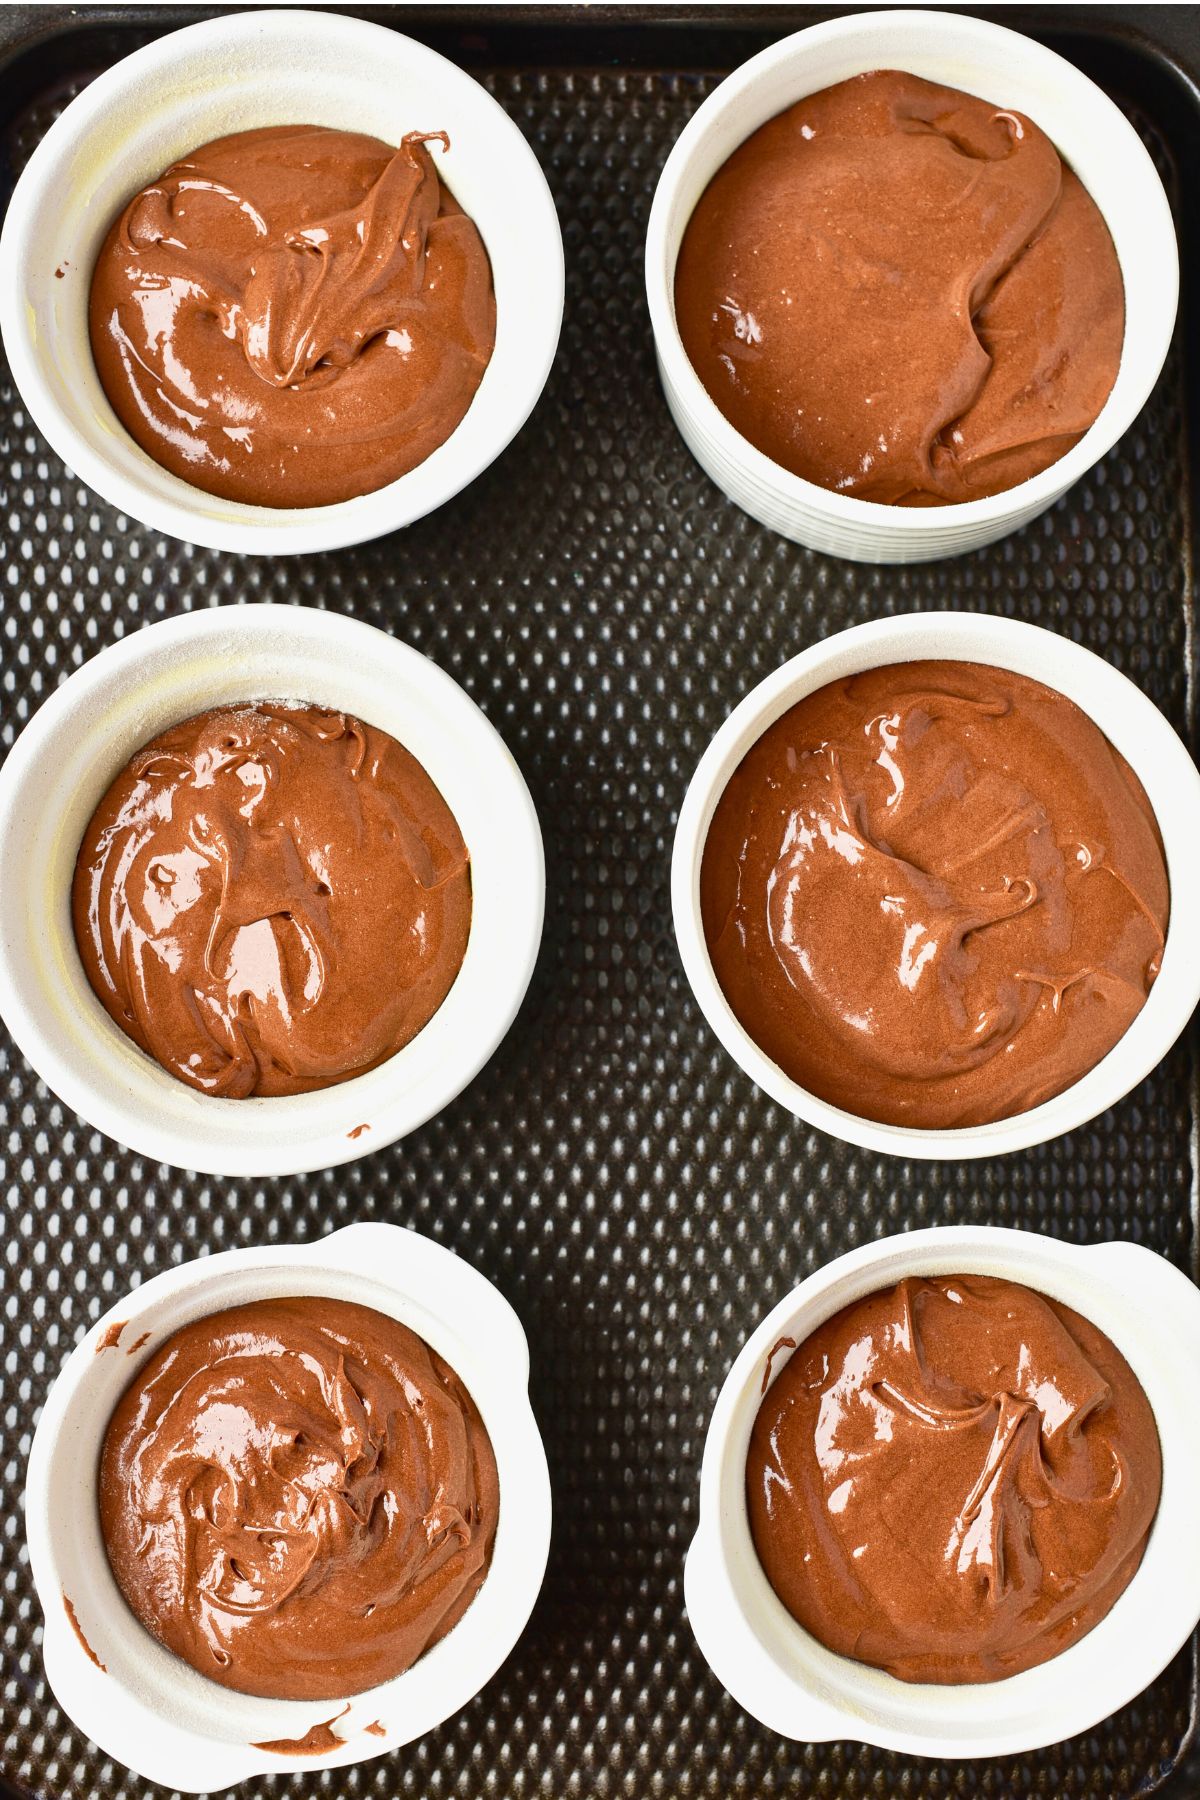
STEP 5: Divide the batter evenly between the prepared ramekins, filling them just below the rim. Place the ramekins on a baking sheet. Bake for exactly 8 minutes until the edges are firm but the center still jiggles slightly when gently shaken.
STEP 6: Remove from the oven and let the cakes rest for about 5 minutes. Use a knife to run around the edges between the cake and the ramekin. Place a plate over the ramekin and then flip it over, sliding it out of ramekin onto the plate. Serve while warm.
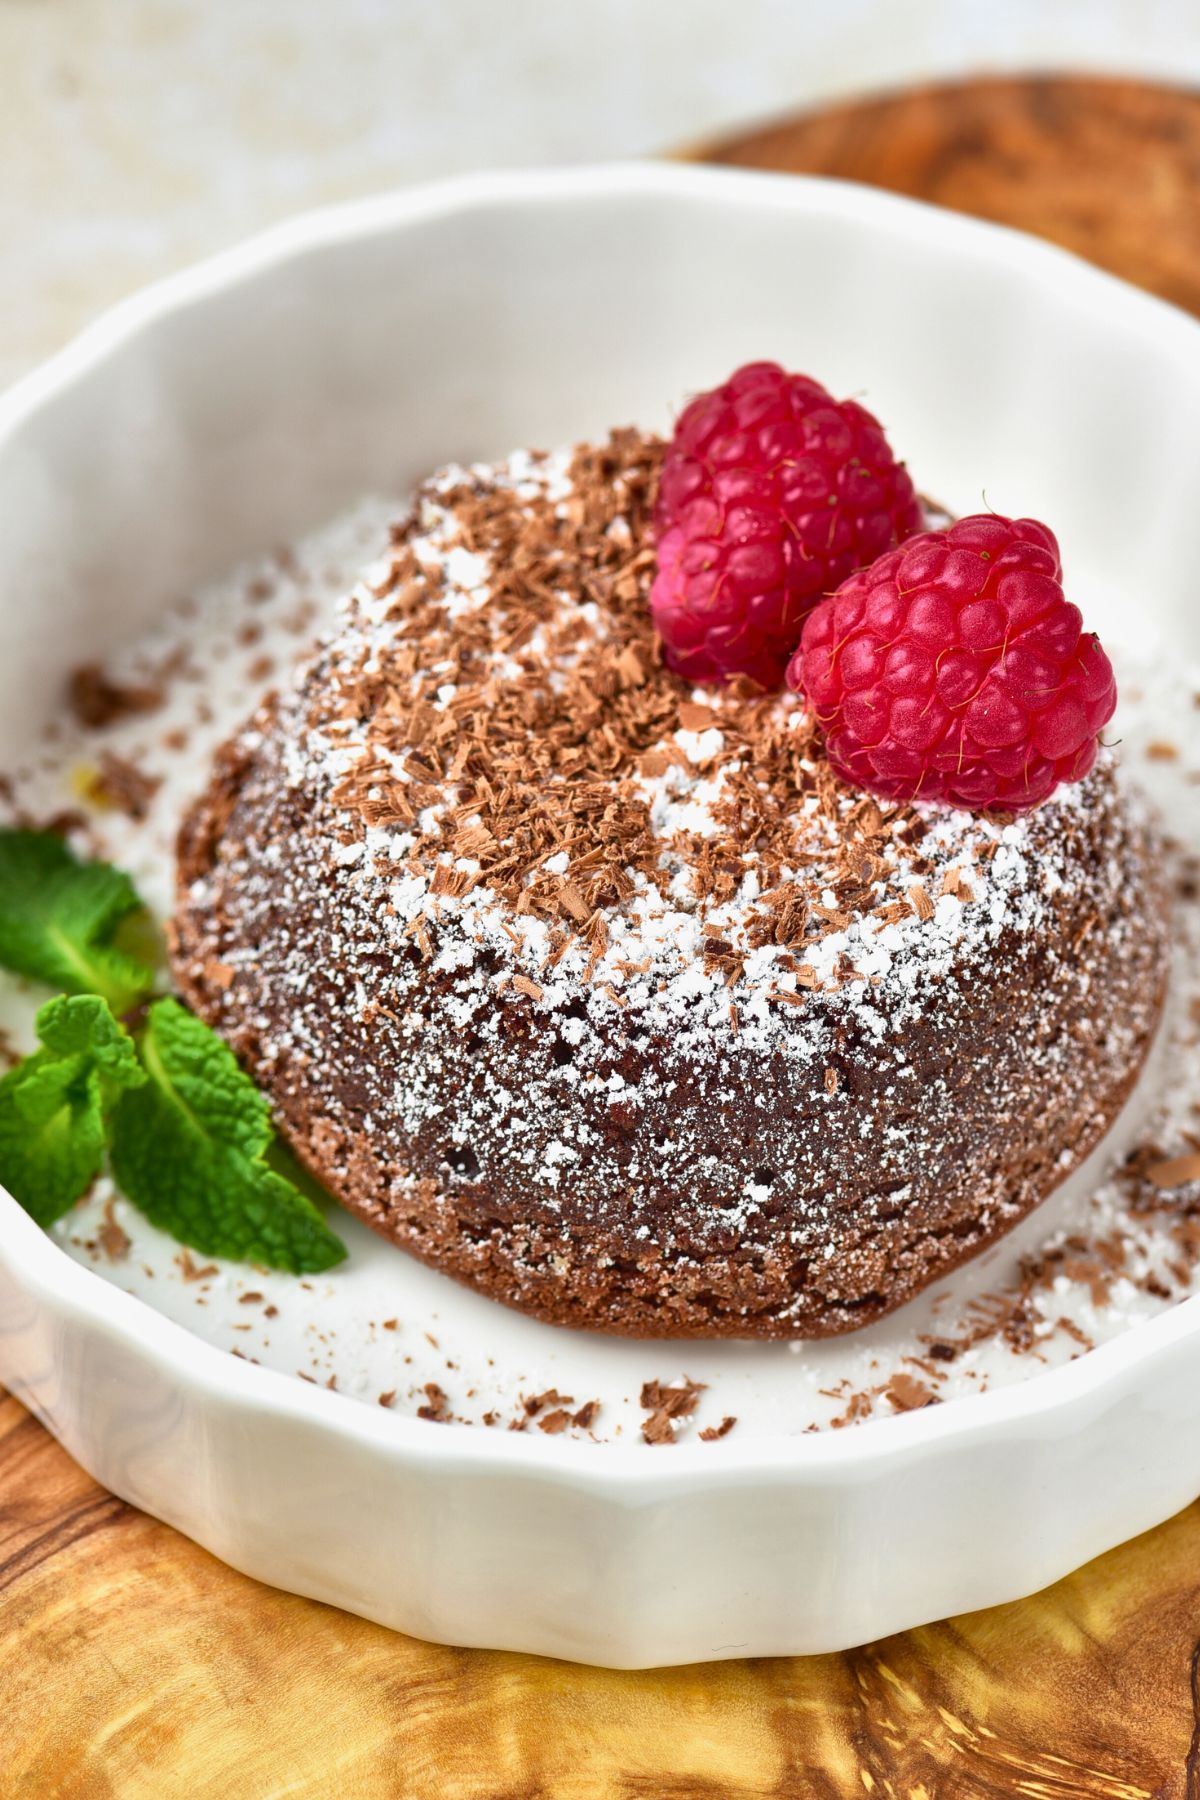
Serve it with fresh raspberries, a scoop of vanilla ice cream, a drizzle of chocolate sauce, or a dusting of powdered sugar for an even more elegant treat.
Tips for Making the Best Molten Chocolate Lava Cake
- Don’t overbake: The center should remain gooey for the perfect lava effect.
- Grease and flour the ramekins well: This will help them come out of the ramekins easier without sticking.
- Serve immediately: Of course the Lava cakes taste best when warm with their soft gooey center.
FAQ’S
You can make them ahead of time, but don’t bake them until just before serving. I prepare the batter in the ramekins the day before I want to serve them, and then because the batter is cold, just add an extra minute or two to the baking time.
You can use different chocolates and different cake flavors if you’d like variety.
Lava cakes are best enjoyed fresh, but you can store leftovers in an airtight container in the fridge for up to 2 days. You can reheat them in the microwave for 30 seconds at a time until warm. Be careful you don’t over heat because the cake can get mushy in the microwave.
More Delicious Chocolate Recipes
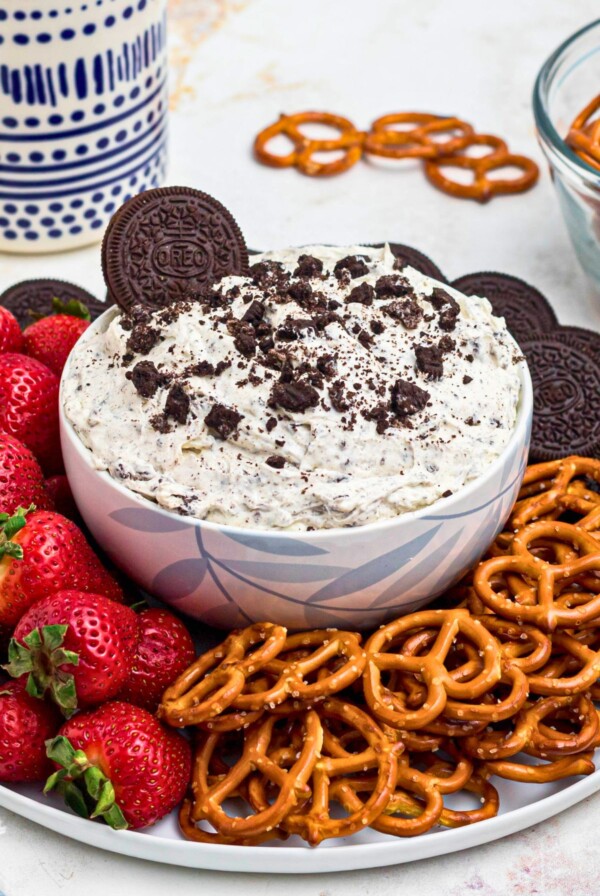
Appetizers
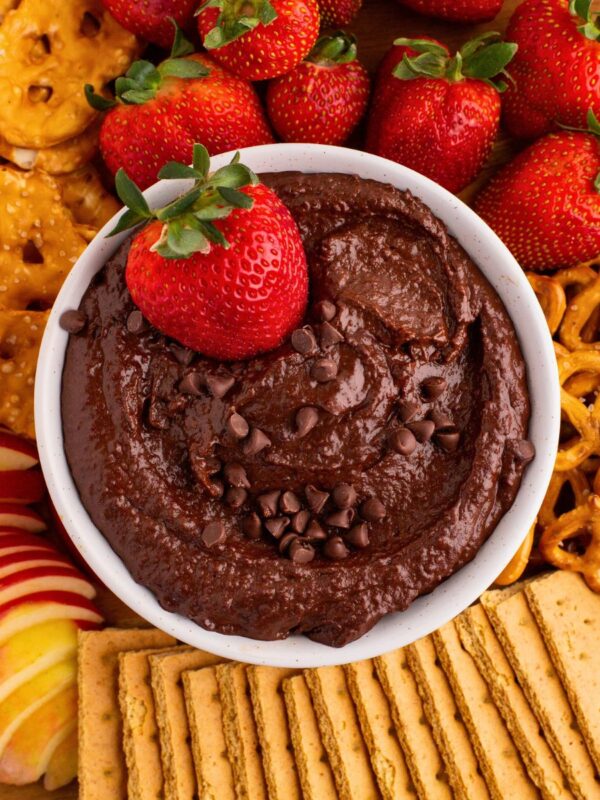
Chocolate Hummus
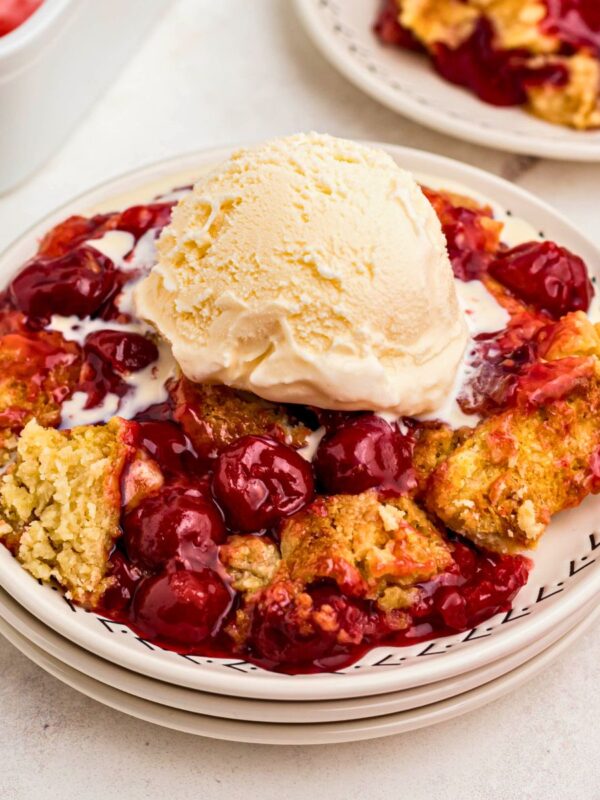
Desserts
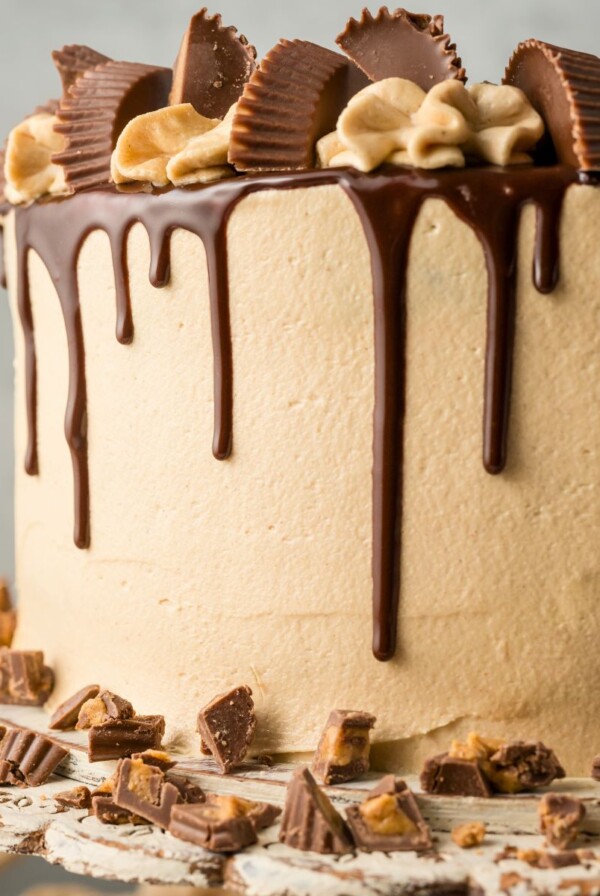
Chocolate Peanut Butter Cake
Breakfast
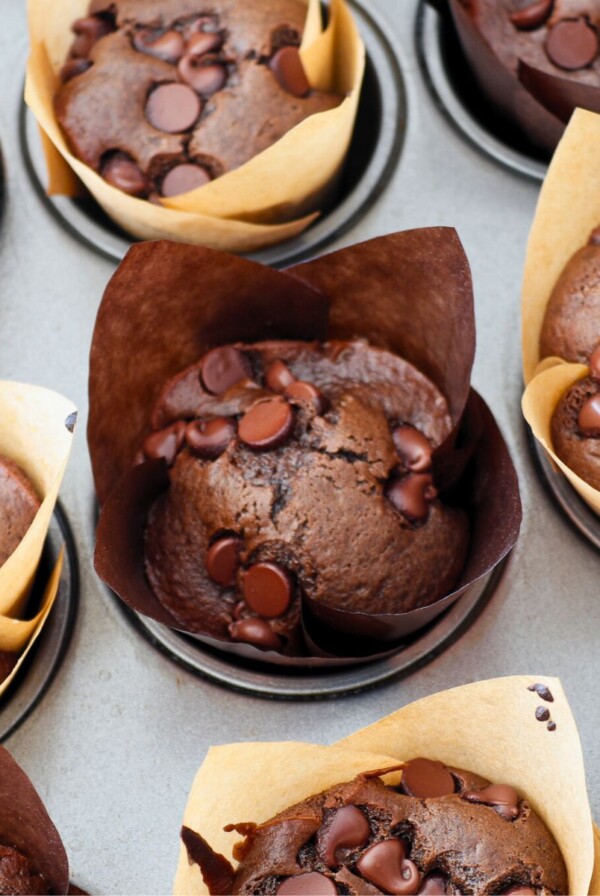
Double Chocolate Chip Muffins
Chocolate Lava Cake
Equipment
- Ramekins
- Mixing Bowls
- Microwave Safe Bowls
- Mixer
Ingredients
- 1/2 cup unsalted butter
- 6 ounces dark chocolate
- 2 large eggs
- 2 large egg yolks
- 3 tablespoons granulated sugar
- 1/2 teaspoon kosher salt
- 2 tablespoons all purpose flour
Instructions
- Preheat the oven to 450 degrees F (230 degrees C). Grease the ramekins with butter, coating all sides, then lightly dust with all purpose flour, for easy removal after baking.
- In a microwave safe bowl, melt the butter and chocolate in 30 second intervals, stirring after each until smooth. Let it cool slightly, and set aside.
- In a separate medium bowl, combine eggs, egg yolks, sugar, and salt. Beat on medium speed with a hand or stand mixer for 3 to 4 minutes, until the mixture becomes thick and fluffy.
- Gradually pour in the melted chocolate and butter mixture, stirring continuously to keep the batter airy, then add the flour to the bowl and fold it gently with a spatula, ensuring a smooth, light batter.
- Divide the batter evenly between the prepared ramekins, filling them just below the rim. Place the ramekins on a baking sheet. Bake for 8-10 minutes until the edges are firm but the center still jiggles slightly when gently shaken.
- Remove from the oven and let the cakes rest for about 5 minutes. Use a knife to run around the edges between the cake and the ramekin. Place a plate over the ramekin and then turn upside down to flip it over, sliding it out of ramekin onto the plate. Serve while warm.
Optional: Serve it with fresh raspberries, a scoop of vanilla ice cream, a drizzle of chocolate sauce, or a dusting of powdered sugar for an even more elegant treat.
Notes
- Don’t overbake: The center should remain gooey for the perfect lava effect.
- Grease and flour the ramekins well: This will help them come out of the ramekins easier without sticking.
- Serve immediately: Of course the Lava cakes taste best when warm with their soft gooey center.
Nutrition
Nutrition information is automatically calculated, so should only be used as an approximation.


This is sooooo good
This gooey lava cake is one of my favorites! Super easy recipe and with a scoop of ice cream, it’s perfect!