This post contains affiliate links. Please see our disclosure policy.
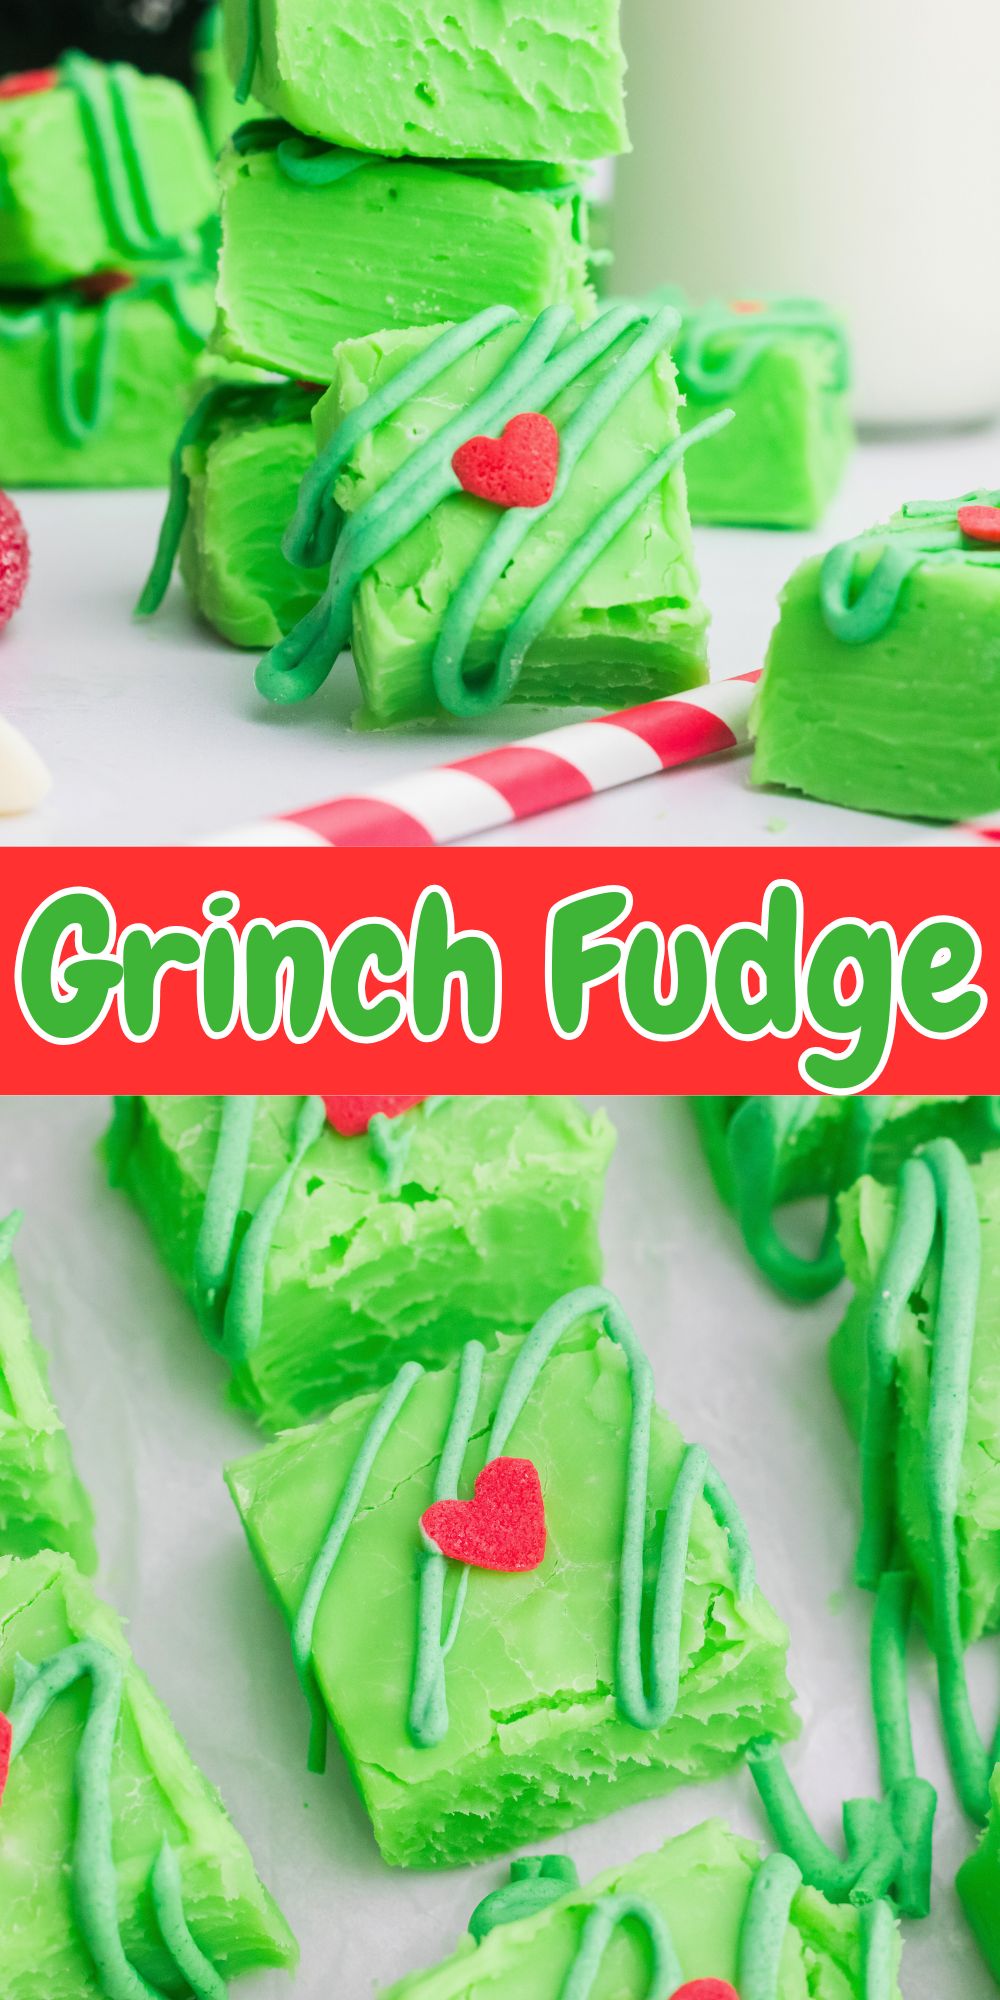
The holiday season wouldn’t be complete without a Grinch movie night, and this festive Grinch fudge makes the perfect treat to go along with it. It’s smooth, creamy vanilla flavor melts in your mouth and adds a sweet touch to any gathering.
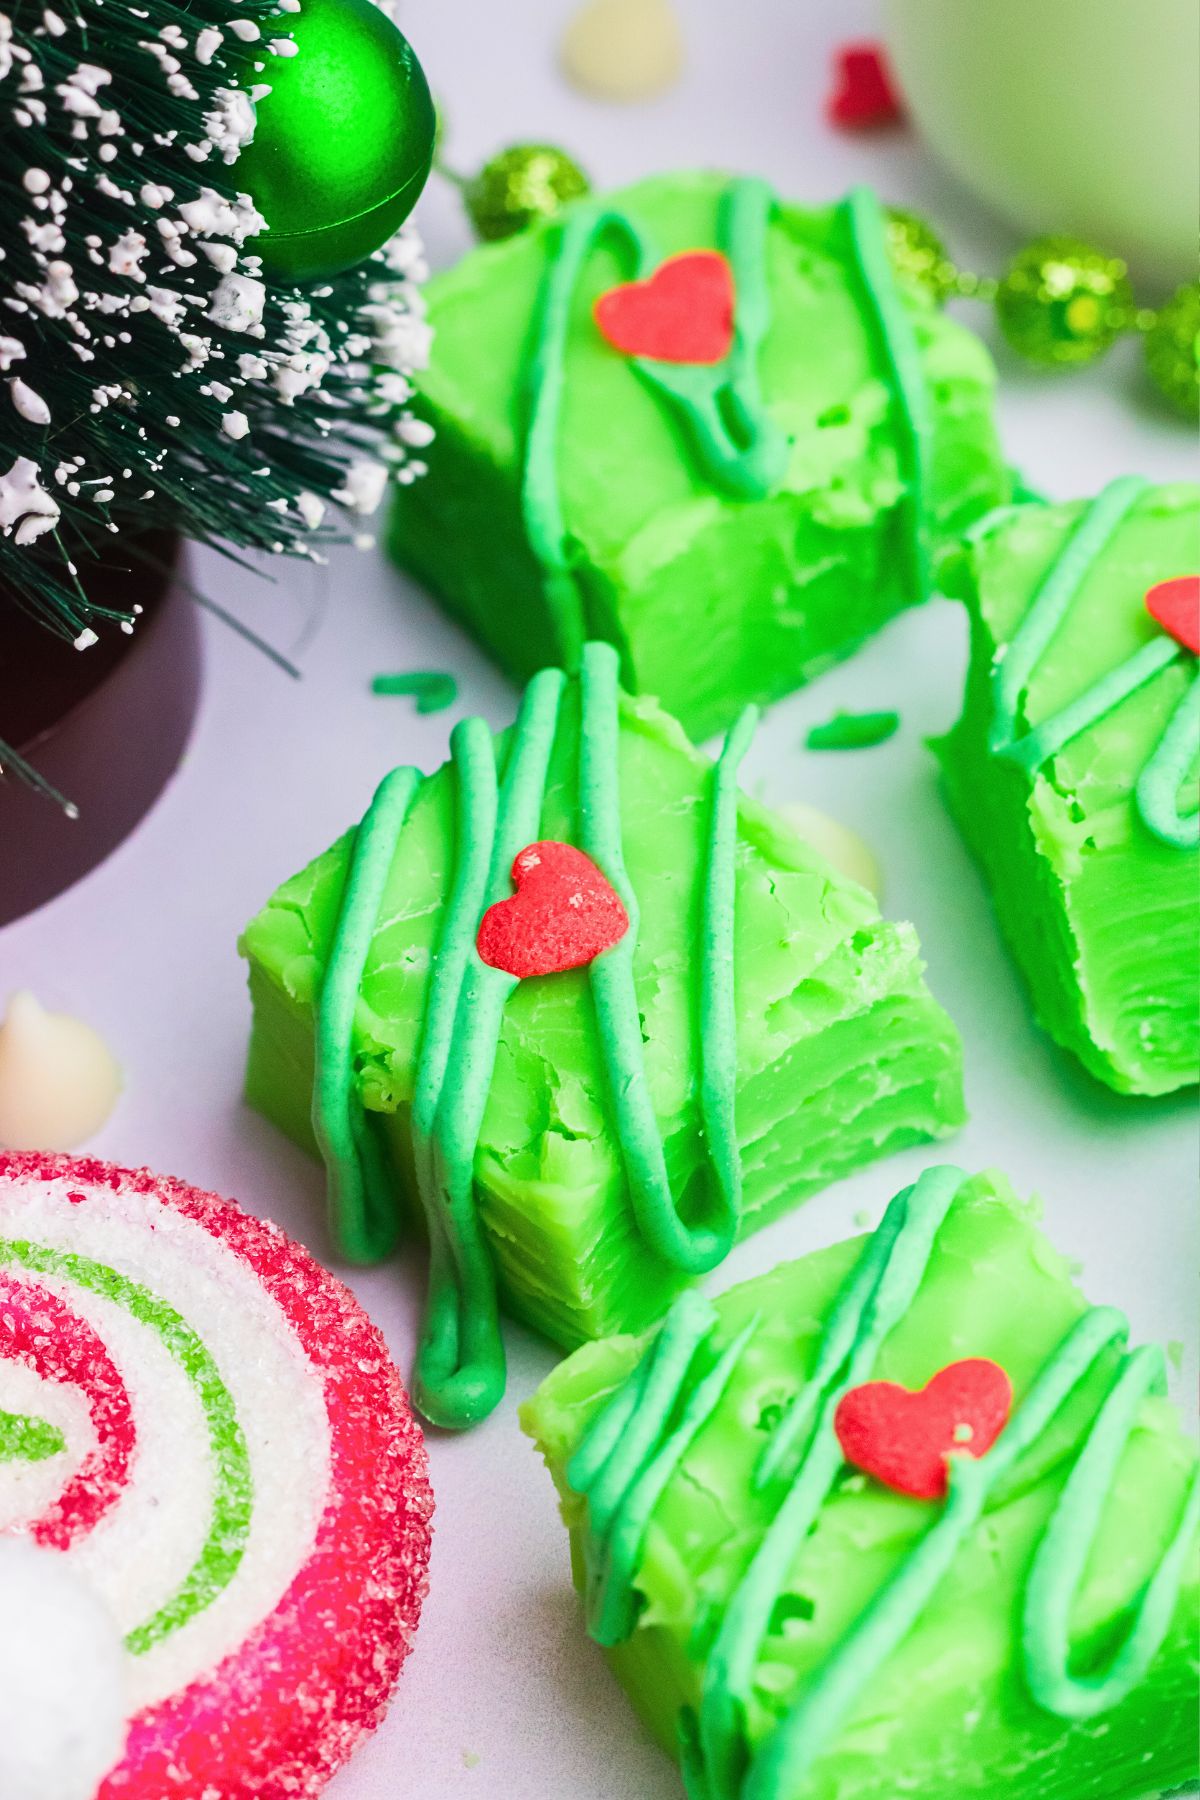
Easy Grinch Fudge Recipe
This no bake Grinch fudge recipe is incredibly easy to make! The rich vanilla fudge is the perfect addition to holiday celebrations, with its vibrant red and green colors bringing out the Christmas spirit.
Grinch fudge also makes a wonderful gift for neighbors, teachers, or friends. Simply cut the fudge into squares, stack them in festive tins with parchment paper between pieces or layers, and finish it off with a bow for an adorable Grinch-themed gift.
For another fun Grinch themed treat, try these Grinch Oreo Balls. Both of these fun recipes would be adorable on this Christmas charcuterie board.
Ingredients You Will Need
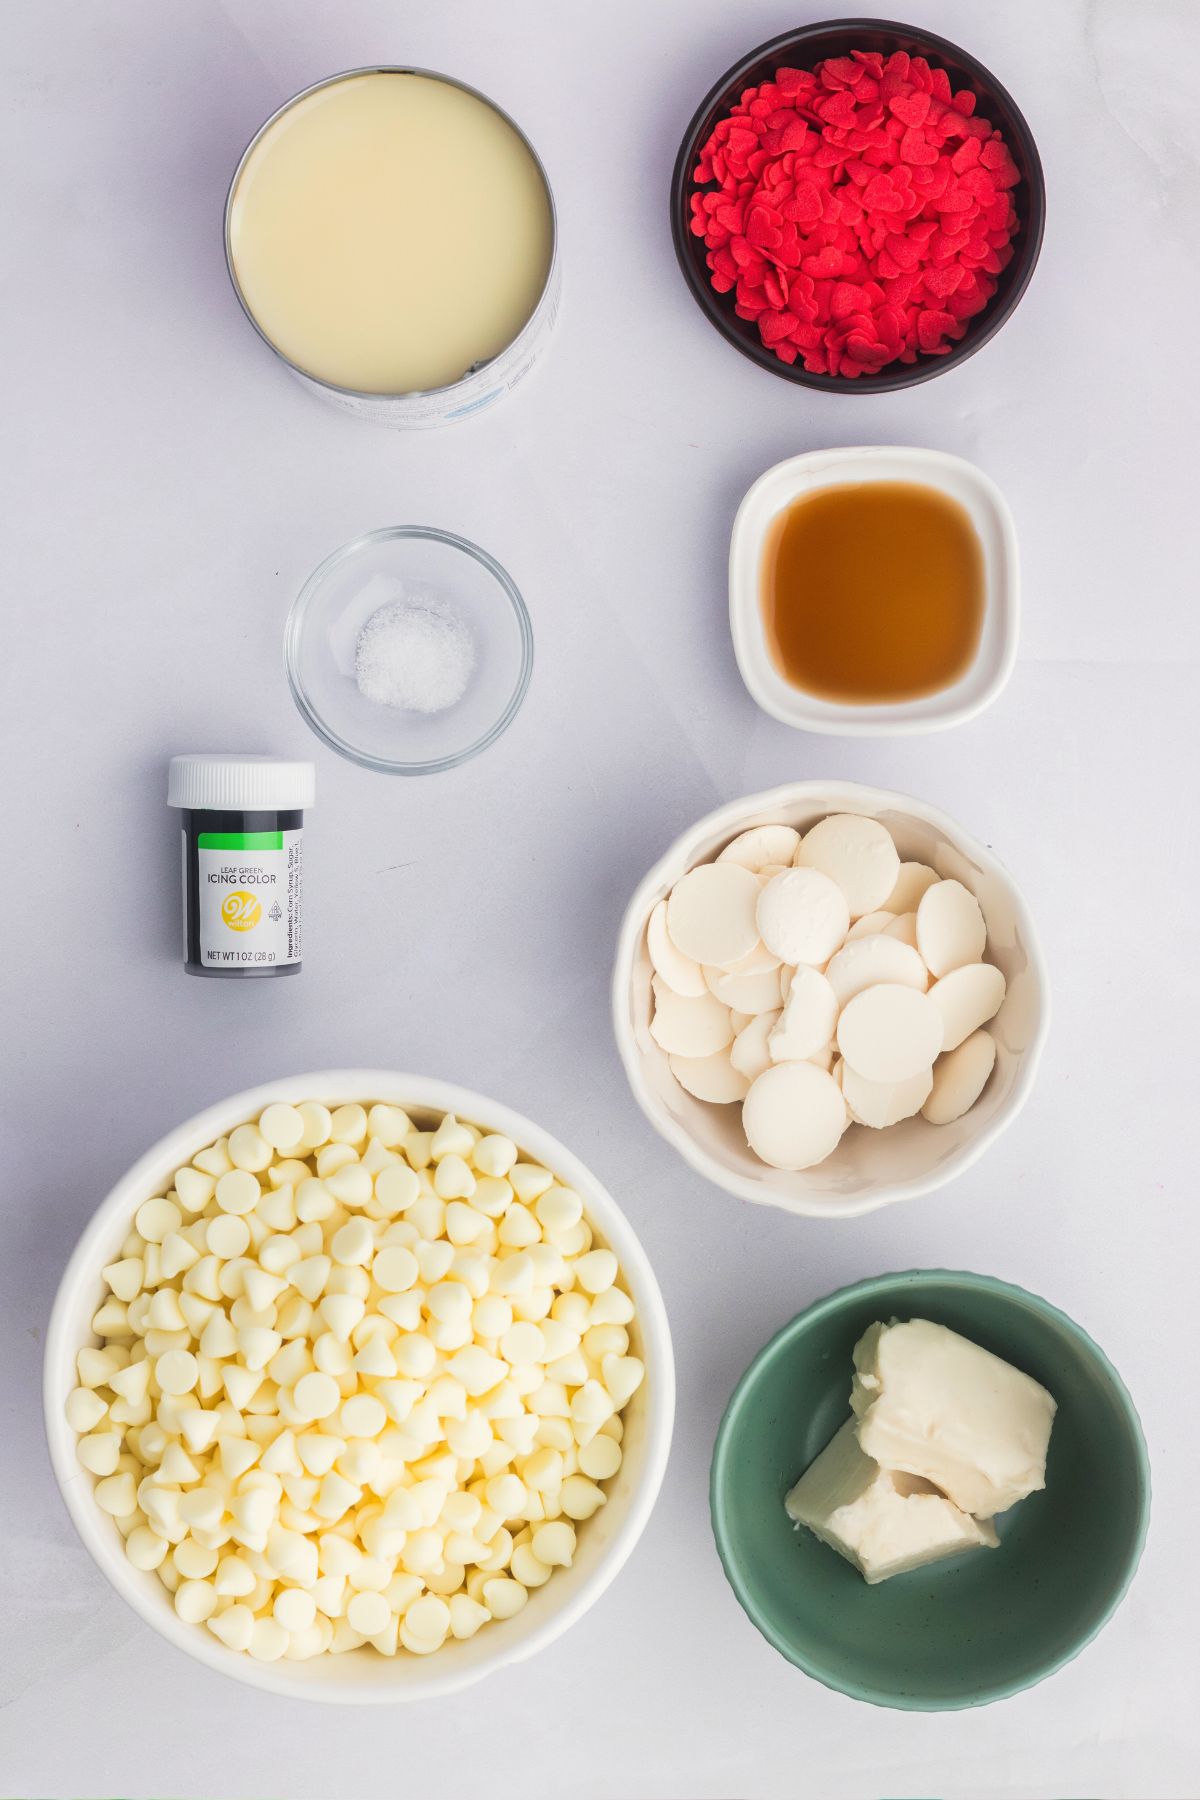
- White chocolate chips-the main ingredient to this recipe, giving the fudge it’s rich flavor.
- Butter-butter provides a richness to balance the sweetness, and makes the fudge have the melt-in-your-mouth flavor.
- Sweetened condensed milk– adds creaminess to the fudge, and helps bind the ingredients together.
- Vanilla extract– clear vanilla extract is preferred- gives the fudge a hint of classic vanilla flavor while keeping the color bright and vibrant.
- Green gel food coloring– just a few drops will transform the white into a beautiful Grinch green color.
- Pinch of salt– just a pinch of salt will balance out the sweetness of the fudge.
- Heart sprinkles– bright red candy hearts are the finishing touch to each piece of fudge.
How to Make Grinch Fudge
STEP 1. Line an 8×8 square baking dish with parchment paper, bringing the parchment paper up on the sides for easy removal after it sets. Set the pan aside.
STEP 2. In a microwave-safe bowl, add the white chocolate chips, sweetened condensed milk, butter, and a pinch of salt together. Heat in 30-second increments, stirring between each, until the chocolate is smooth and fully melted. If using a double boiler or saucepan, melt on low/medium heat until smooth.
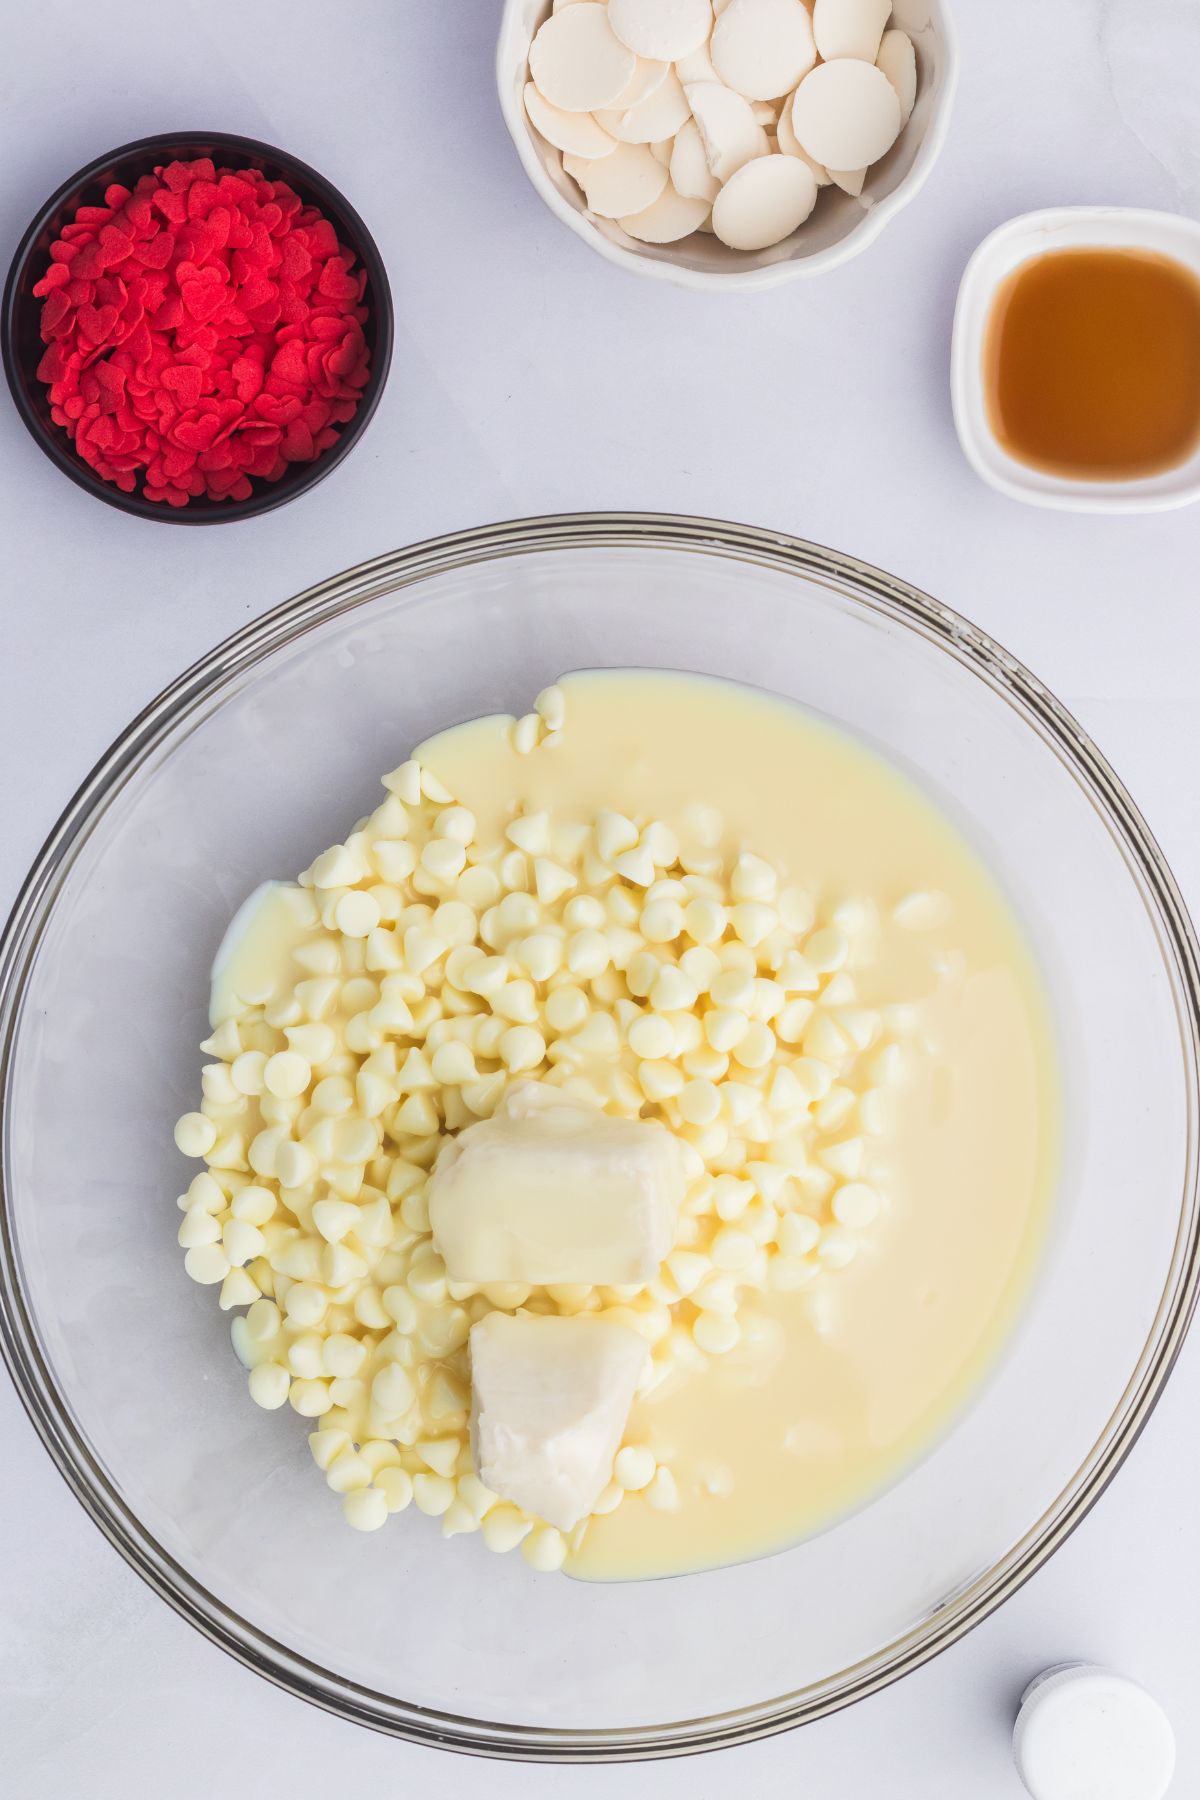
STEP 3. Once the chocolate is smooth and creamy, add the vanilla and green gel food coloring to the mixture, and stir to combine. Add a few drops of food coloring until you reach the desired green.
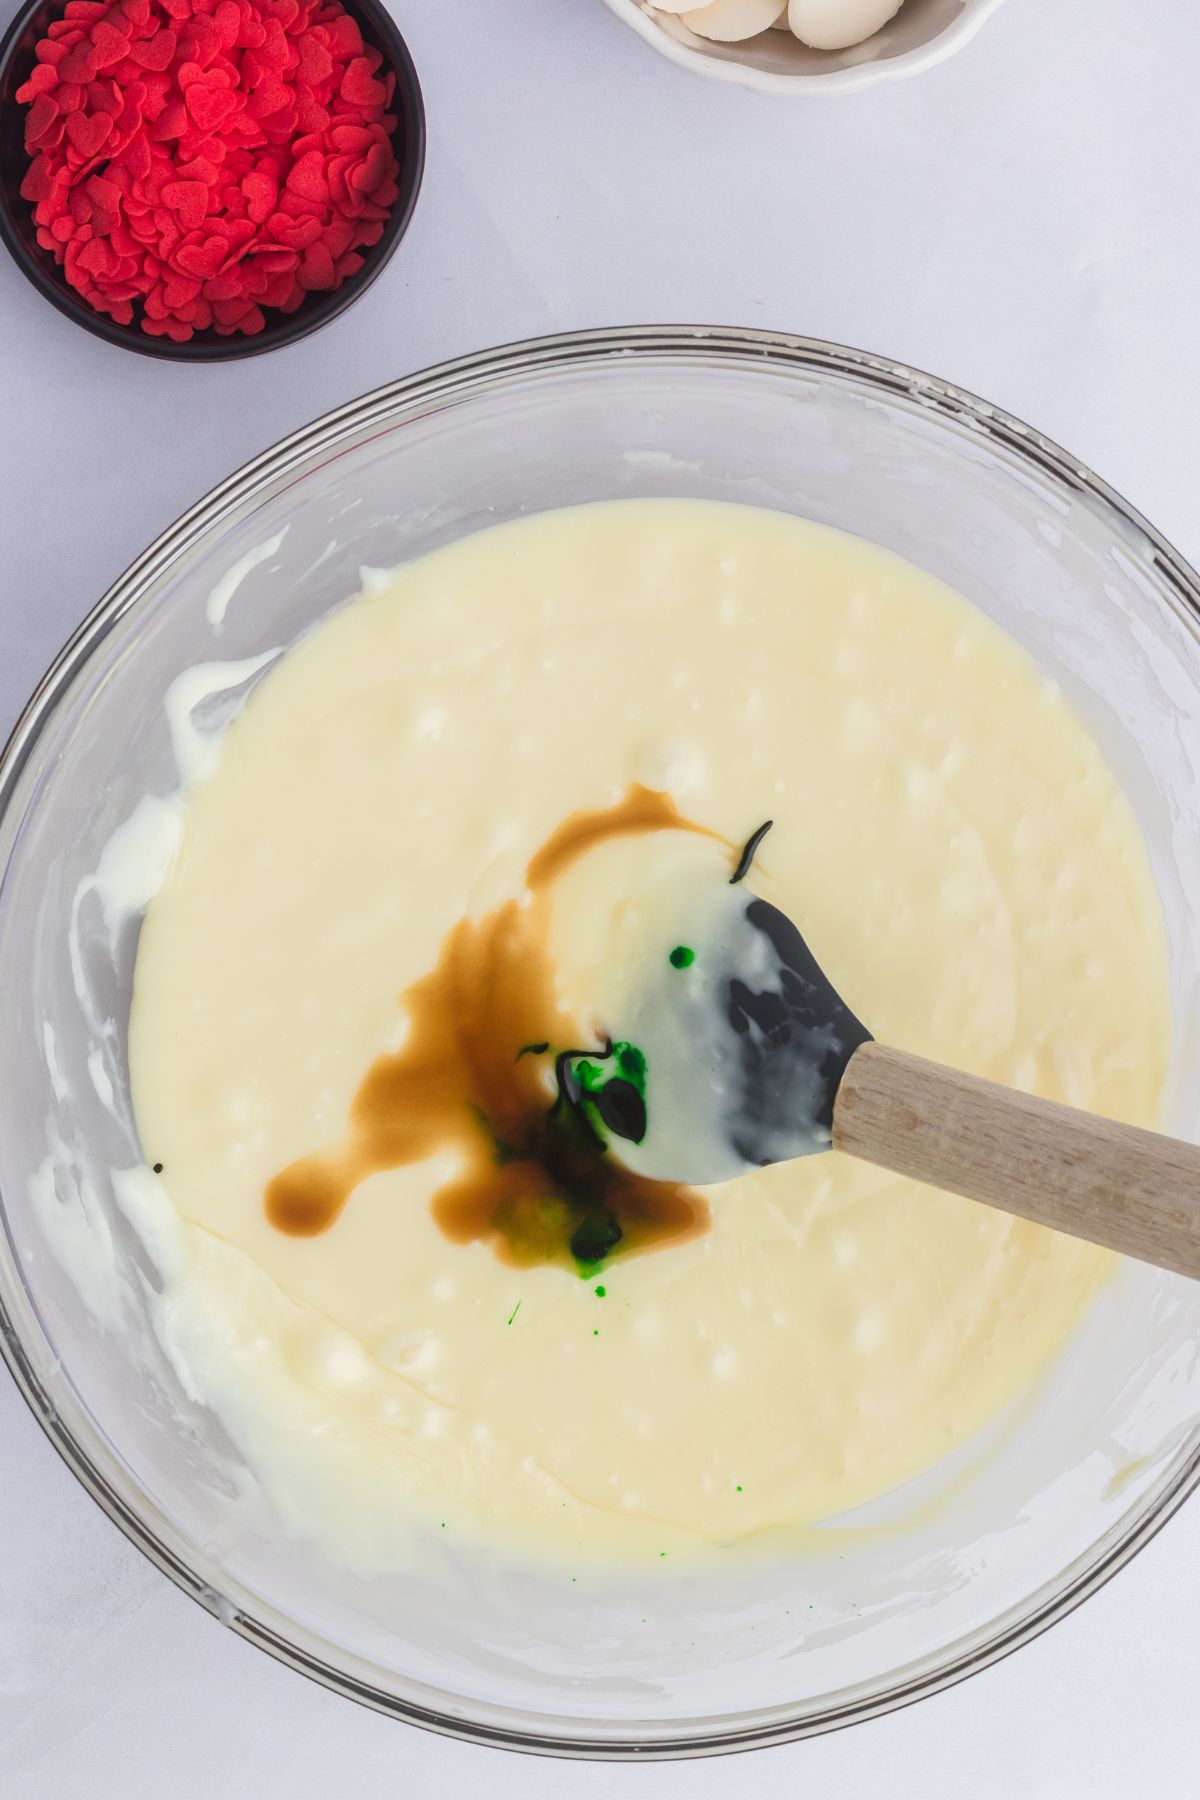
STEP 4. Pour the green fudge into the prepared baking dish and then place it in the refrigerator for about 2 hours, until it is firm.
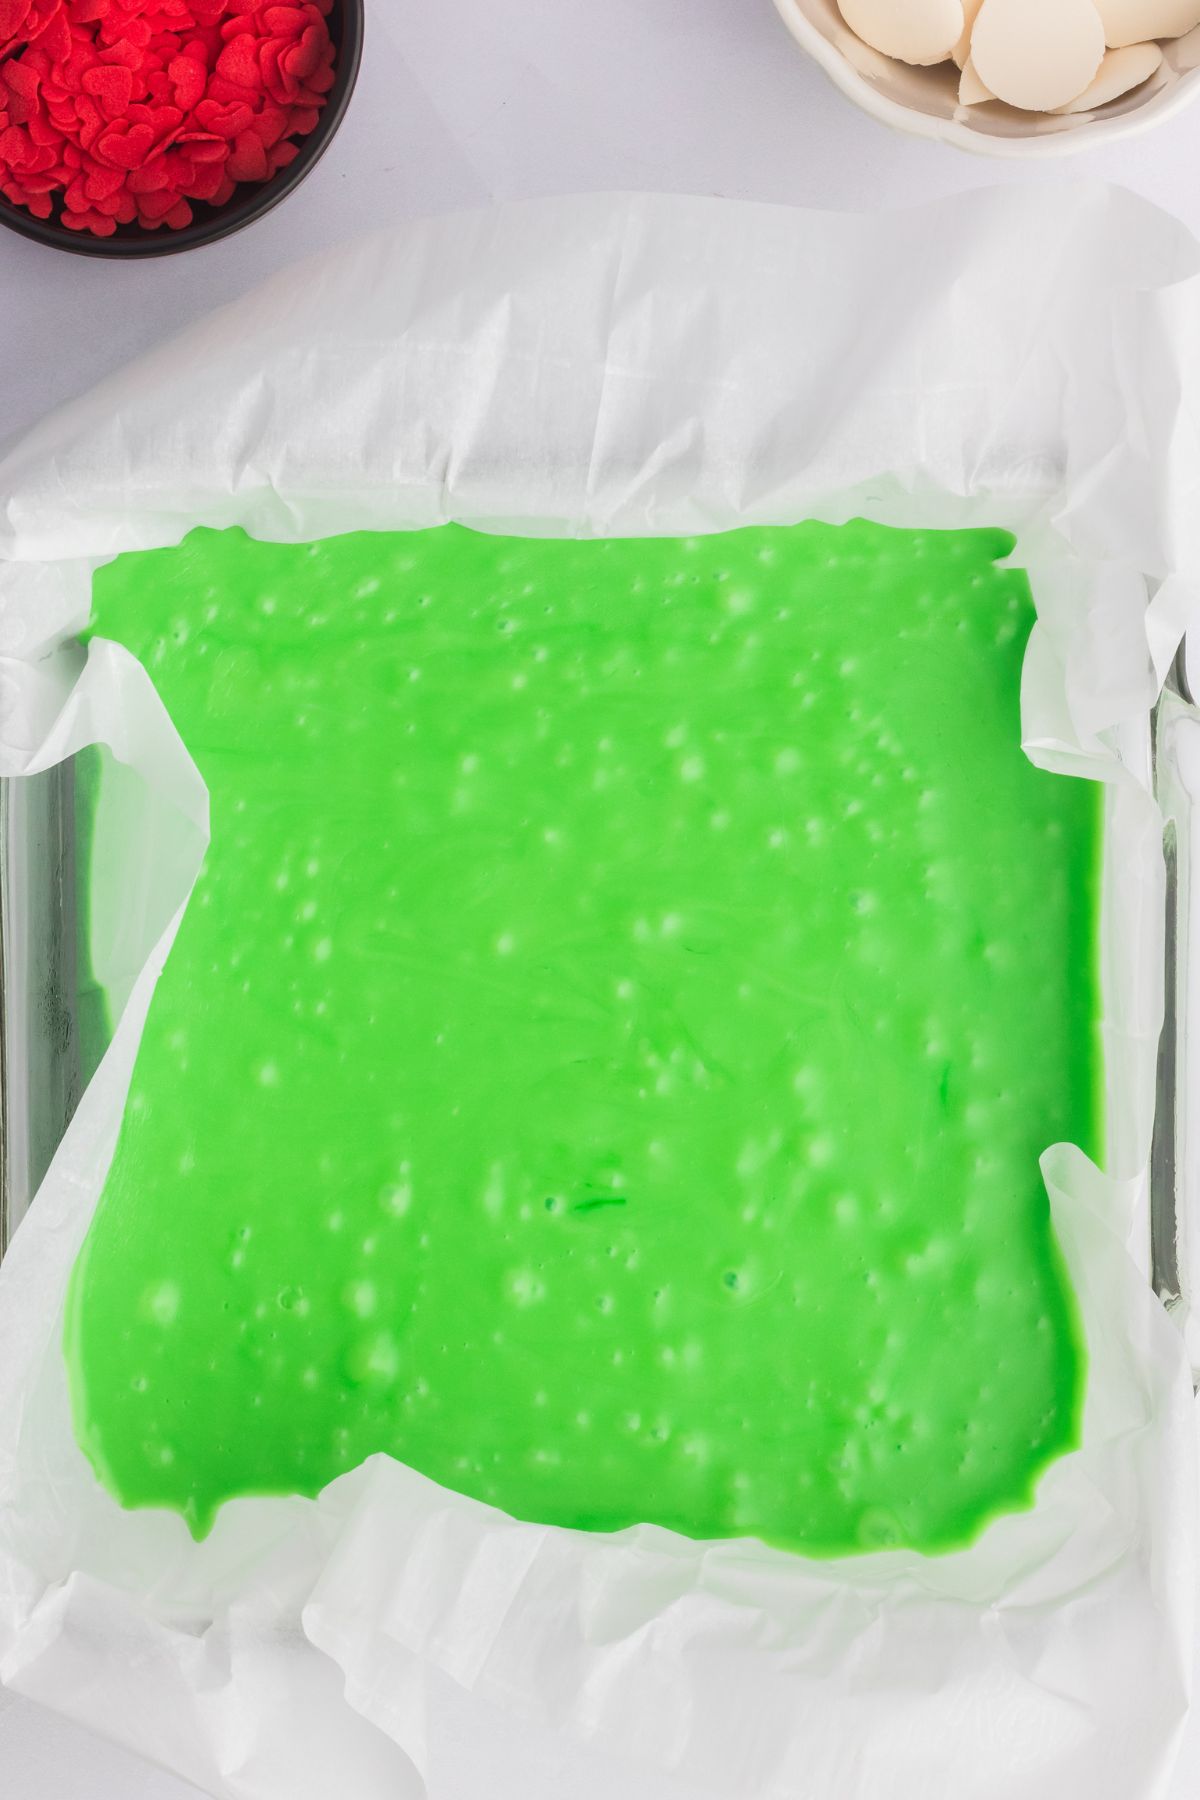
STEP 5. Once it’s set, use the parchment paper as handles, and carefully lift the fudge from the baking dish. Place on a cutting board or firm surface, and cut the fudge into squares.
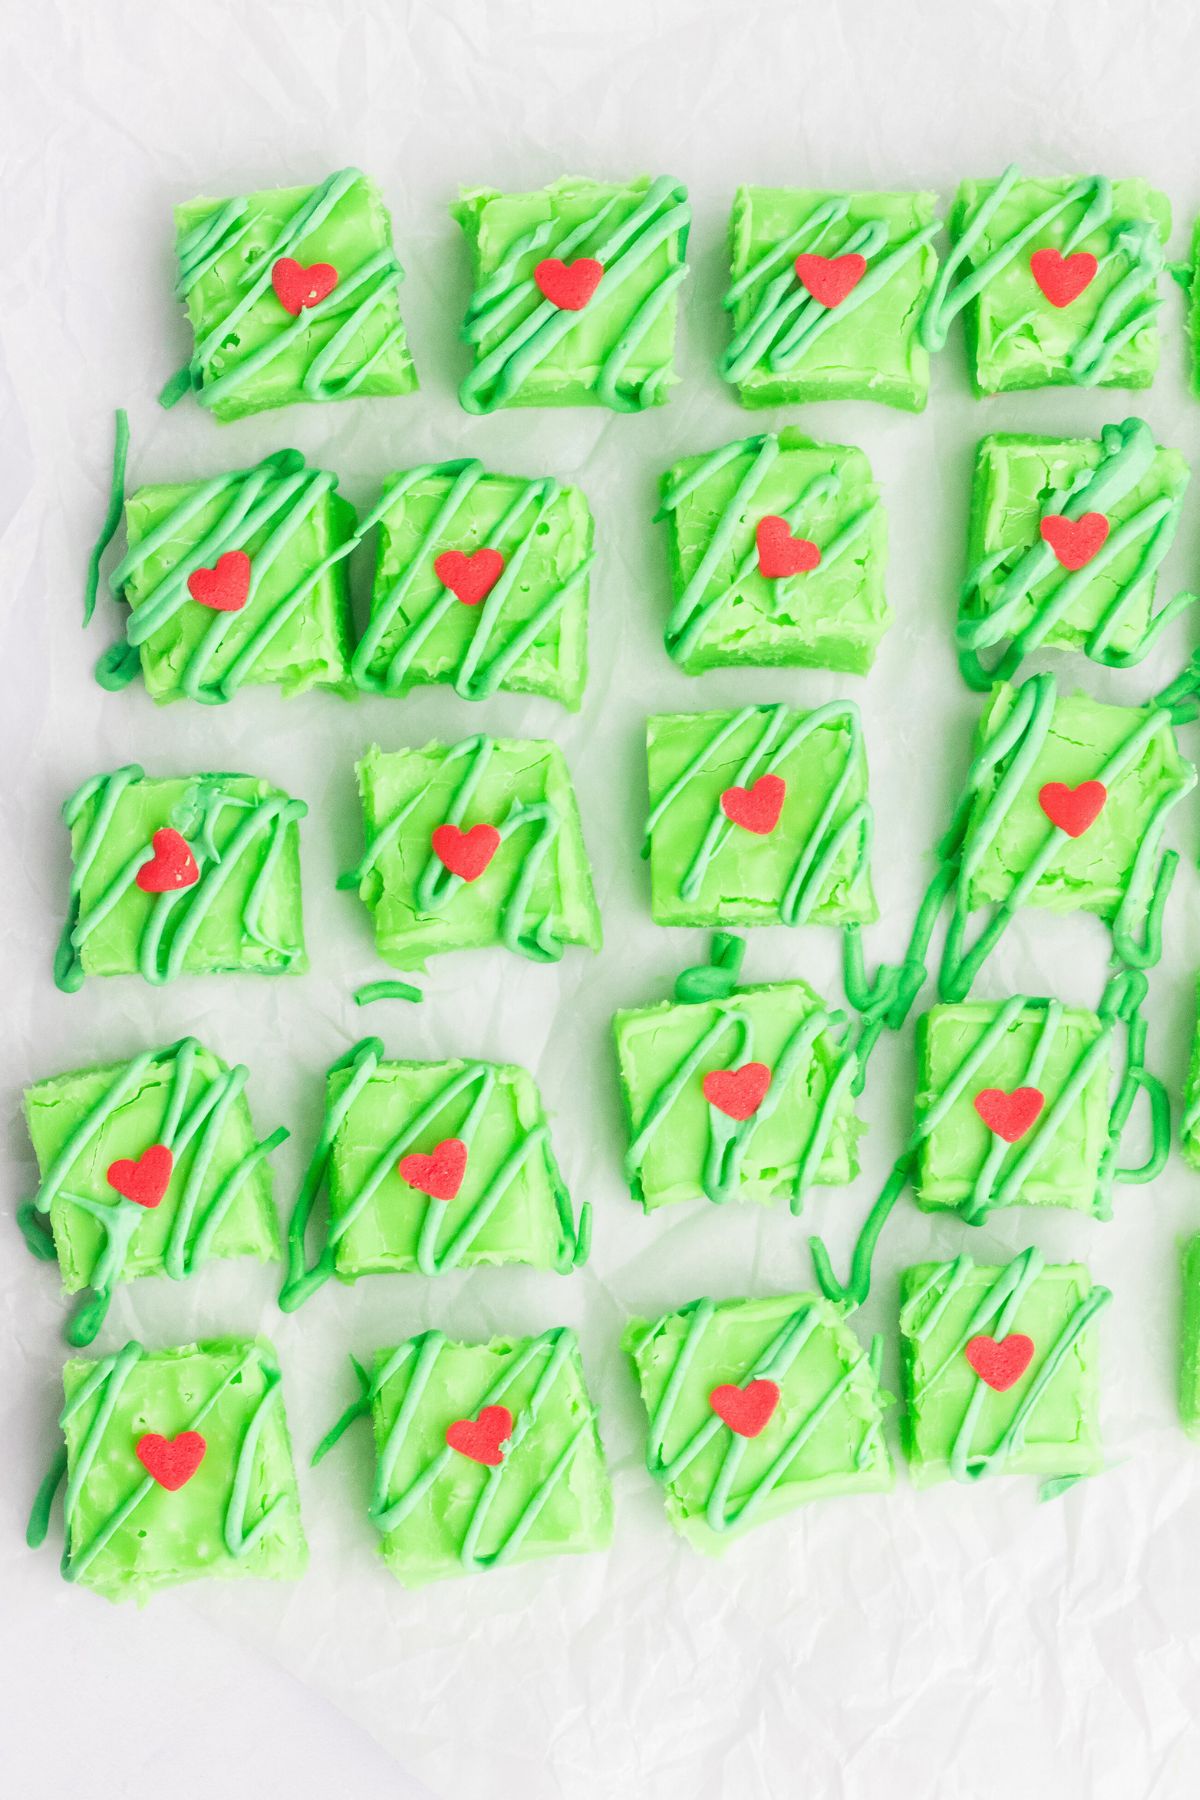
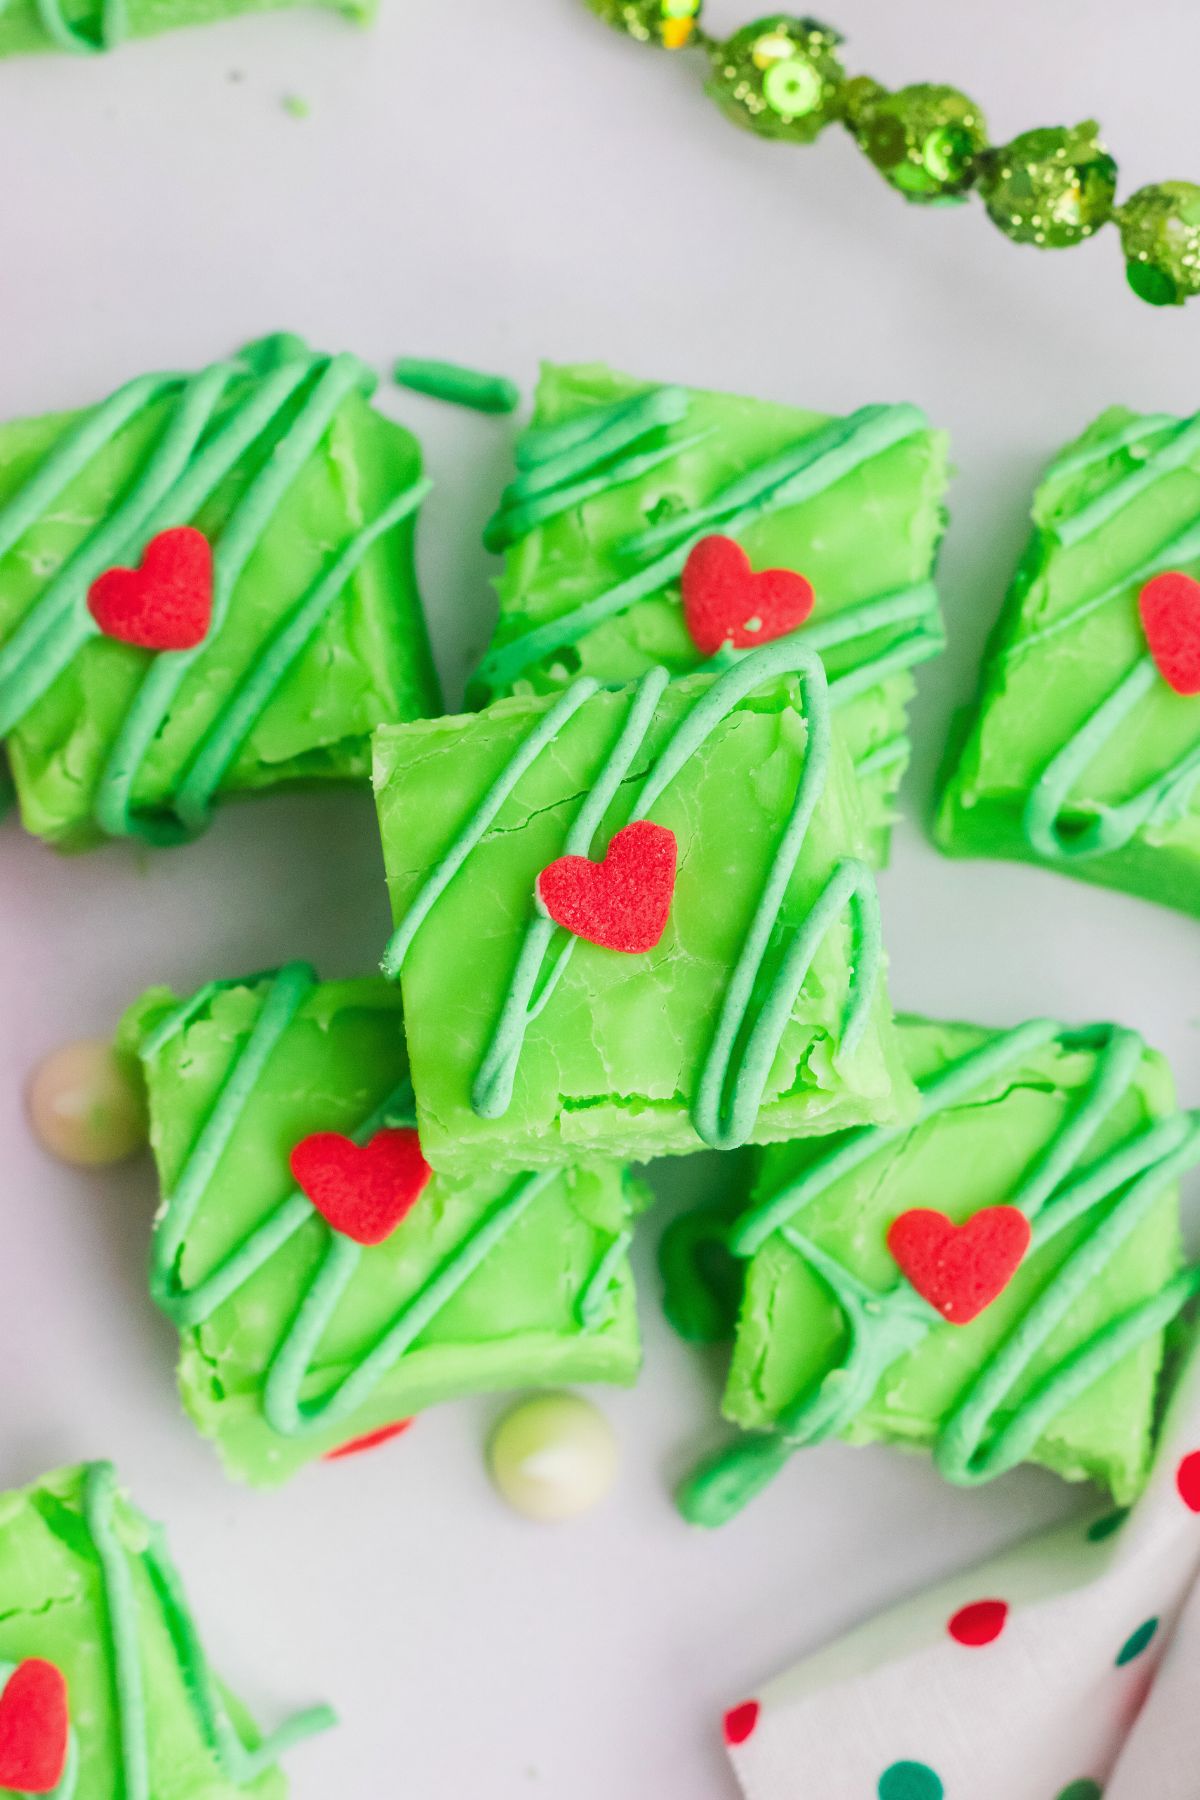
STEP 6. Gently press a heart sprinkle into each piece and enjoy your Grinch fudge!
Tips For Making the Best Grinch Fudge
- Use Gel Food Coloring: I HIGHLY recommend using gel coloring. It combines easier with the melted chocolate. Using liquid coloring can seize the chocolate, and alter the taste.
- Use Quality Chocolate: High-quality white chocolate chips melt smoother and create a creamier fudge.
- Adjusting the Green Color: Start with just a couple of drops of green food coloring, then add additional drops until you reach the vibrant green color you want. The brighter the better!
- Use Clear Vanilla: When making a white chocolate fudge recipe, using clear vanilla helps keep the color a true white. This helps the colors added to stay vibrant.
Variations
- Minty Grinch Fudge: Add a drop of peppermint extract to make your fudge have a minty flavor to match the green color.
- Add Ins: Stir in mini marshmallows or crushed candy candy canes, or other Christmas candies before the fudge sets.
FAQ’S
Store fudge in an airtight container at room temperature for up to a week, or in the fridge for up to 2 weeks. This Christmas fudge can also be made ahead of time and stored in the freezer for up to 3 months.
White chocolate is recommended to achieve that perfect Grinch green, but you can also use vanilla flavored melting wafers. You can use milk chocolate too, but your fudge won’t have the bright green color.
Use dairy free white chocolate chips and a sweetened condensed coconut milk as substitutes. The texture and flavor may not be exactly the same, but will make this fudge dairy free.
More Holiday Recipes
Grinch Fudge
Equipment
- 8×8 baking dish
- Microwave safe bowl
- Spatula
Ingredients
- 3 cups white chocolate chips
- 2 tablespoons butter
- 14 ounces sweetened condensed milk
- 1 teaspoon vanilla extract
- green food coloring gel
- heart sprinkles
Instructions
- Line an 8×8 pan or baking dish with parchment paper, bringing the parchment paper up on the sides for easy removal after it sets. Set the pan aside.
- In a microwave-safe bowl, add the white chocolate chips, sweetened condensed milk, butter, and a pinch of salt together. Heat in 30-second increments, stirring between each, until the chocolate is smooth and fully melted. If using a double boiler or saucepan, melt on low/medium heat until smooth.
- Once the chocolate is smooth and creamy, add the vanilla and green gel food coloring to the mixture, and stir to combine. Add a few drops of food coloring until you reach your desired color.
- Pour the green fudge into the prepared baking dish and the place it in the refrigerator for about 2 hours, until it is firm.
- Once it's set, use the parchment paper as handles, carefully lift the fudge form the baking dish. Place on a cutting board or firm surface, and cut the fudge into squares.
- Gently press a heart sprinkle into each piece of fudge and enjoy your Grinch fudge!
Notes
Nutrition
Nutrition information is automatically calculated, so should only be used as an approximation.








Delicious, love the fudge