This post contains affiliate links. Please see our disclosure policy.
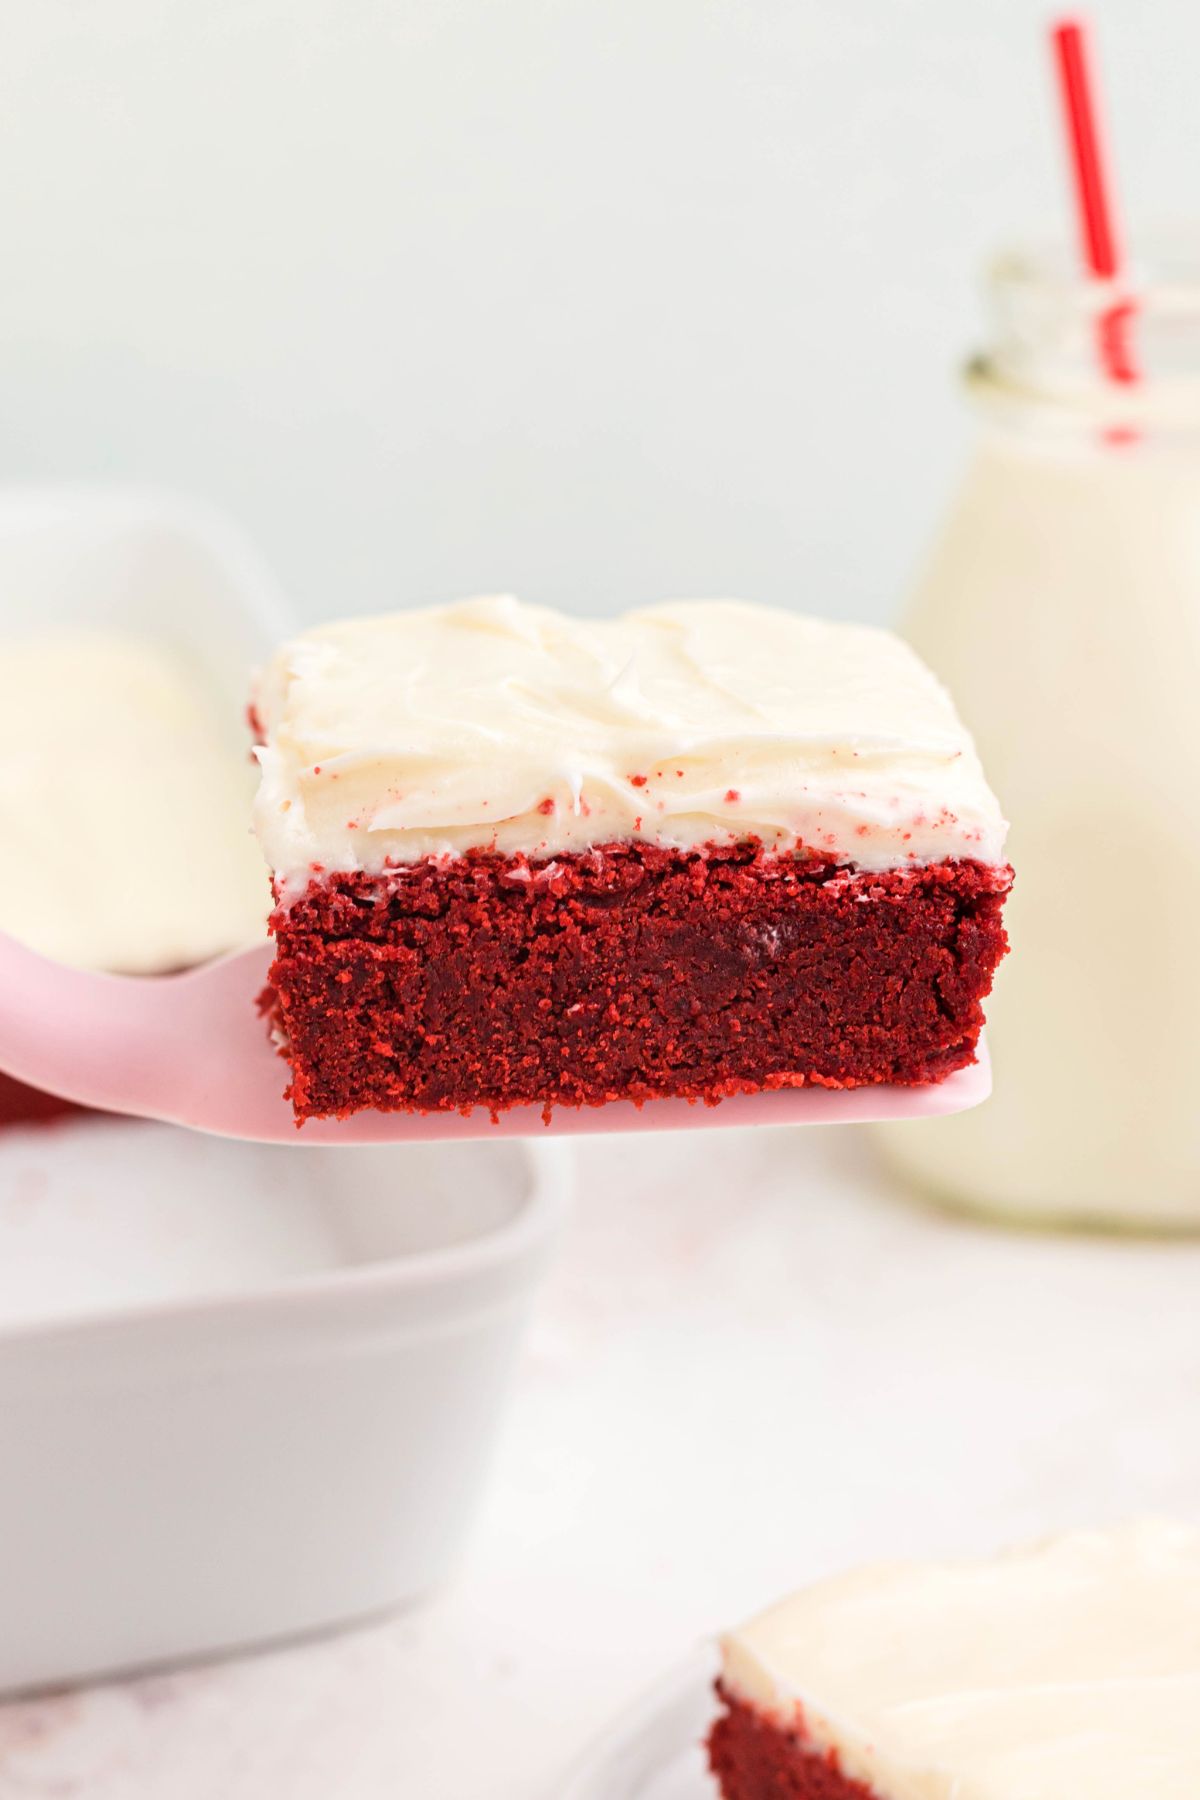
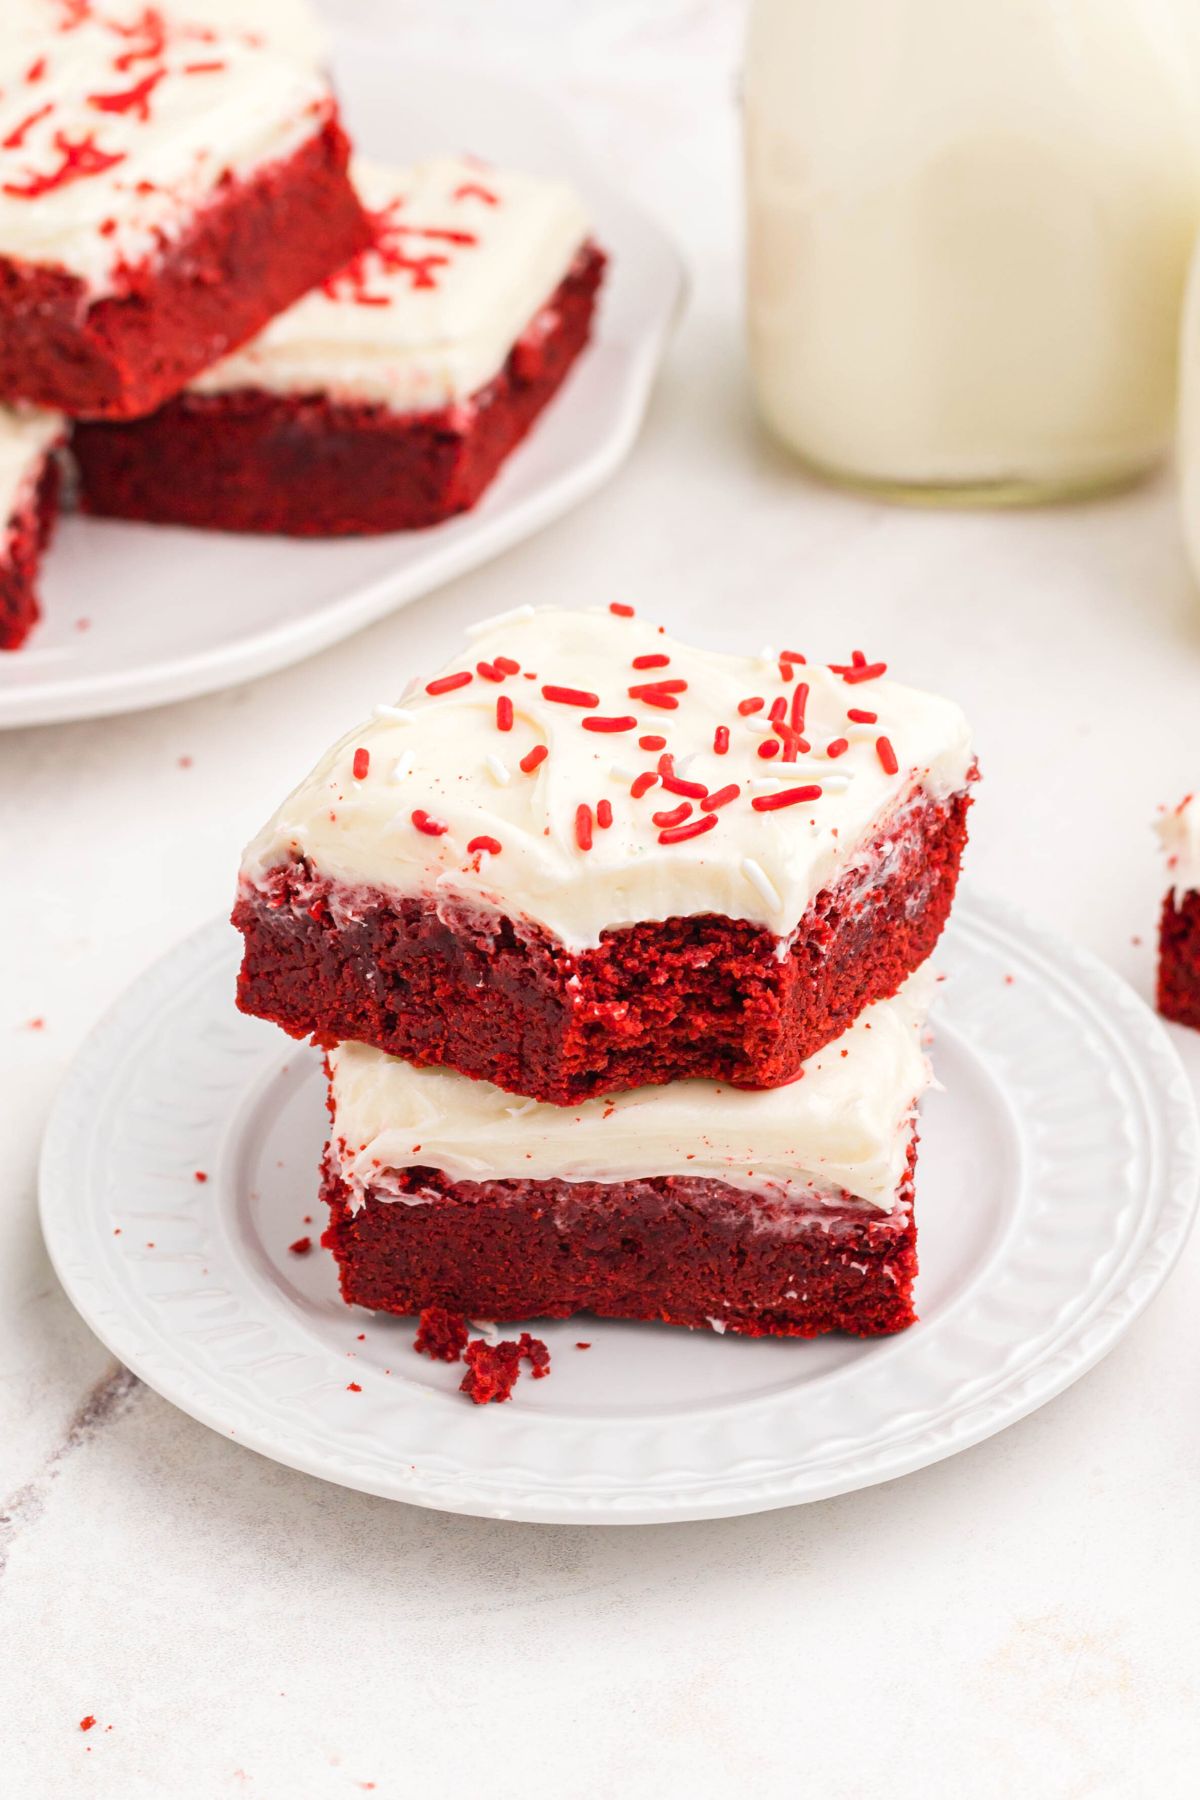
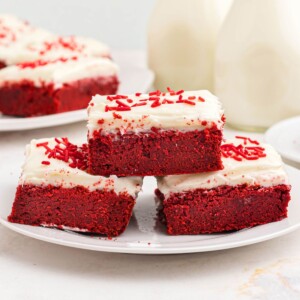
Red velvet bars are so soft and chewy, with a rich cream cheese frosting. They are simple to make, and with their gorgeous red color, they are perfect for holidays, parties, or just when you want a beautiful dessert!
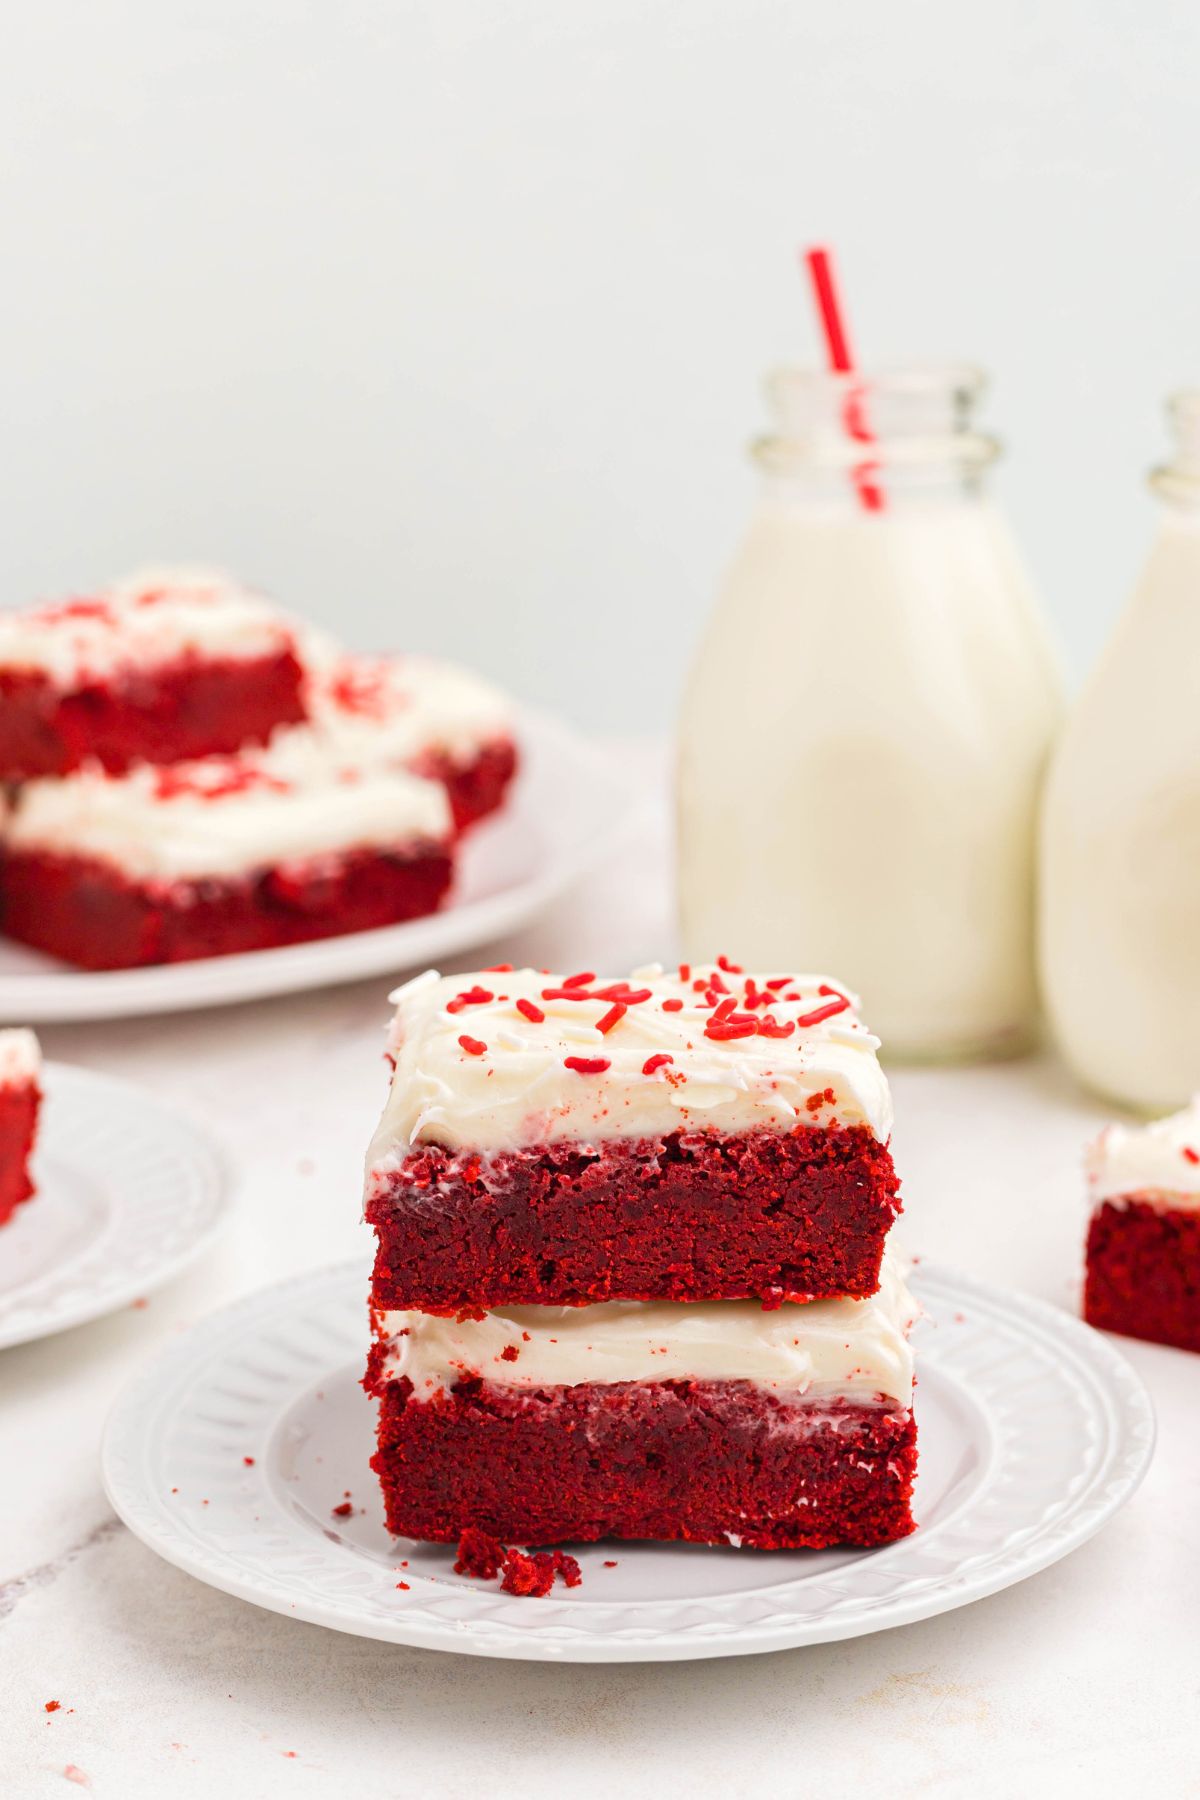
Red Velvet Sugar Cookie Bars Recipe
I love making these bars because they are so much faster than making traditional cookies. Just press the dough into the pan and bake! And they are so pretty, they brighten up a dessert table, or can be a fun plated holiday gift for neighbors and friends.
Whether you’re hosting a party or just want a quick dessert, these red velvet bars will have you covered. Trust me, they are going to be a family favorite. And if you like red velvet desserts, try these red velvet cake mix cookies too!
Ingredients You Will Need
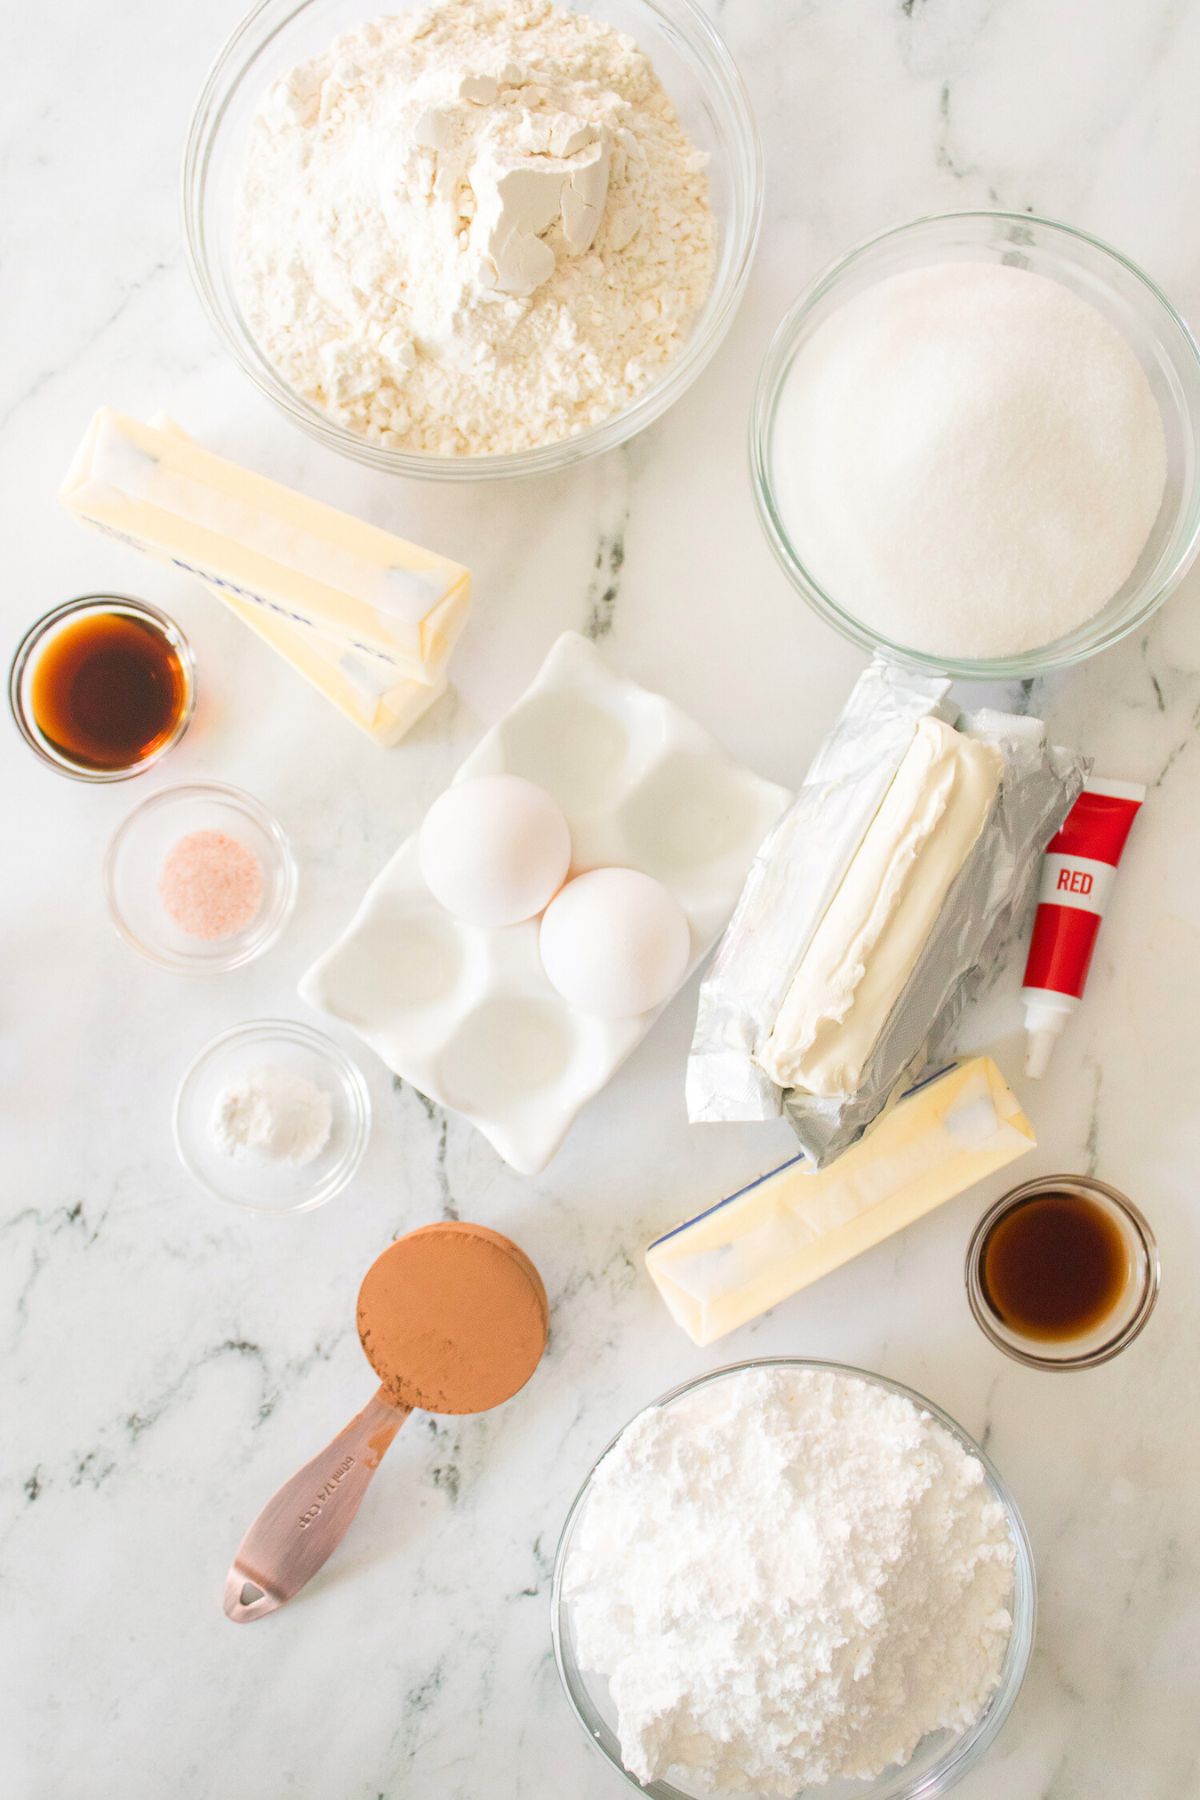
- all purpose flour-the base of the cookies
- unsweetened cocoa powder– adds a subtle chocolate flavor
- salt-enhances the flavor of the cookie bars
- baking powder-helps the bars rise and makes them light and fluffy
- unsalted butter-gives the bars moisture to make them soft
- granulated sugar-sweetens the bars
- eggs-binds the ingredients together
- vanilla extract-enhances the flavor of the cookies
- gel red food coloring-gives the bars their vibrant red color
Cream Cheese Frosting Recipe
- cream cheese-base of the frosting, gives it a creamy texture
- butter-combined with the cream cheese, it adds a smooth buttery flavor to the frost.
- powdered sugar-adds sweetness to the frosting
- vanilla extract-enhances the flavor
Directions
STEP 1. Preheat the oven to 350 degrees F. Lightly spray a 9×13 inch pan or baking dish with non-stick cooking spray. Set aside.
STEP 2. In a medium bowl, whisk together the dry ingredients of flour, cocoa powder, salt and baking powder.
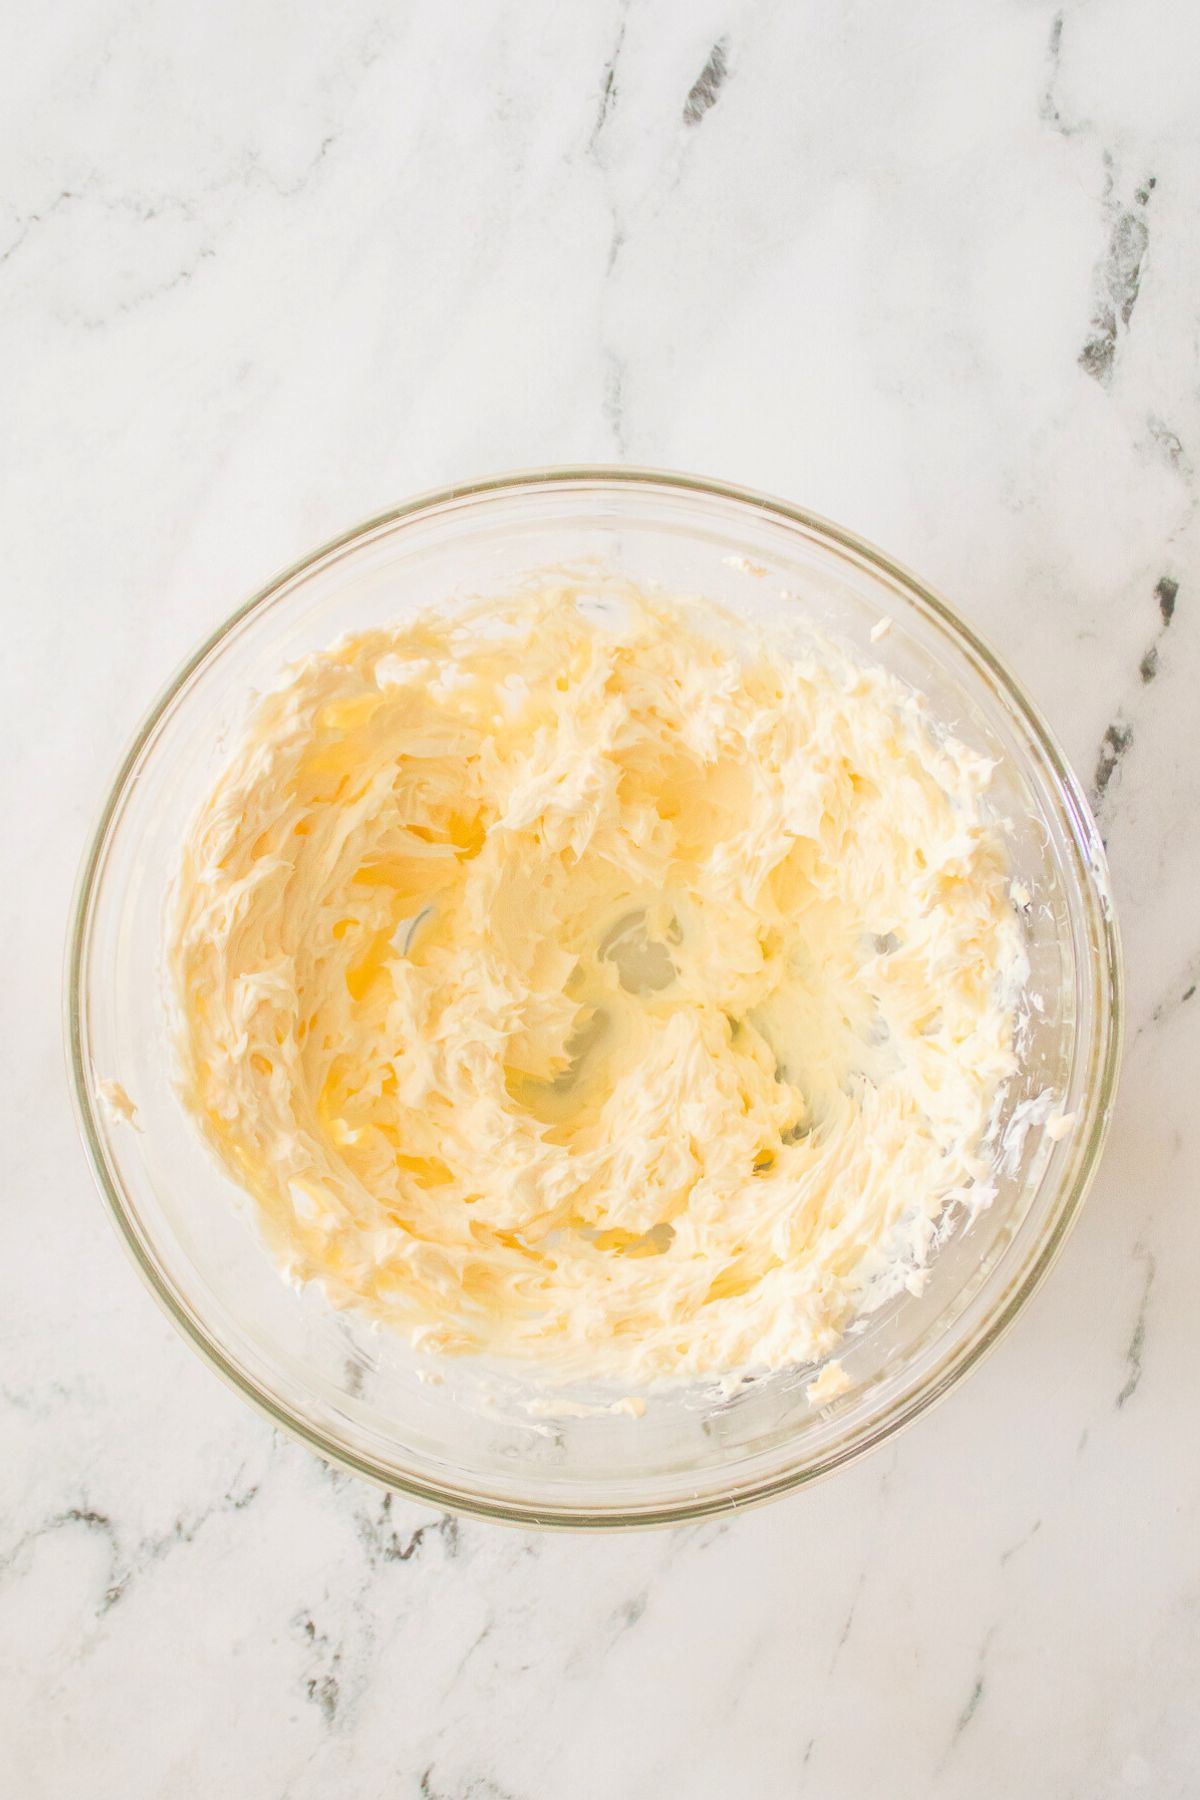
STEP 3. Using another large bowl, cream together the butter and sugar until light and creamy. Next, add in the eggs, vanilla extract and red food coloring. Mix until well combined.
STEP 4. Carefully add in the flour mixture to the wet ingredients until a soft dough forms.
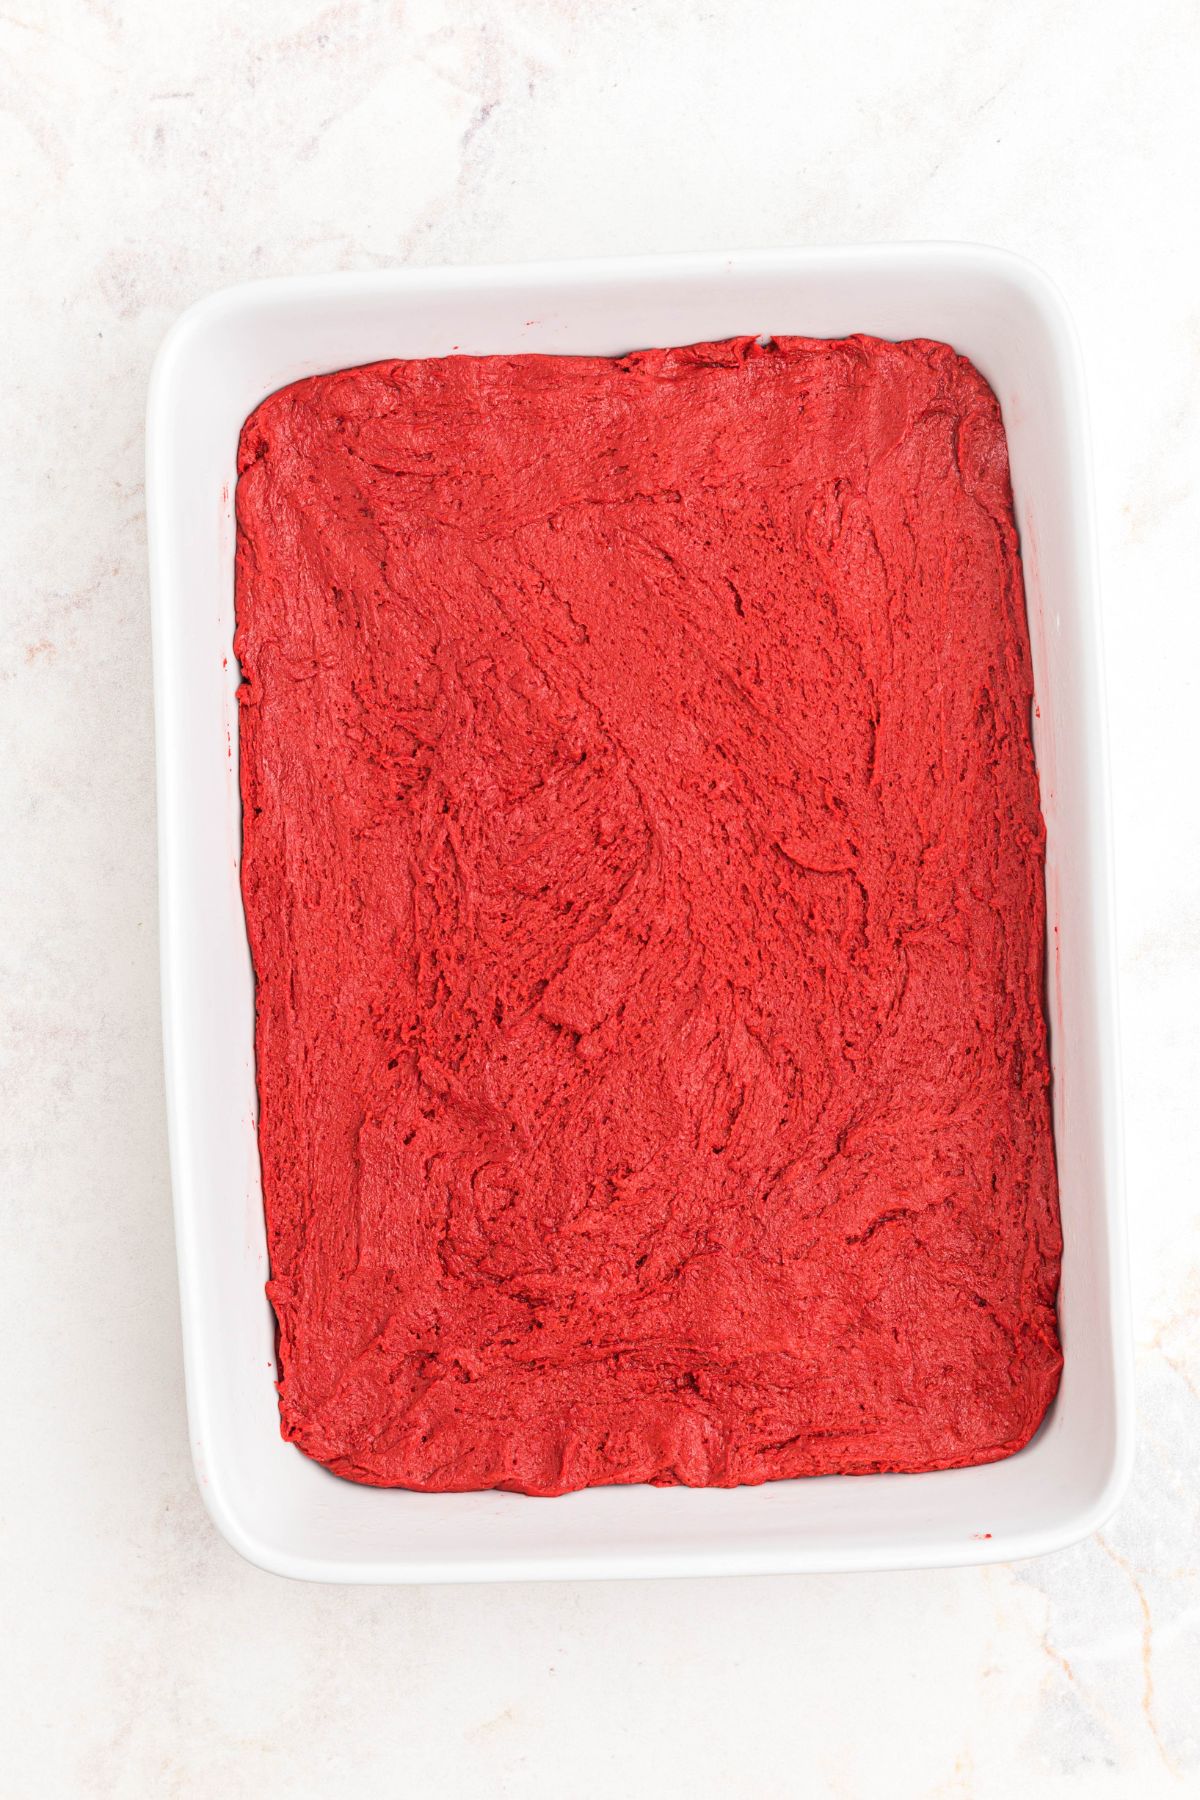
STEP 5. Transfer the batter into the bottom of the baking dish and spread it evenly. Bake for 20-25 minutes, until when a toothpick inserted into the middle of the center comes out clean. Allow to cool completely before frosting.
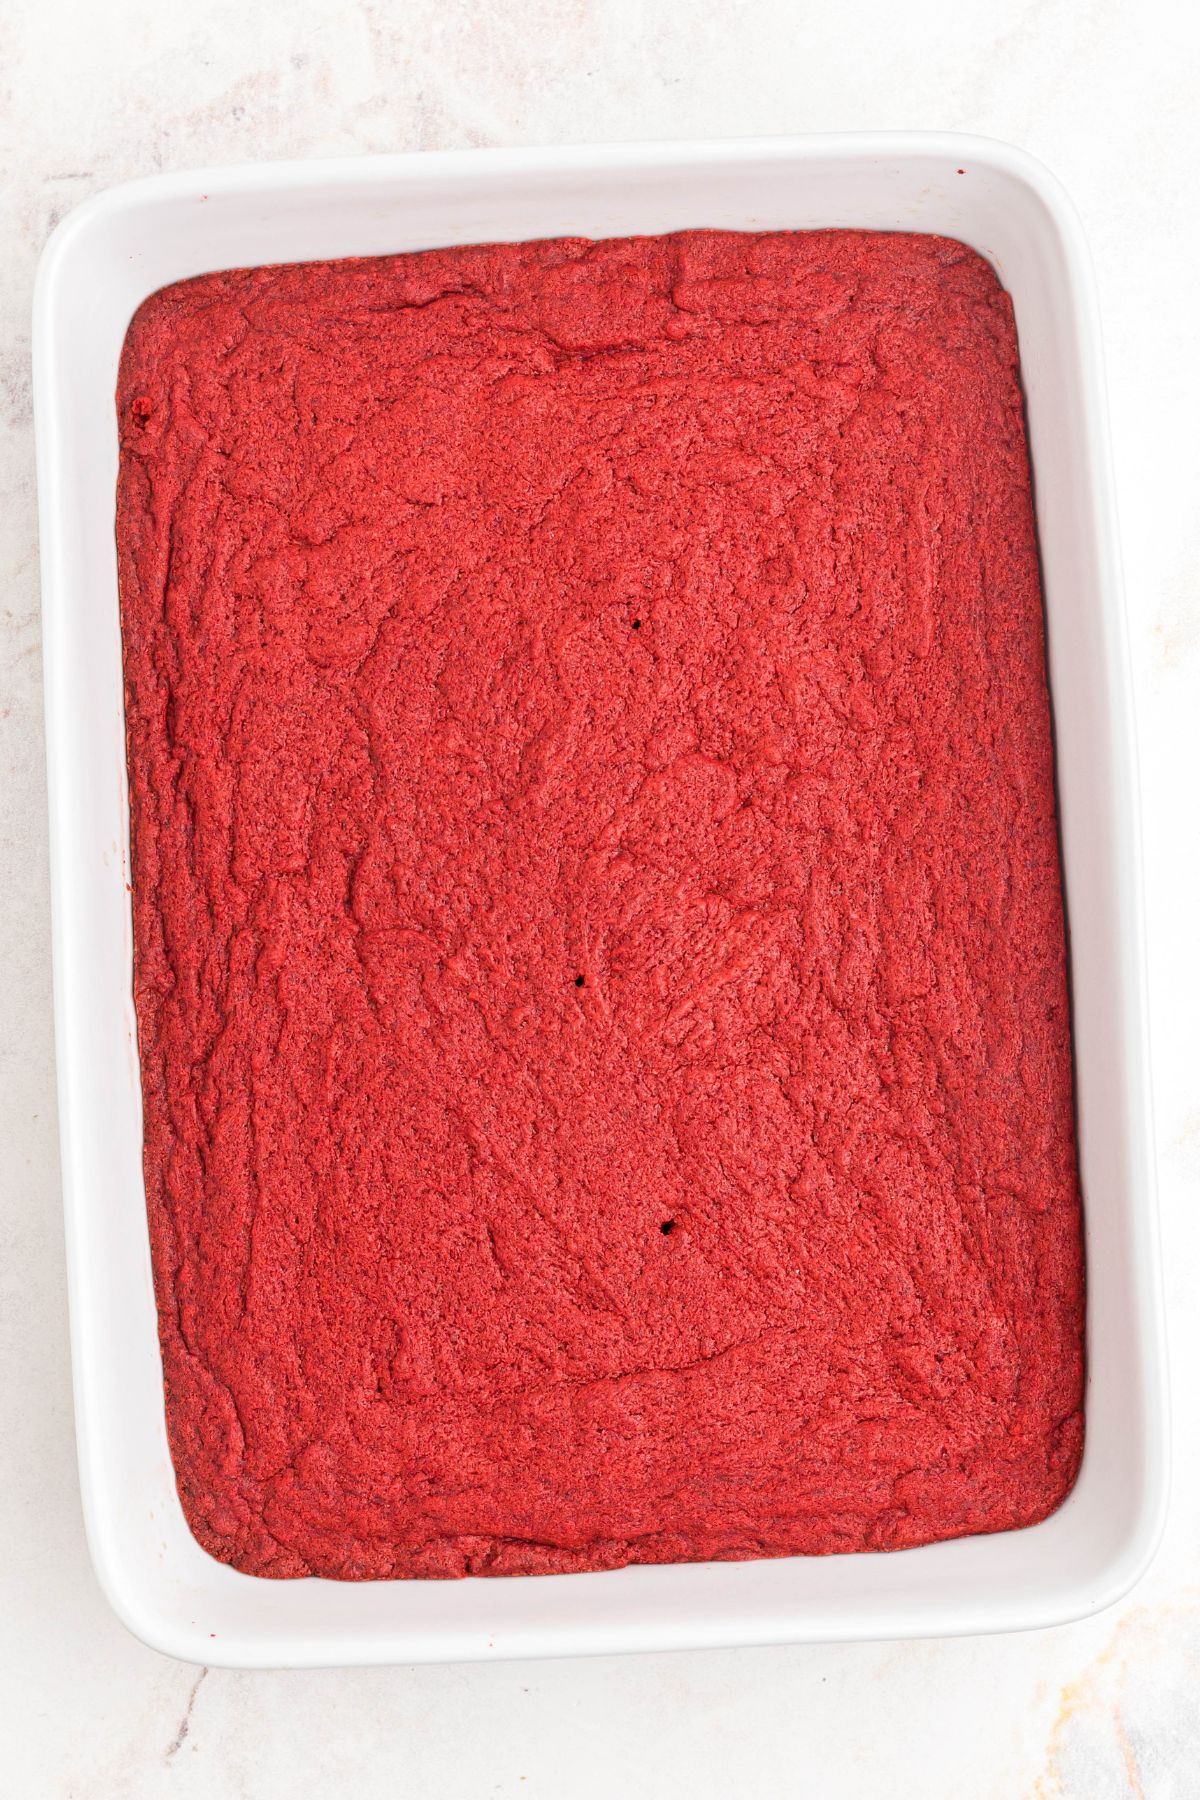
STEP 6. While dish is cooling, begin making the cream cheese frosting. Add the cream cheese and butter together, and beat on medium speed until smooth. Add in the vanilla and powdered sugar, continually beating until it’s smooth and creamy.
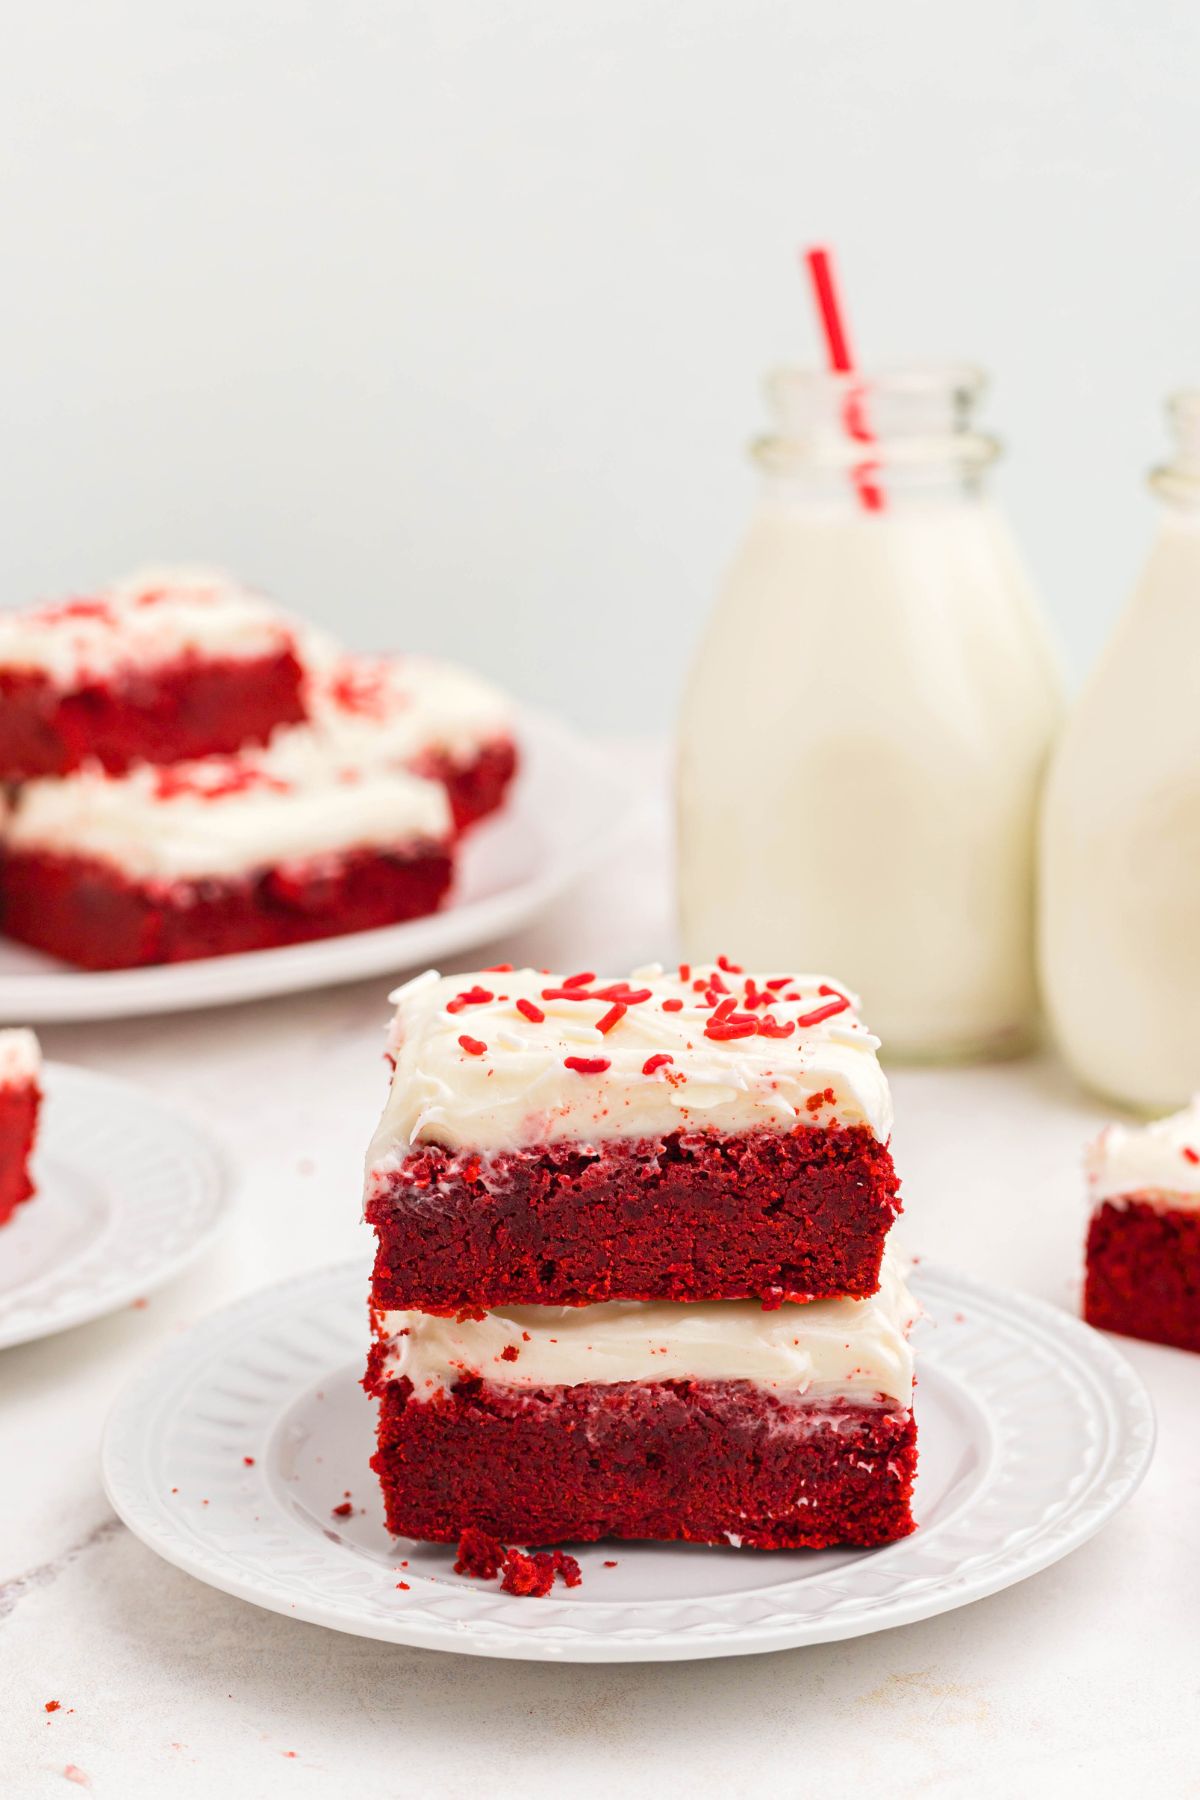
STEP 7. Top the cooled bars with frosting and enjoy! Add sprinkles if desired.
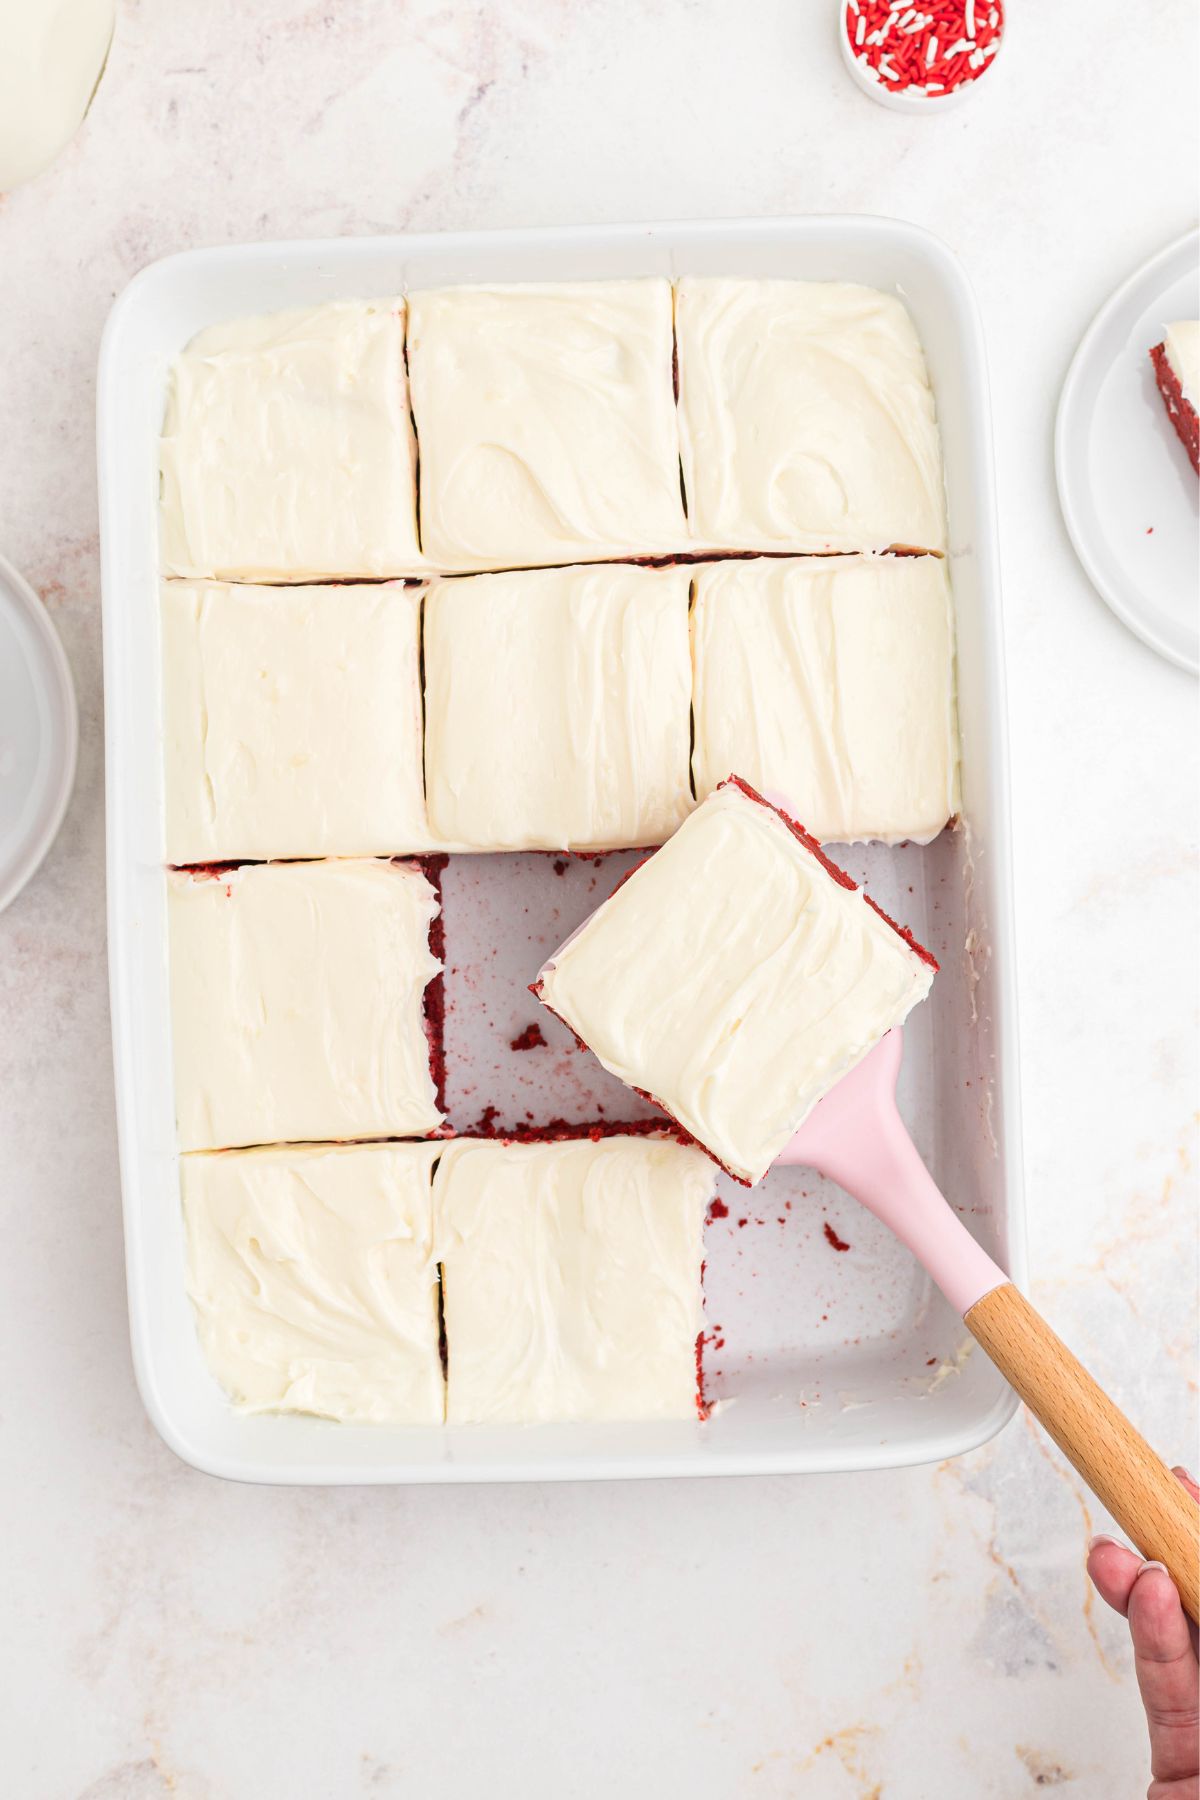
NOTE: After you place the frosting on top of the bars you can choose to refrigerate before slicing. Using a sharp knife into between cuts will allow for a nice clean cut, making it easy to lift out with a spatula.
Tips
- Food Coloring: Gel food coloring works best for a vibrant red color without thinning the dough.
- Room Temperature Ingredients: Softened butter and room temperature cream cheese will keep the frosting smooth. If the cream cheese is too cold, you might get small chunks in the frosting.
- Make the Bars Festive: Add holiday sprinkles for Christmas or Valentines Day, or pick fun colors of sprinkles to match a party theme.
Variations
- Add Mix Ins: Stir a 1/2 cup of white chocolate chips or holiday themed candies for extra fun.
- Christmas Bars: Sprinkle crushed candy canes, Christmas sprinkles, or red and green M and M’s on top of the frosting.
FAQ’S
Absolutely! While cream cheese frosting pairs perfectly with red velvet everything, you can use buttercream frosting, chocolate frosting, or leave the frosting off.
Red velvet is really a chocolate base with red coloring added. You can make this recipe without the food coloring, but it won’t have the bright red color.
Store them in an airtight container at room temperature for up to 3 days or in the refrigerator for up to a week. For longer storage, leave them unfrosted and freeze them for up to 3 months.
More Dessert Recipes
Red Velvet Bars
Equipment
- Large Mixing Bowl
- Medium Bowl
- 9×13 pan
- Mixer
Ingredients
- 2 1/2 cups all purpose flour
- 1/4 cup unsweetened cocoa powder
- 1 teaspoon baking powder
- 1/2 teaspoon salt
- 1 cup unsalted butter, room temperature
- 1/2 cup granulated sugar
- 2 large eggs, room temperature
- 2 teaspoons vanilla
- 2 teaspoons red gel food coloring
Cream Cheese Frosting
- 8 ounces cream cheese, room temperature
- 1/2 cup butter, room temperature
- 2 cups powdered sugar
- 1/2 teaspoon vanilla
Instructions
- Preheat the oven to 350 degrees F. Lightly spray a 9×13 inch pan or baking dish with non-stick cooking spray. Then set the pan aside.
- In a medium bowl, combine the dry ingredients of flour, cocoa powder, salt and baking powder.
- In a large mixing bowl, beat together the butter and sugar, until light and creamy. Then add in the eggs vanilla extract and red food coloring. Continue mixing until well combined.
- Transfer the batter into the bottom of the baking dish and spread it evenly. Bake for 20-25 minutes until when a toothpick inserted into the middle of the center comes out clean. Allow to cool completely before frosting.
- As the bars are cooling make the cream cheese frosting. Add the cream cheese and butter together, and beat on medium speed until smooth. Add in the vanilla and powdered sugar, continually beating until it's smooth and creamy.
- Top the cooled bars with frosting and enjoy! Add sprinkles if desired.
Notes
Nutrition
Nutrition information is automatically calculated, so should only be used as an approximation.


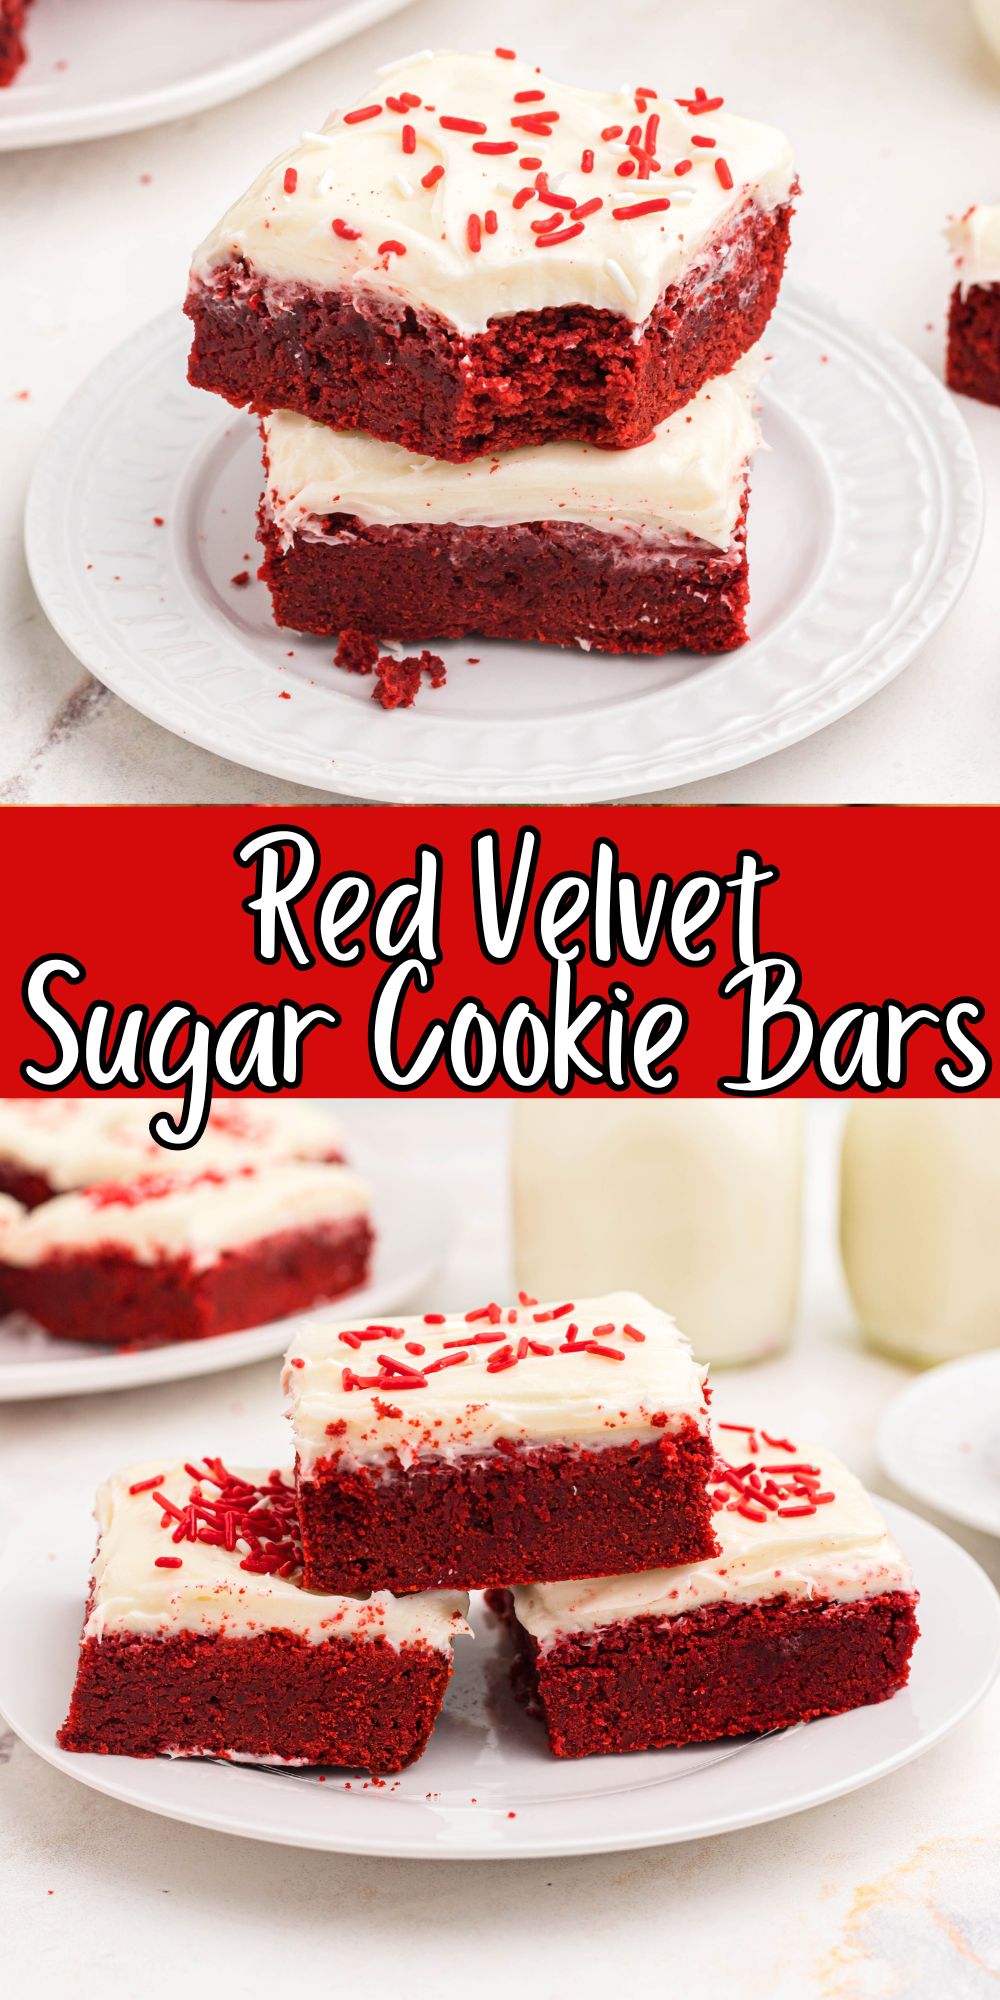


These bars are such a pretty red, and are delicious cookie bars.