
This post contains affiliate links. Please see our disclosure policy.
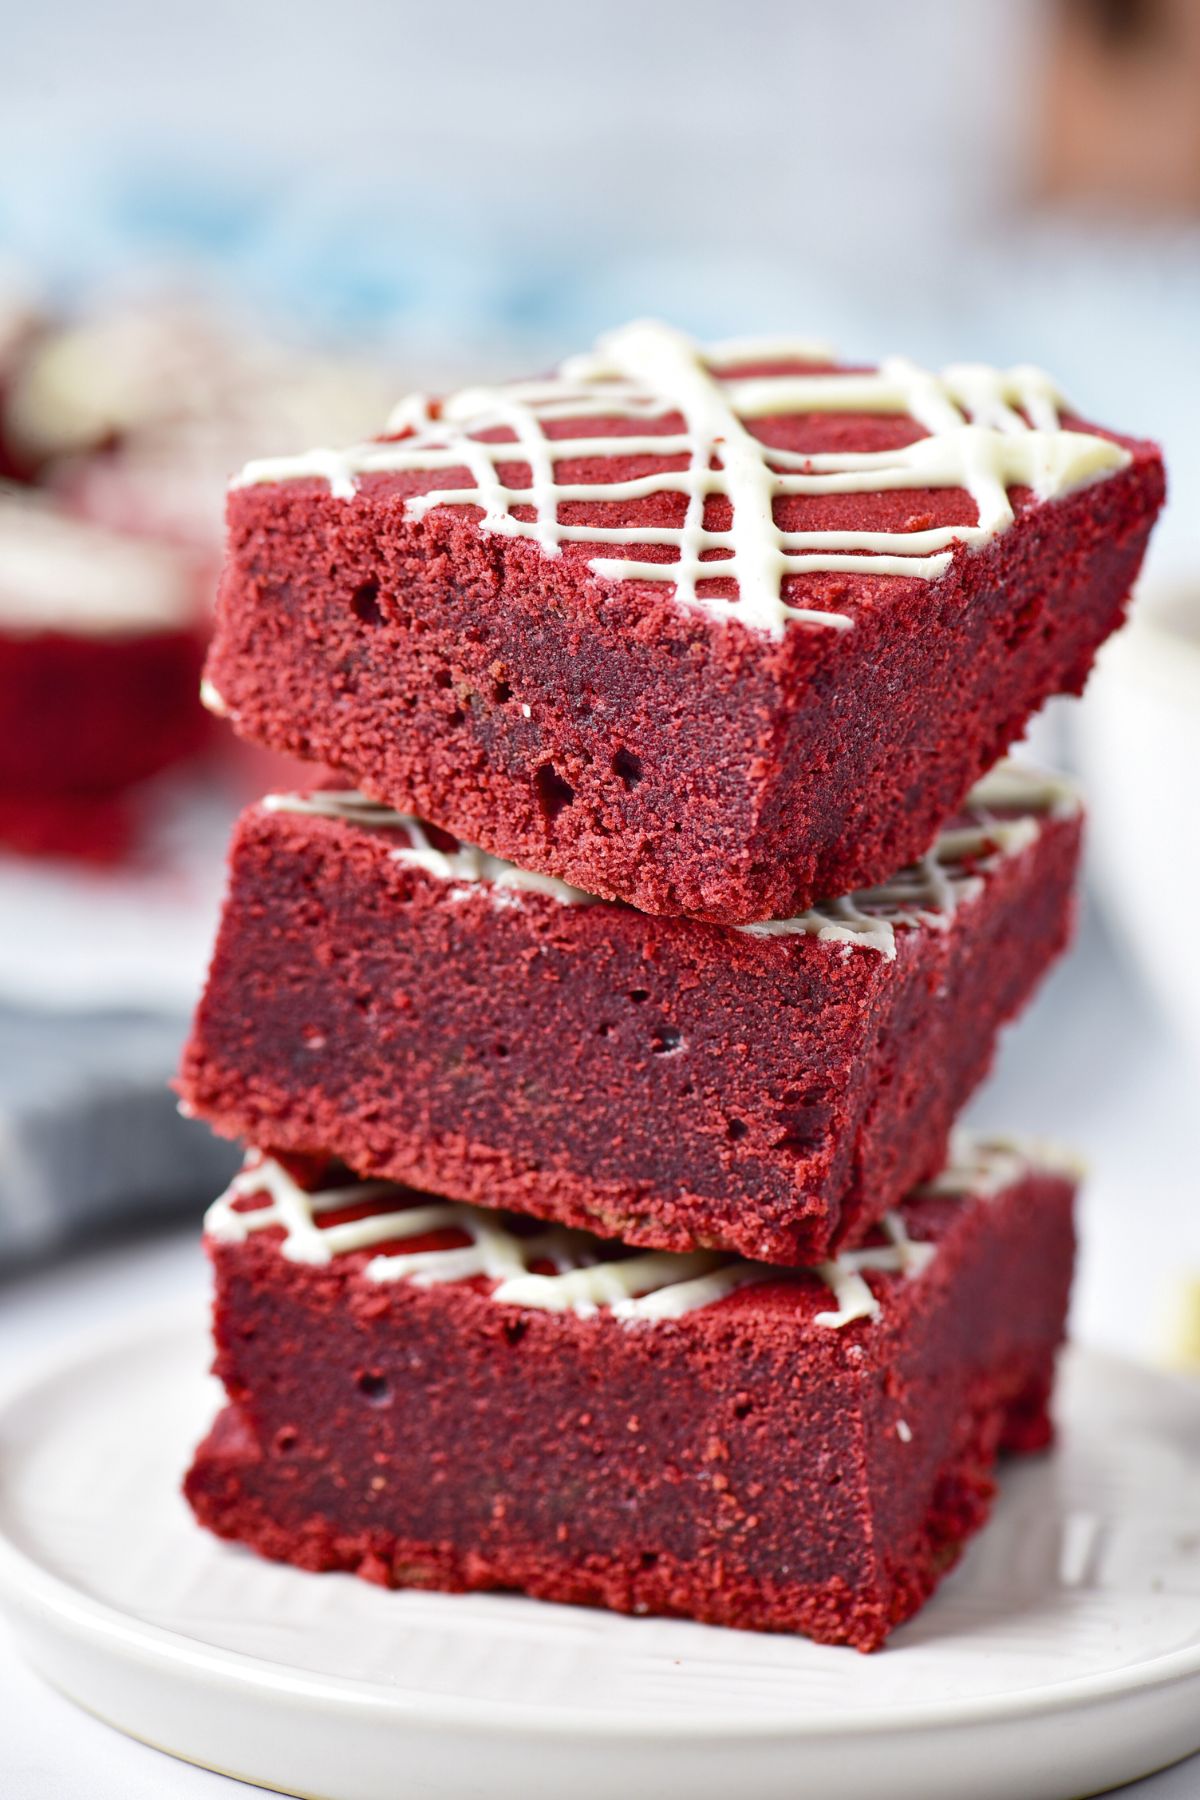
Every time I make these red velvet brownies, they disappear in no time. With their rich, fudgy texture and vibrant color, they’re always a crowd favorite and the perfect treat for any occasion.
Easy Red Velvet Brownies Recipe
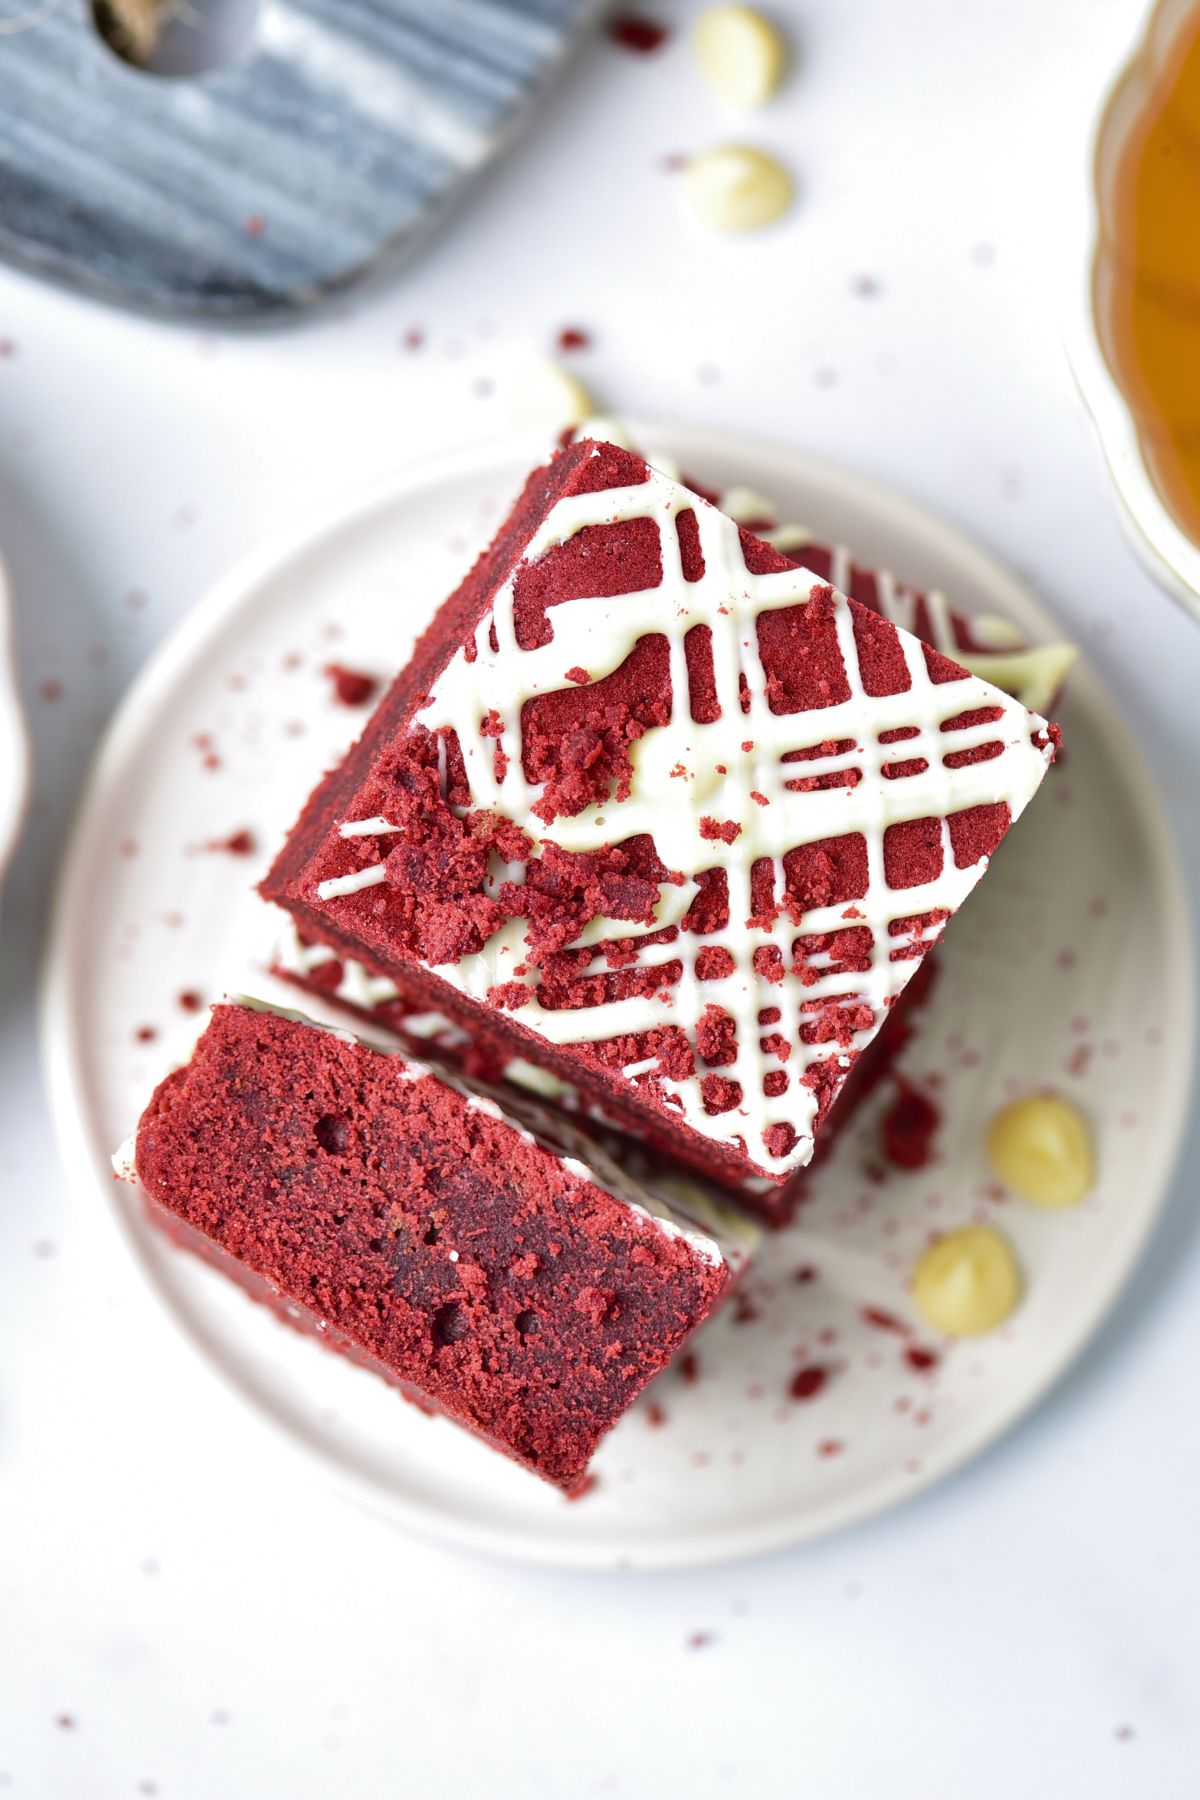
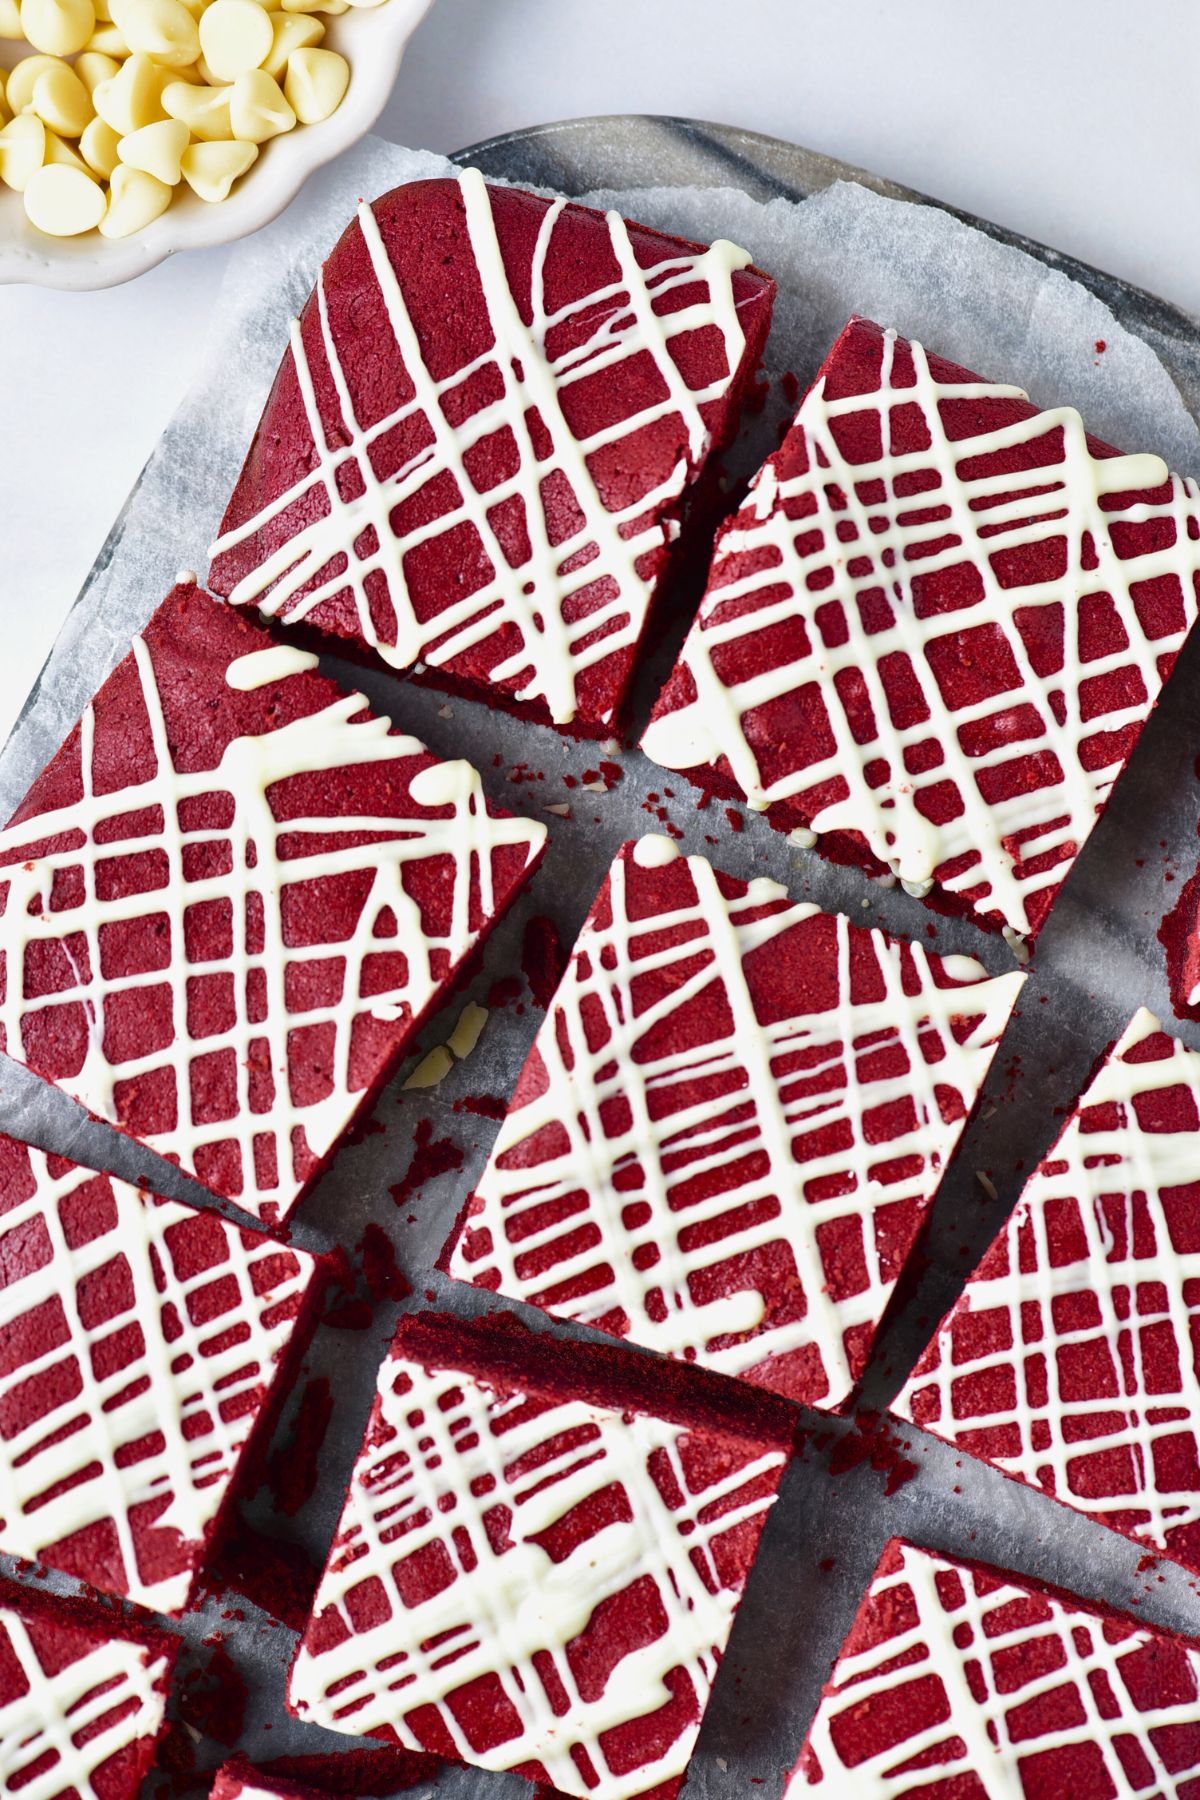
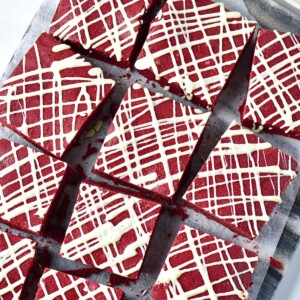
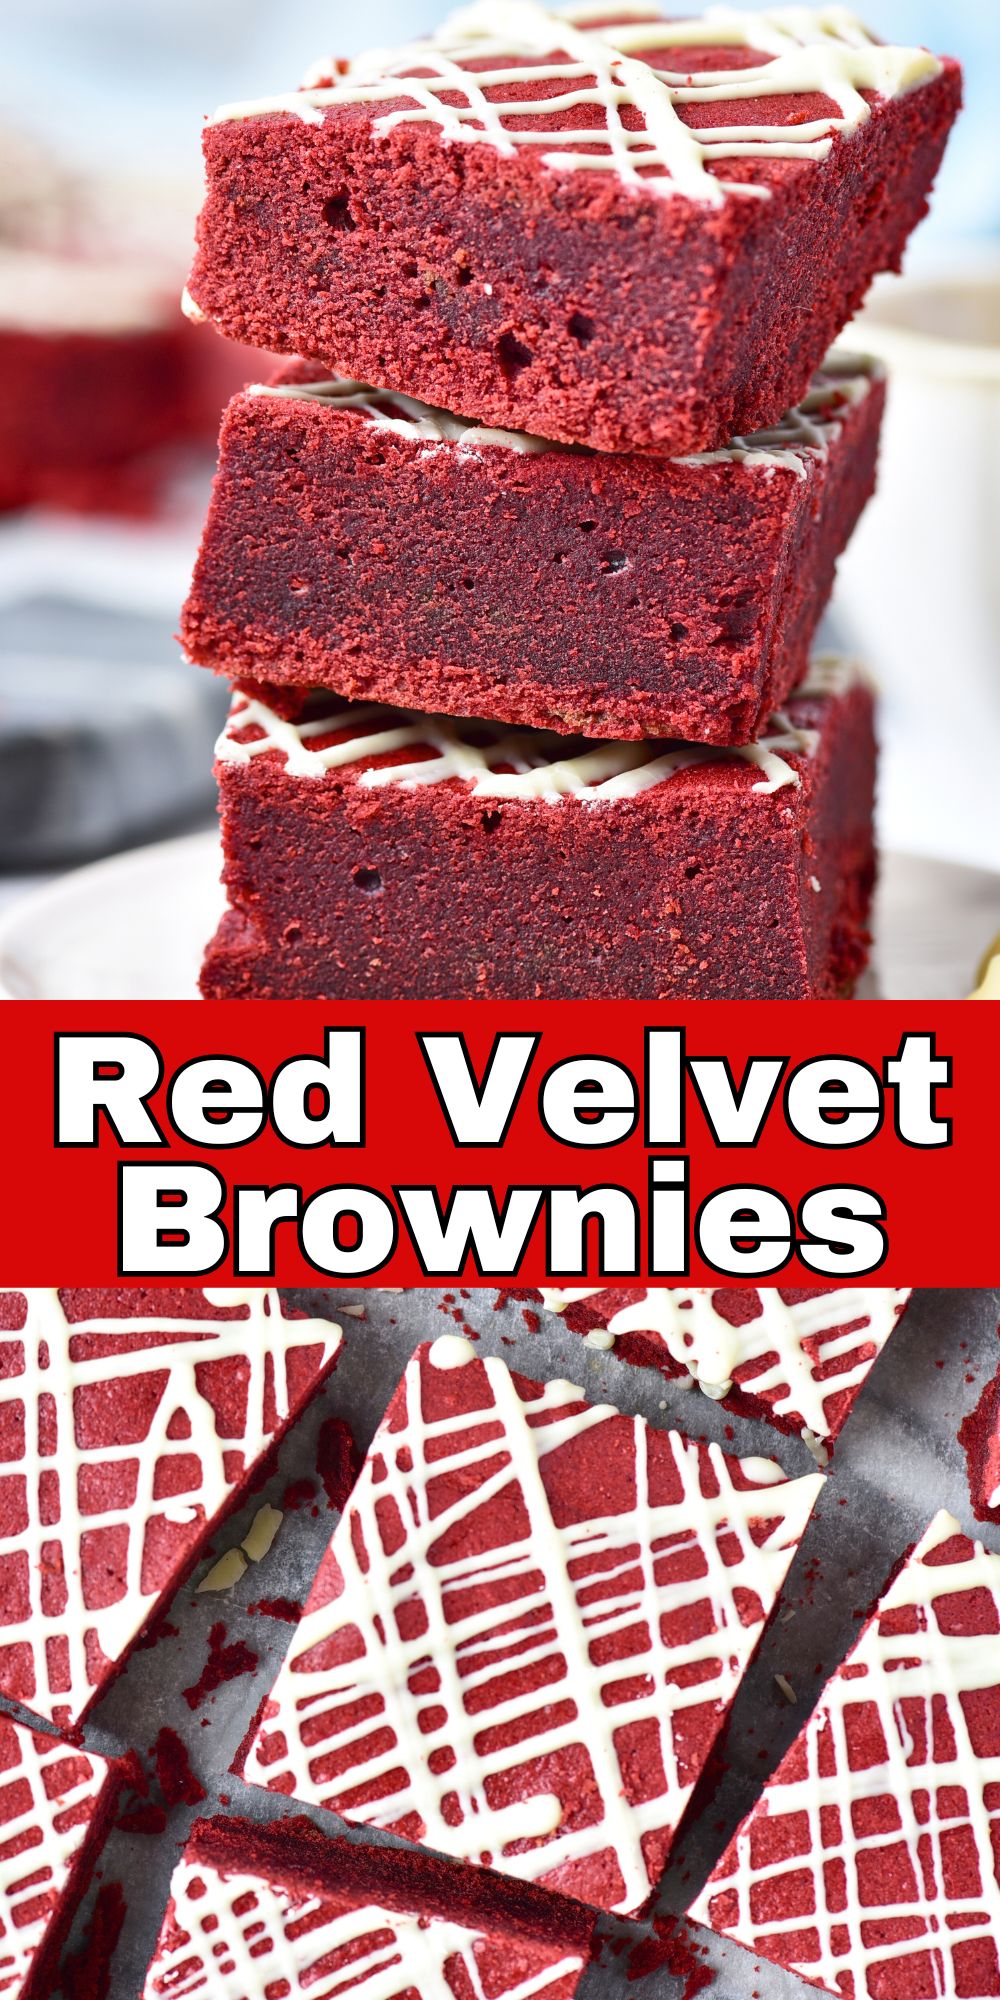
These red velvet brownies combine the delicious flavor of red velvet cake with the fudgy richness of brownies. This recipe takes it even further with a drizzle of melted white chocolate on top. The color is such a vibrant red, so they are as stunning as they are delicious.
These brownies are pretty simple to make too! They are great for potlucks, Valentine’s Day, Christmas, or just as a decadent dessert. I like to top them with a scoop of ice cream for an extra special dessert. But even plain, trust me, you are going to love these brownies.
Ingredients You Will Need
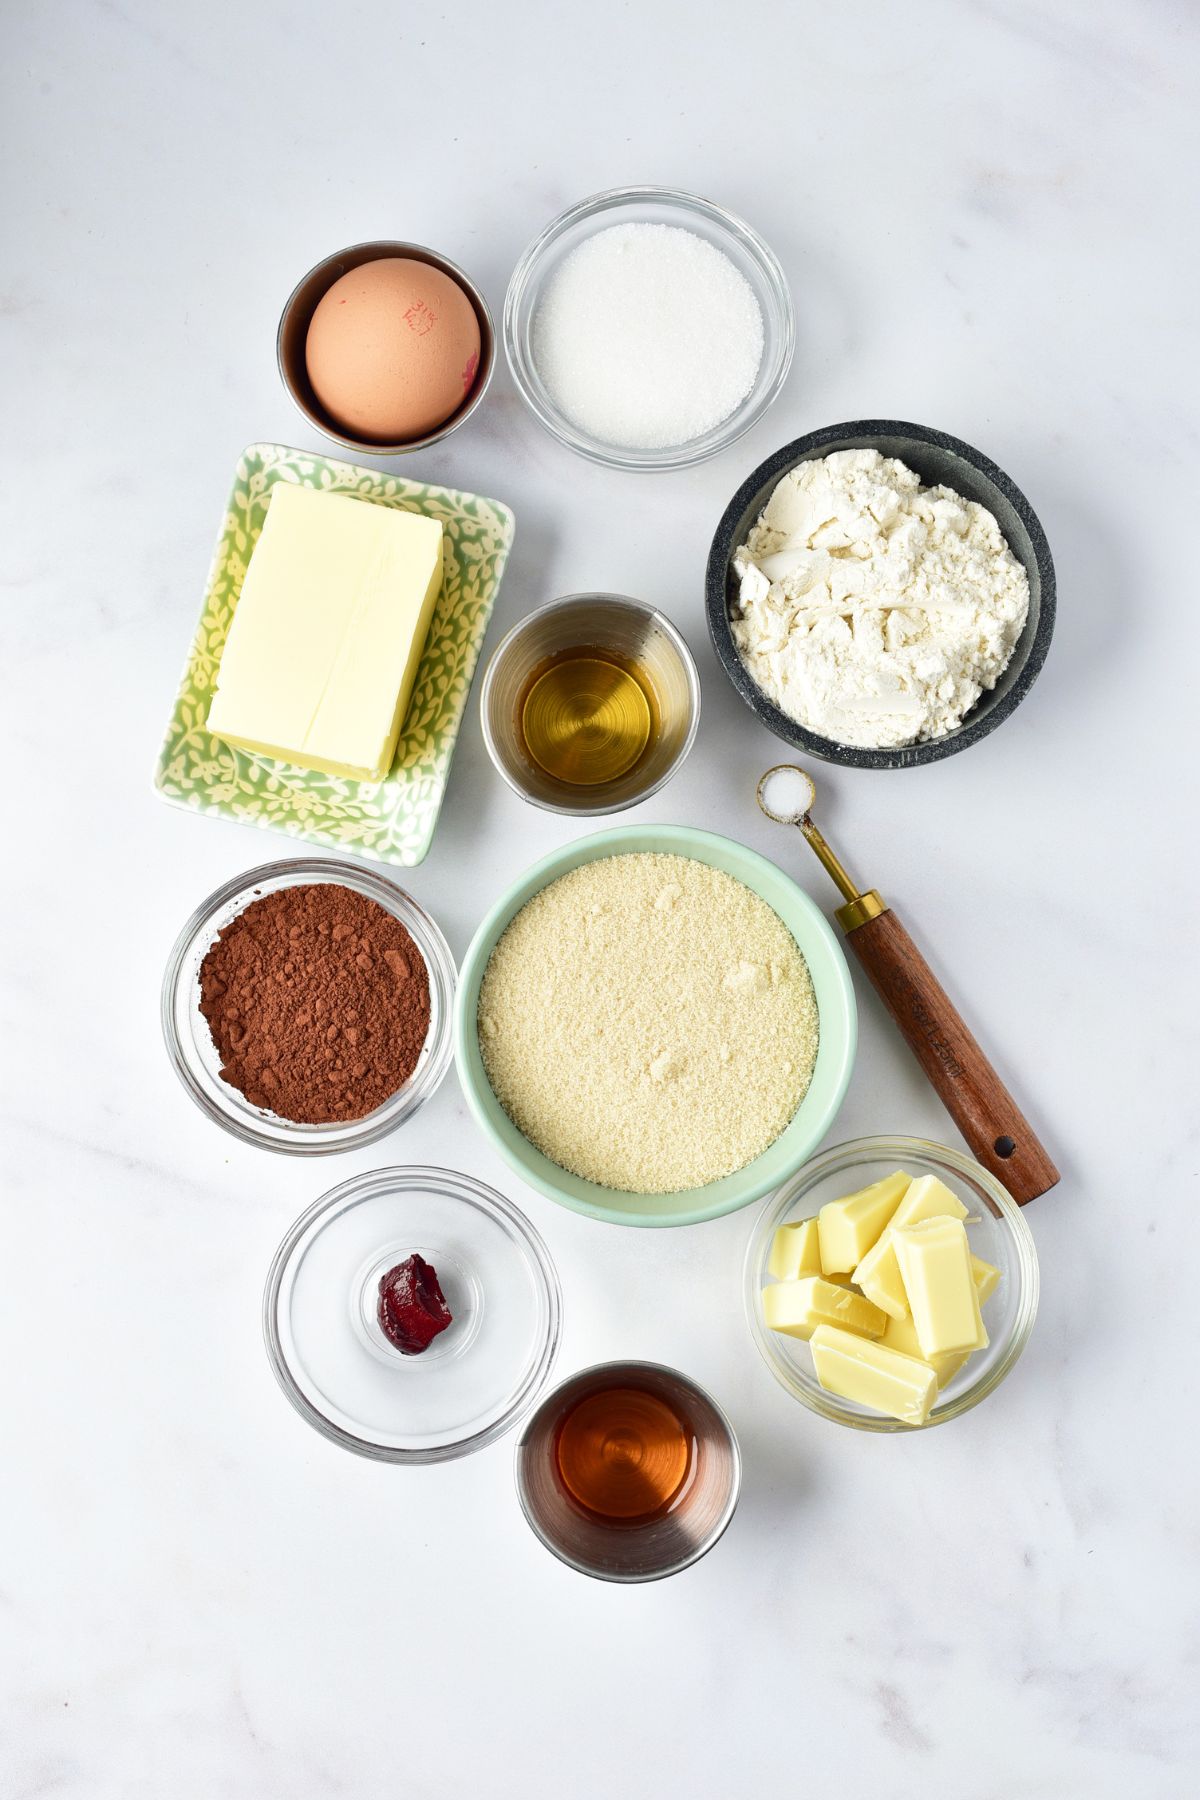
- melted unsalted butter: Adds richness and keeps the brownies moist.
- light brown sugar: Contributes a deeper, caramel-like sweetness.
- granulated sugar: Adds the sweetness to the recipe.
- cocoa powder: Provides the rich chocolate flavor.
- large eggs: Adds structure and richness to the batter.
- vanilla extract: Enhances the flavor of the brownies.
- red gel food coloring: Gives the brownies their pretty red coloring.
- all purpose flour: Just enough to hold everything together.
- kosher salt: Balances the sweetness.
- white vinegar: Acts as a leavening agent and will help the brownies rise.
- white chocolate: For drizzling over the brownies.
Variations
- Include chocolate chips: Fold in white chocolate chips, dark or semi-sweet chocolate chips for extra indulgence.
- Skip the food coloring: Omit the red food coloring for classic cocoa brownies.
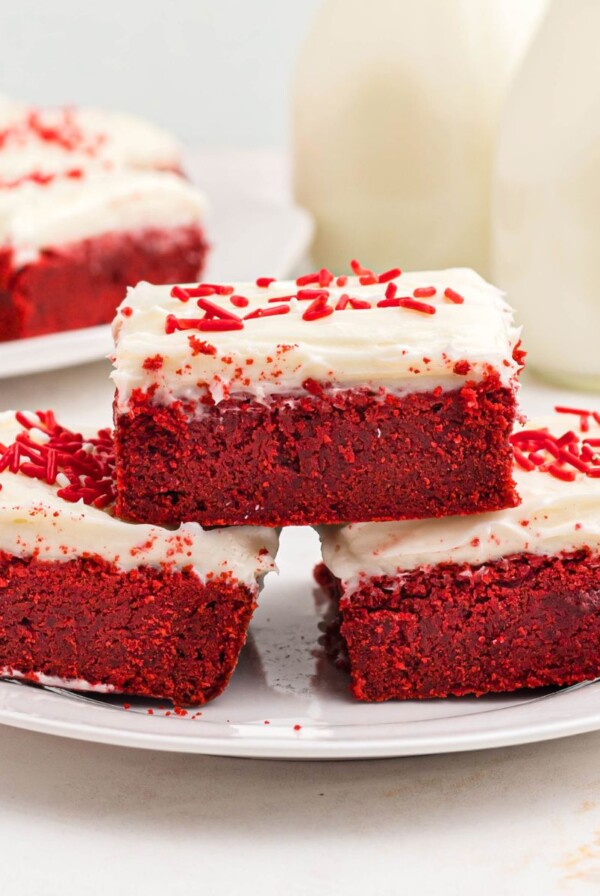
- Frost the brownies: If you want a richer, more dessert like brownie, completely frost the top with cream cheese frosting.
- Drizzle with dark or milk chocolate: For a richer chocolate flavor, melt chocolate or almond bark and drizzle over the brownies.
- Top with sprinkles: Add festive sprinkles to the melted white chocolate for a fun touch.
- Add nuts: Fold in chopped pecans or walnuts for a crunchy texture.
How to Make Red Velvet Brownies
STEP 1: Preheat the oven to 350 degrees F and grease a 9×13 baking dish, then set aside.
STEP 2: In a large bowl, combine the melted butter, brown sugar, white sugar, and cocoa powder.
STEP 3: Stir in the vanilla extract, vinegar, and eggs until the mixture is smooth and well blended.
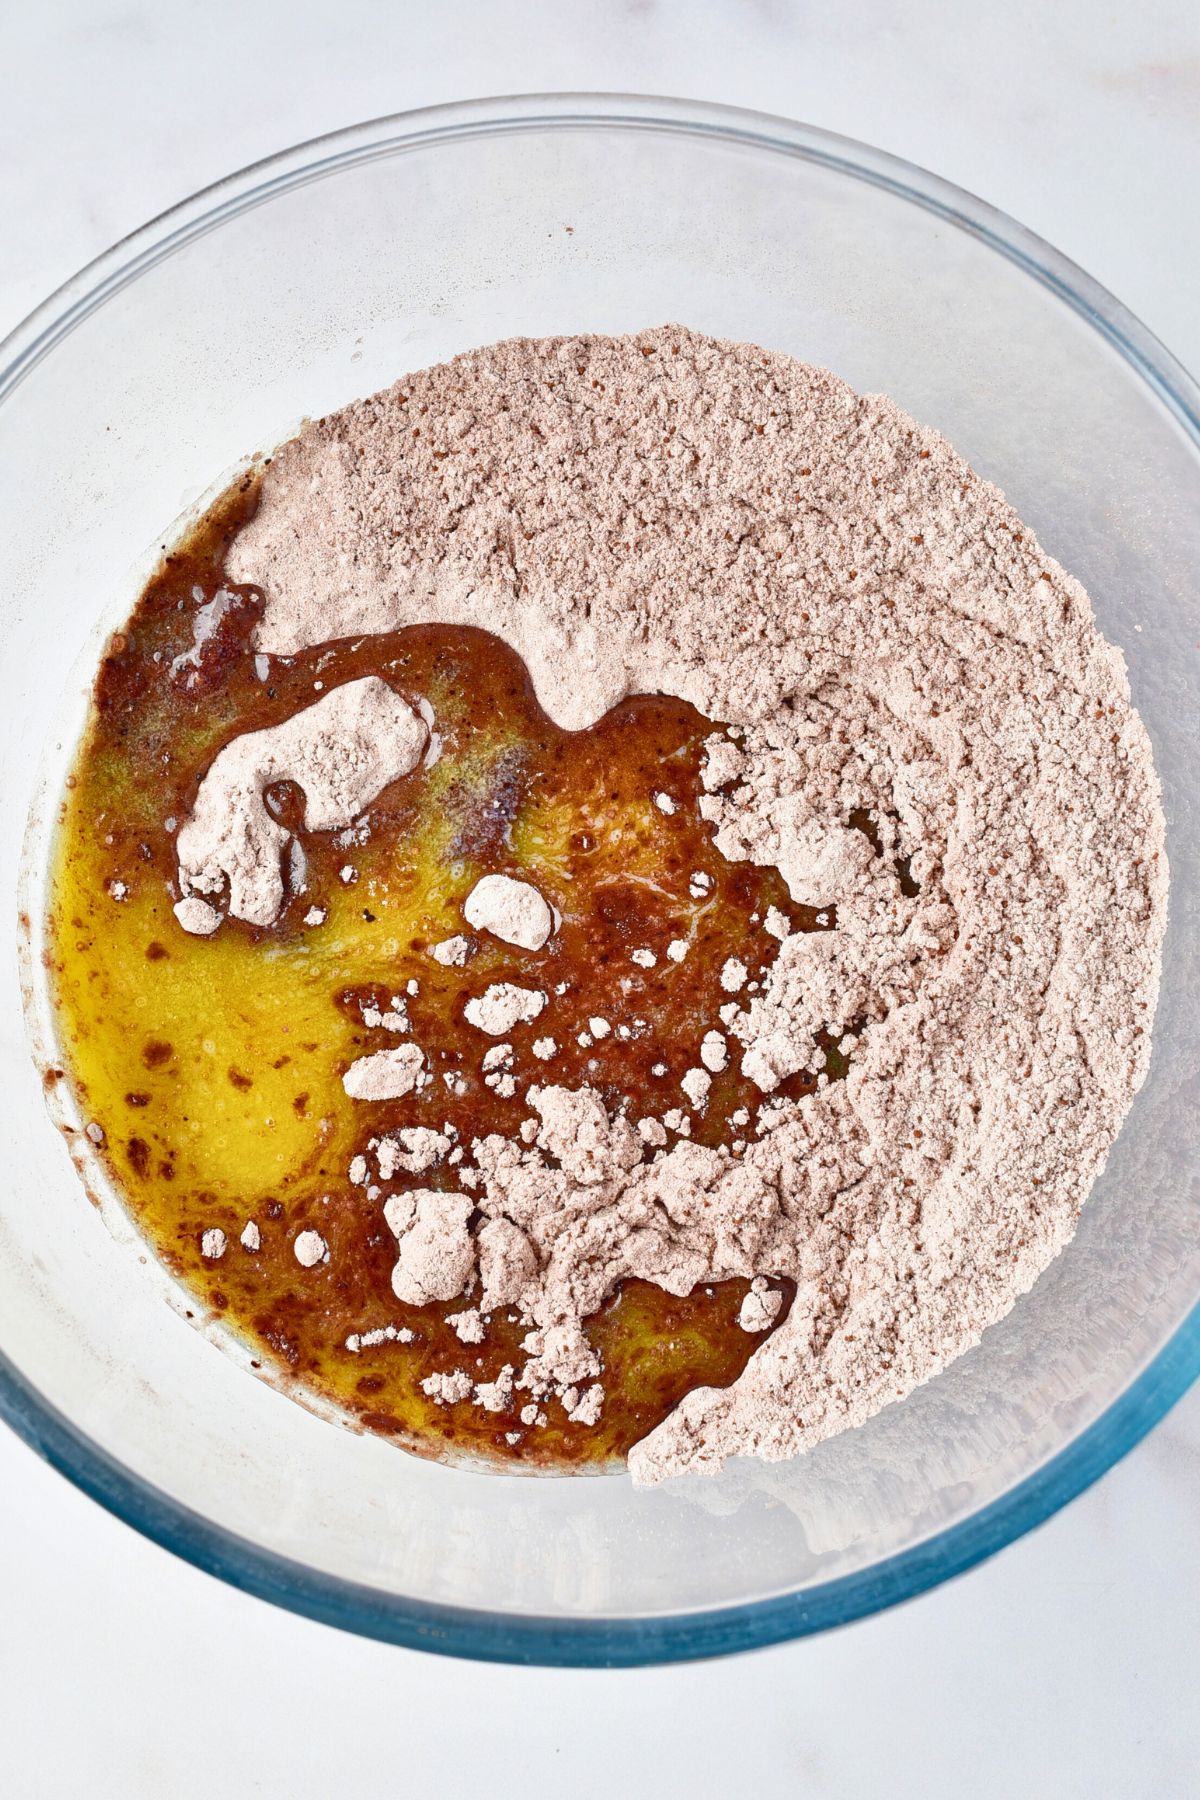
STEP 4: Gradually mix in the flour and salt until just combined.
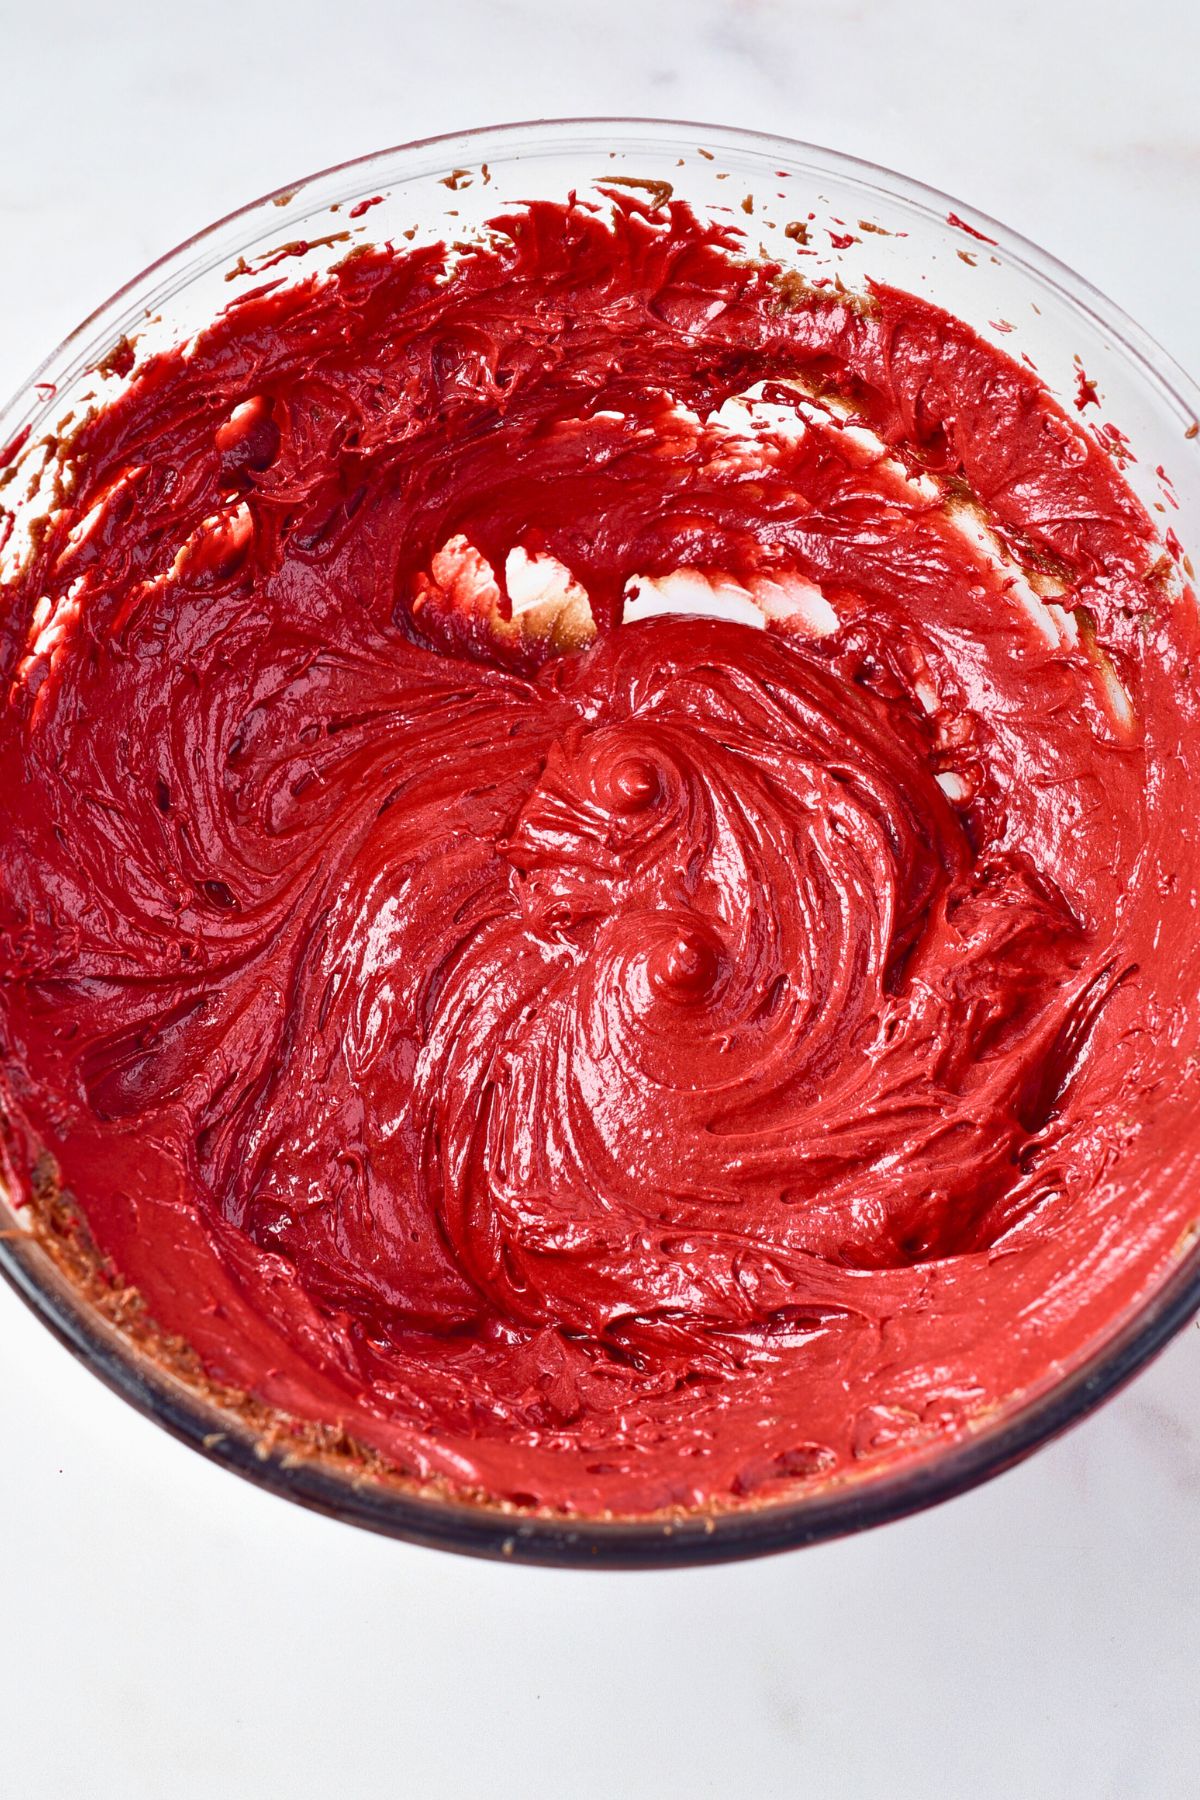
STEP 5: Add the red food coloring and stir until fully incorporated and the batter has a rich red color. Be careful not to overmix.
STEP 6: Pour the brownie batter into the prepared baking dish and spread it evenly. Bake for 20-23 minutes, or until a toothpick inserted into the center comes out clean. Let the brownies cool in the baking dish for about 20 minutes.
STEP 7: Once the brownies have cooled, melt the white chocolate in the microwave in 30 second intervals, stirring between each interval. Then drizzle the melted chocolate over the cooled brownies and let it set for 10-15 minutes, until it hardens.
STEP 8: Use a sharp knife and cut the brownies into squares and serve.
Tips for Making the Best Red Velvet Brownies
- Don’t overbake: Check the brownies a couple of minutes early to keep them fudgy.
- Cool completely before slicing: If the brownies are still warm when you drizzle melted chocolate on top, it won’t harden as quickly. Cool brownies are also easier to cut into clean, even squares.
- Adjust food coloring: If your red isn’t dark or vibrant enough, just add a drop of food coloring at a time until you get the bright red appearance.
- Use gel food coloring: Gel will give the best color and won’t change the taste of the brownies. I’ve found that liquid food coloring can sometimes have an aftertaste, so if you do use it, try to use it sparingly.
FAQ’s
If you do have leftovers, store them in an airtight container at room temperature for up to 3 days or in the refrigerator for up to a week.
Yes! Wrap them tightly in plastic wrap and aluminum foil, in layers separated by parchment paper so they don’t stick together. Then freeze for up to 3 months. Thaw at room temperature before serving.
Absolutely! Bake the brownies the day before, drizzle the chocolate, and store them covered until ready to serve.
An 9×13 inch baking dish works perfectly for this recipe, but you can adjust based on the thickness you prefer. Just keep an eye on the baking time.
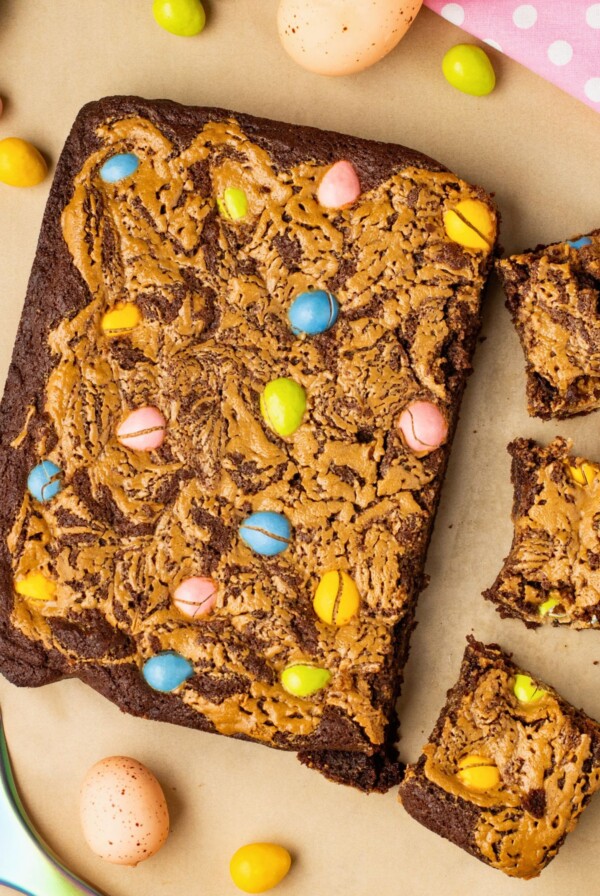
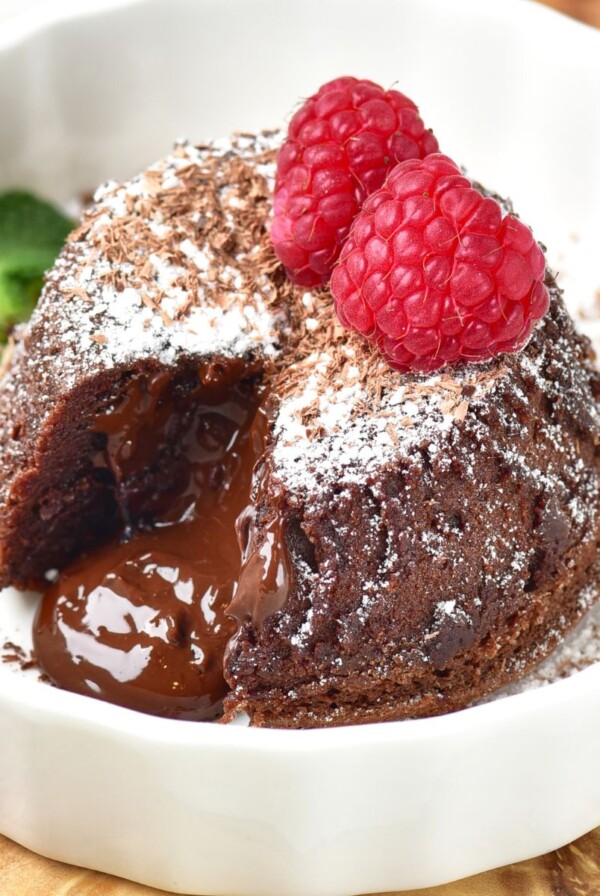
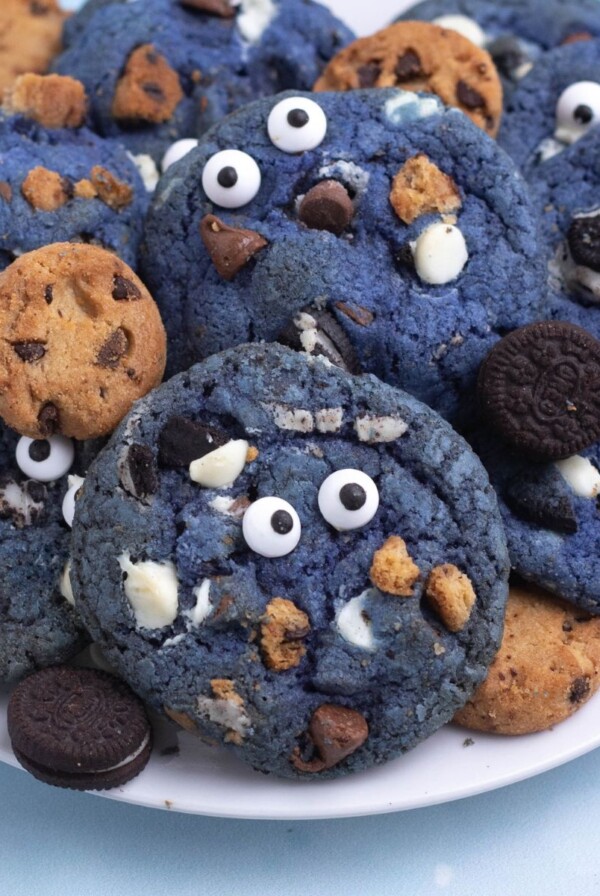
More Easy Dessert Recipes

Red Velvet Brownies
Equipment
- Large Bowl
- 9×13 Baking Dish
Ingredients
- 1 cup unsalted butter, melted
- 1 cup light brown sugar
- 1/2 cup granulated sugar
- 3 tablespoons cocoa powder
- 2 large eggs
- 2 teaspoon vanilla extract
- 1 teaspoon gel food coloring
- 1 1/2 cups all purpose flour
- 1/4 teaspoon salt
- 1 tablespoon white vinegar
- 2 ounces white chocolate , for drizzling on top
Instructions
- Preheat the oven to 350 degrees F and grease a 9×13 baking dish, then set aside.
- In a large bowl, combine the melted butter, brown sugar, granulated sugar, and cocoa powder.
- Stir in the vanilla extract, vinegar, and eggs until the mixture is smooth and well blended.
- Gradually mix in the flour and salt until just combined.
- Add the red food coloring and stir until fully incorporated and the batter has a rich red color. Be careful not to overmix.
- Pour the brownie batter into the prepared baking dish and spread it evenly. Bake for 20-23 minutes, or until a toothpick inserted into the center comes out clean. Let the brownies cool in the baking dish for about 20 minutes.
- Melt the white chocolate in the microwave in 30 second intervals, stirring between each interval. Drizzle the melted chocolate over the cooled brownies and let it set for 10-15 minutes, until it hardens.
- Use a sharp knife and cut the brownies into squares and serve.
Notes
- For clean even squares, allow the brownies to cool completely before cutting.
- Using gel food coloring will give the best color and won’t change the taste of the brownies. Adjust with a few drops as needed to get the vibrant red color.
Nutrition
Nutrition information is automatically calculated, so should only be used as an approximation.


Red velvet anything is amazing! I love these!