

This post contains affiliate links. Please see our disclosure policy.
These Grinch Oreo Balls are an easy no-bake Christmas treat that’s perfect for holiday parties, cookie exchanges, and festive dessert trays. Made with Oreo cookies, cream cheese, green candy melts, and a tiny red heart sprinkle, they’re as fun to make as they are to eat.

“These are the cutest little treats you can bring to a party! And they are so easy to make too!”
-Becky
Why You’ll Love This Recipe
I love making these Grinch Oreo balls every Christmas because they’re one of those treats that always make people smile. They’re fun, festive, and the rich, creamy Oreo filling disappears almost as quickly as you can set them on the dessert table.
- No-bake Christmas dessert
- Rich and creamy Oreo filling
- Perfect for holiday parties and cookie exchanges
- Fun to make with kids
- Great for gifting to teachers, neighbors, and friends
- Easy to make ahead for the holidays.
Table of Contents
If you’re looking for more easy Christmas desserts, be sure to try some of our favorite holiday treats, like these crispy Meringue Christmas Trees, or soft Snowball Cookies and creamy Eggnog Christmas Cupcakes. Along with these Bugle Elf Hats and Christmas Sugar Cookie Bars, they’re simple to make, festive enough for parties, and perfect for sharing with family and friends throughout the season.
Ingredients You Will Need
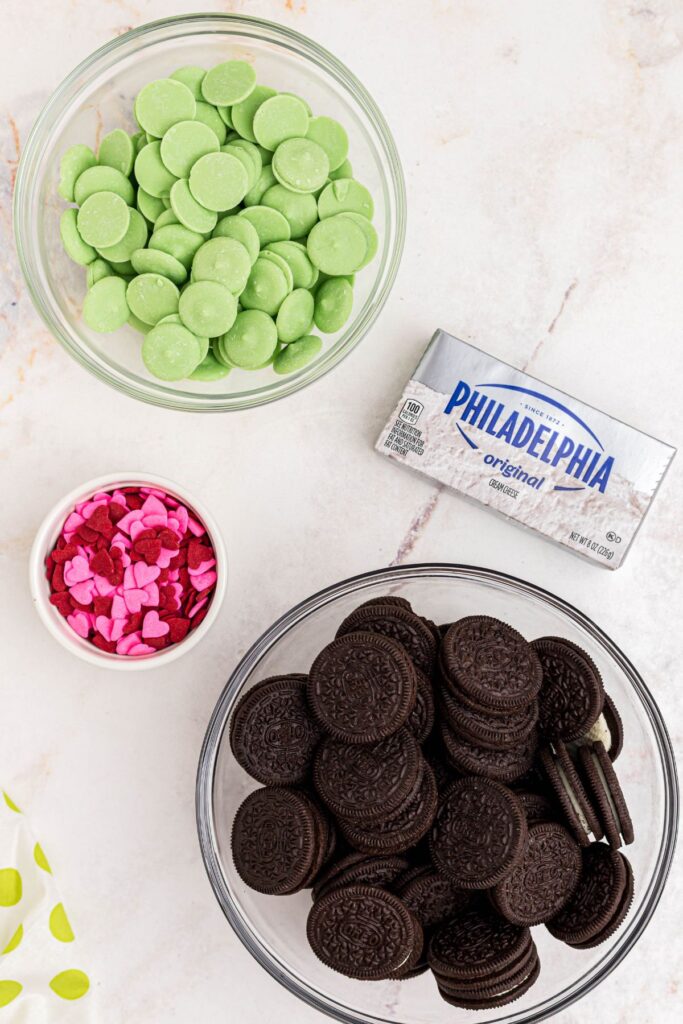
- Oreos: Regular Oreos work best because the filling helps bind everything together. Double Stuf can make the mixture too soft.
- Cream Cheese: Use full-fat cream cheese and let it soften before mixing so it blends smoothly.
- Green Candy Melts:Light green gives the classic Grinch look. White candy melts with green oil-based coloring also work well.
- Red or Pink Candy Hearts: These sprinkles can be found in cake decorating section, or just find candy hearts!
The full list of ingredients and step-by-step instructions can be found in the recipe card below.
Variations
Here are a few easy ways to customize these Grinch Oreo Balls for your holiday celebrations.
- Use Different Oreo Flavors: Classic Oreos give these truffles their signature chocolate flavor, but you can also try Golden Oreos, Mint Oreos, or Peppermint Bark Oreos for a fun twist.
- Change the Coating: Green candy melts create the classic Grinch look, but white candy melts with green oil-based food coloring work just as well.
- Add Mint Flavoring: Mix ¼ teaspoon of peppermint extract into the Oreo filling for a cool, minty flavor that’s perfect for Christmas.
- Do Various Decorations: Instead of a heart sprinkle, drizzle the Oreo balls with white chocolate or add festive Christmas sprinkles for a different holiday look.
- Make them into Smaller Bites: Roll the mixture into smaller balls for easy, bite-sized treats that are perfect for cookie trays and holiday dessert tables.
How to Make Grinch Oreo Cookie Balls
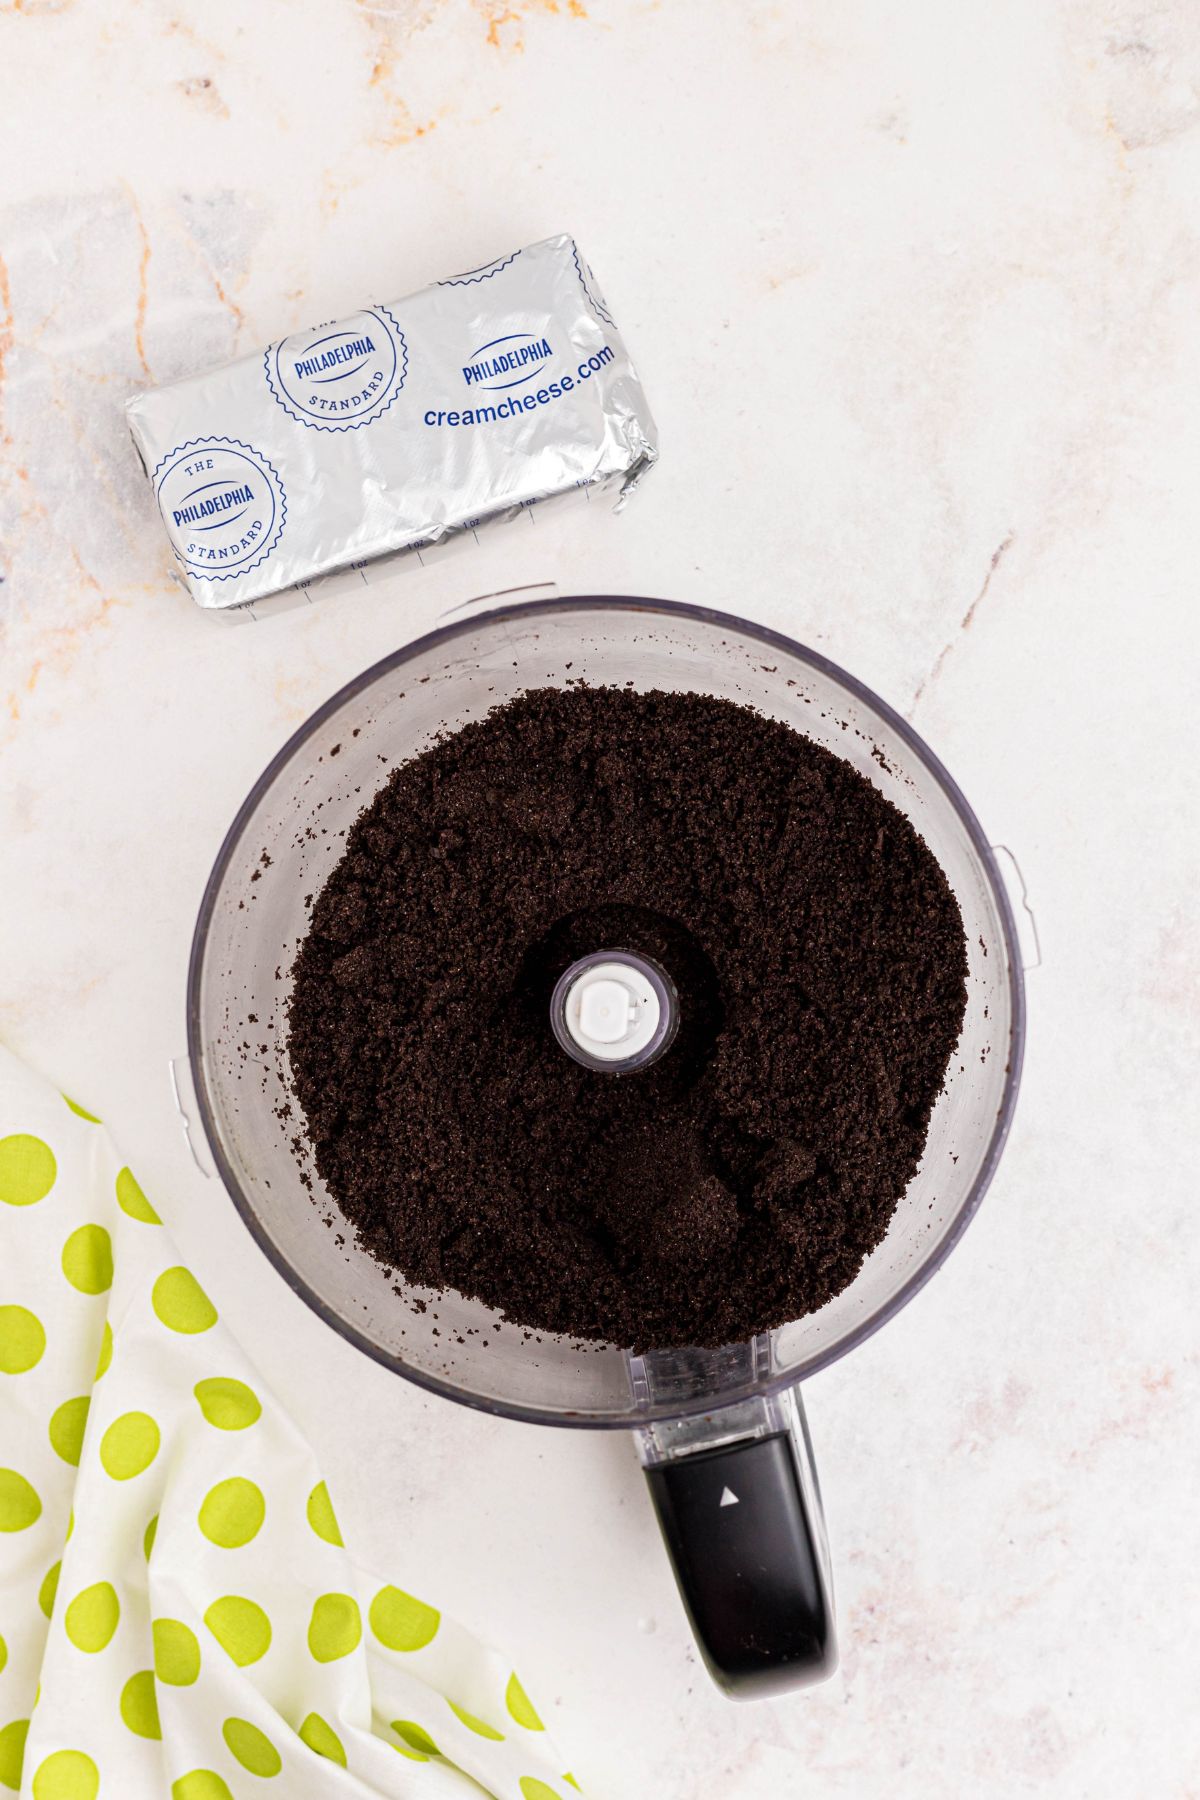
- Line a baking sheet with parchment paper, and then set aside. Place the Oreo cookies (including the filling) into a food processor and pulse until they are fine cookie crumbs. If you don’t have a food processor, you can place the cookies in a large Ziploc bag and crush them with a rolling pin.
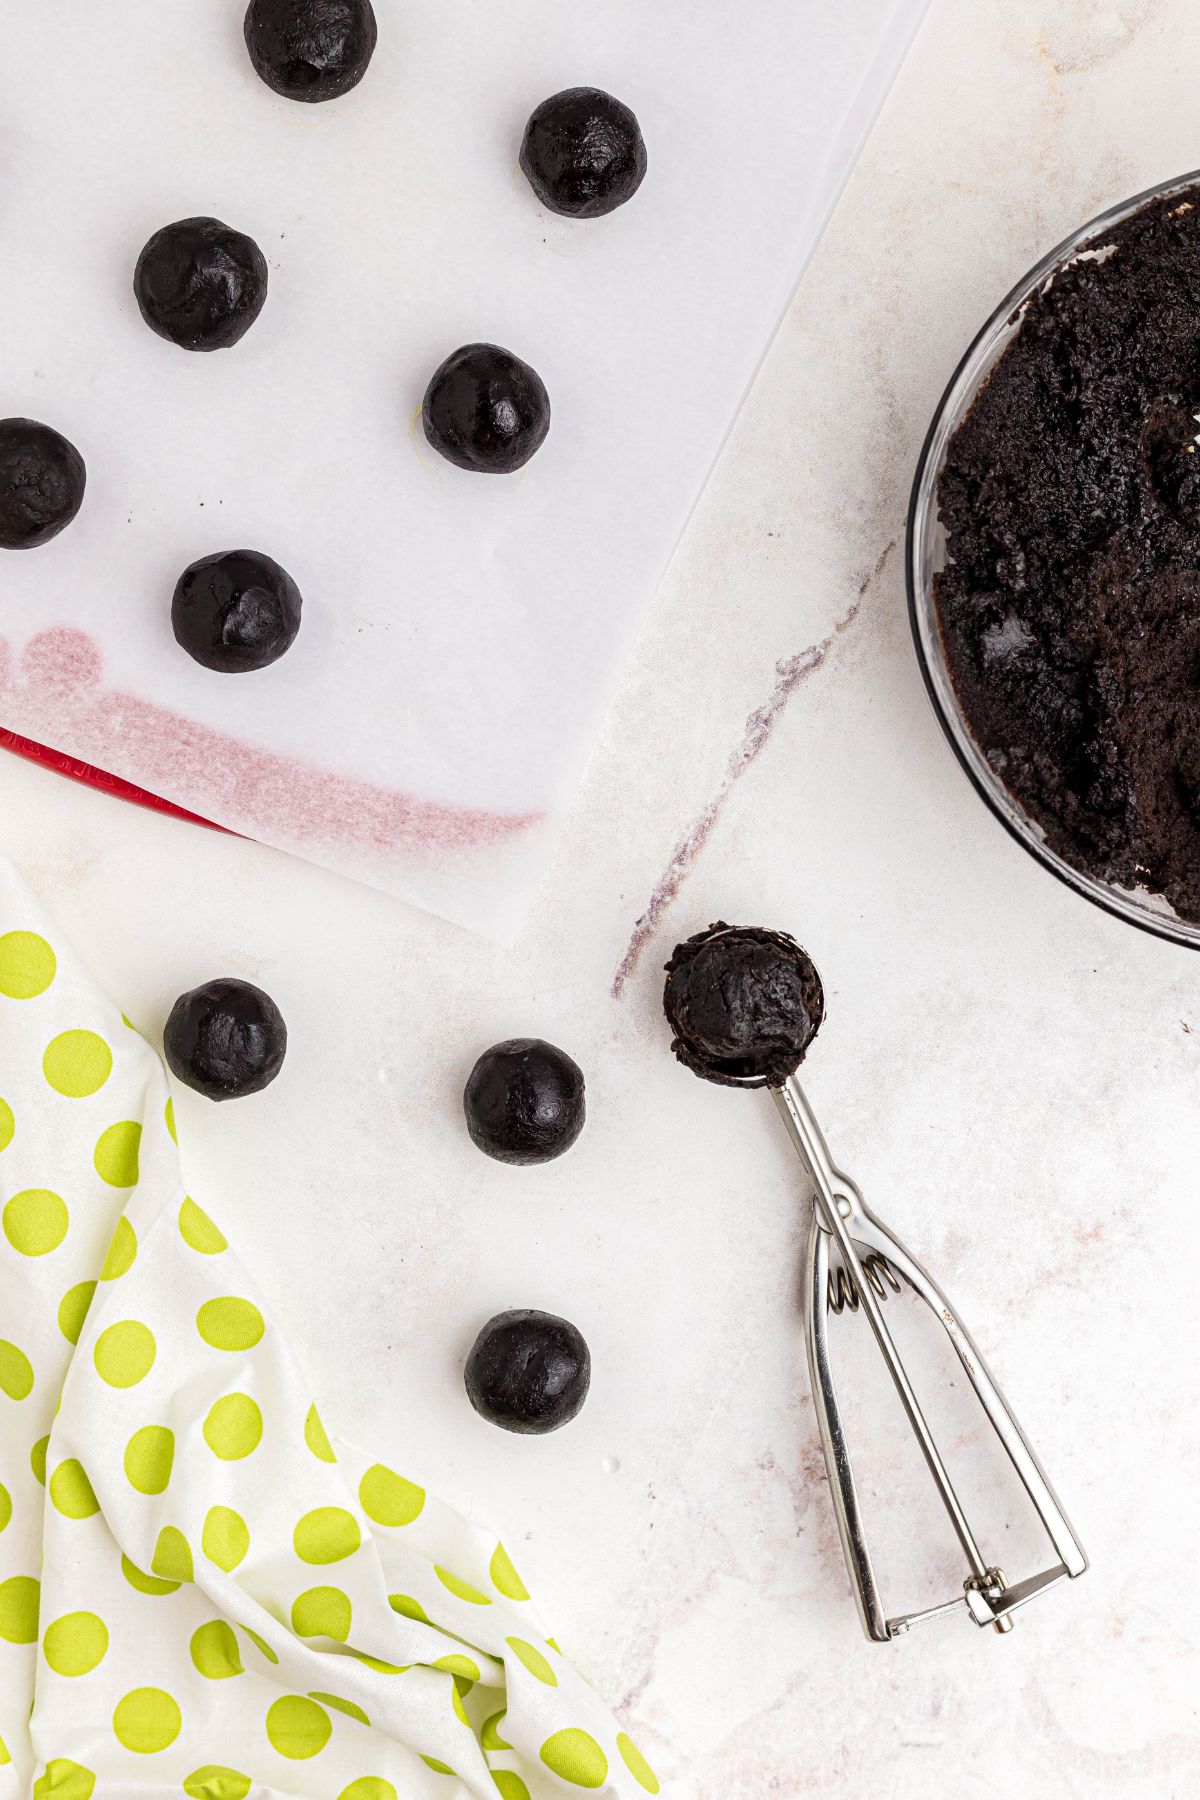
- Transfer the crushed Oreos to a large mixing bowl. Add the softened cream cheese to the Oreos and stir them together until a thick batter forms. Use a portion scoop or small spoon to scoop out about a tablespoon of the mixture. Roll the mixture in the palms of your hands into a ball shape. Place on the prepared baking sheet until all of the batter is used.
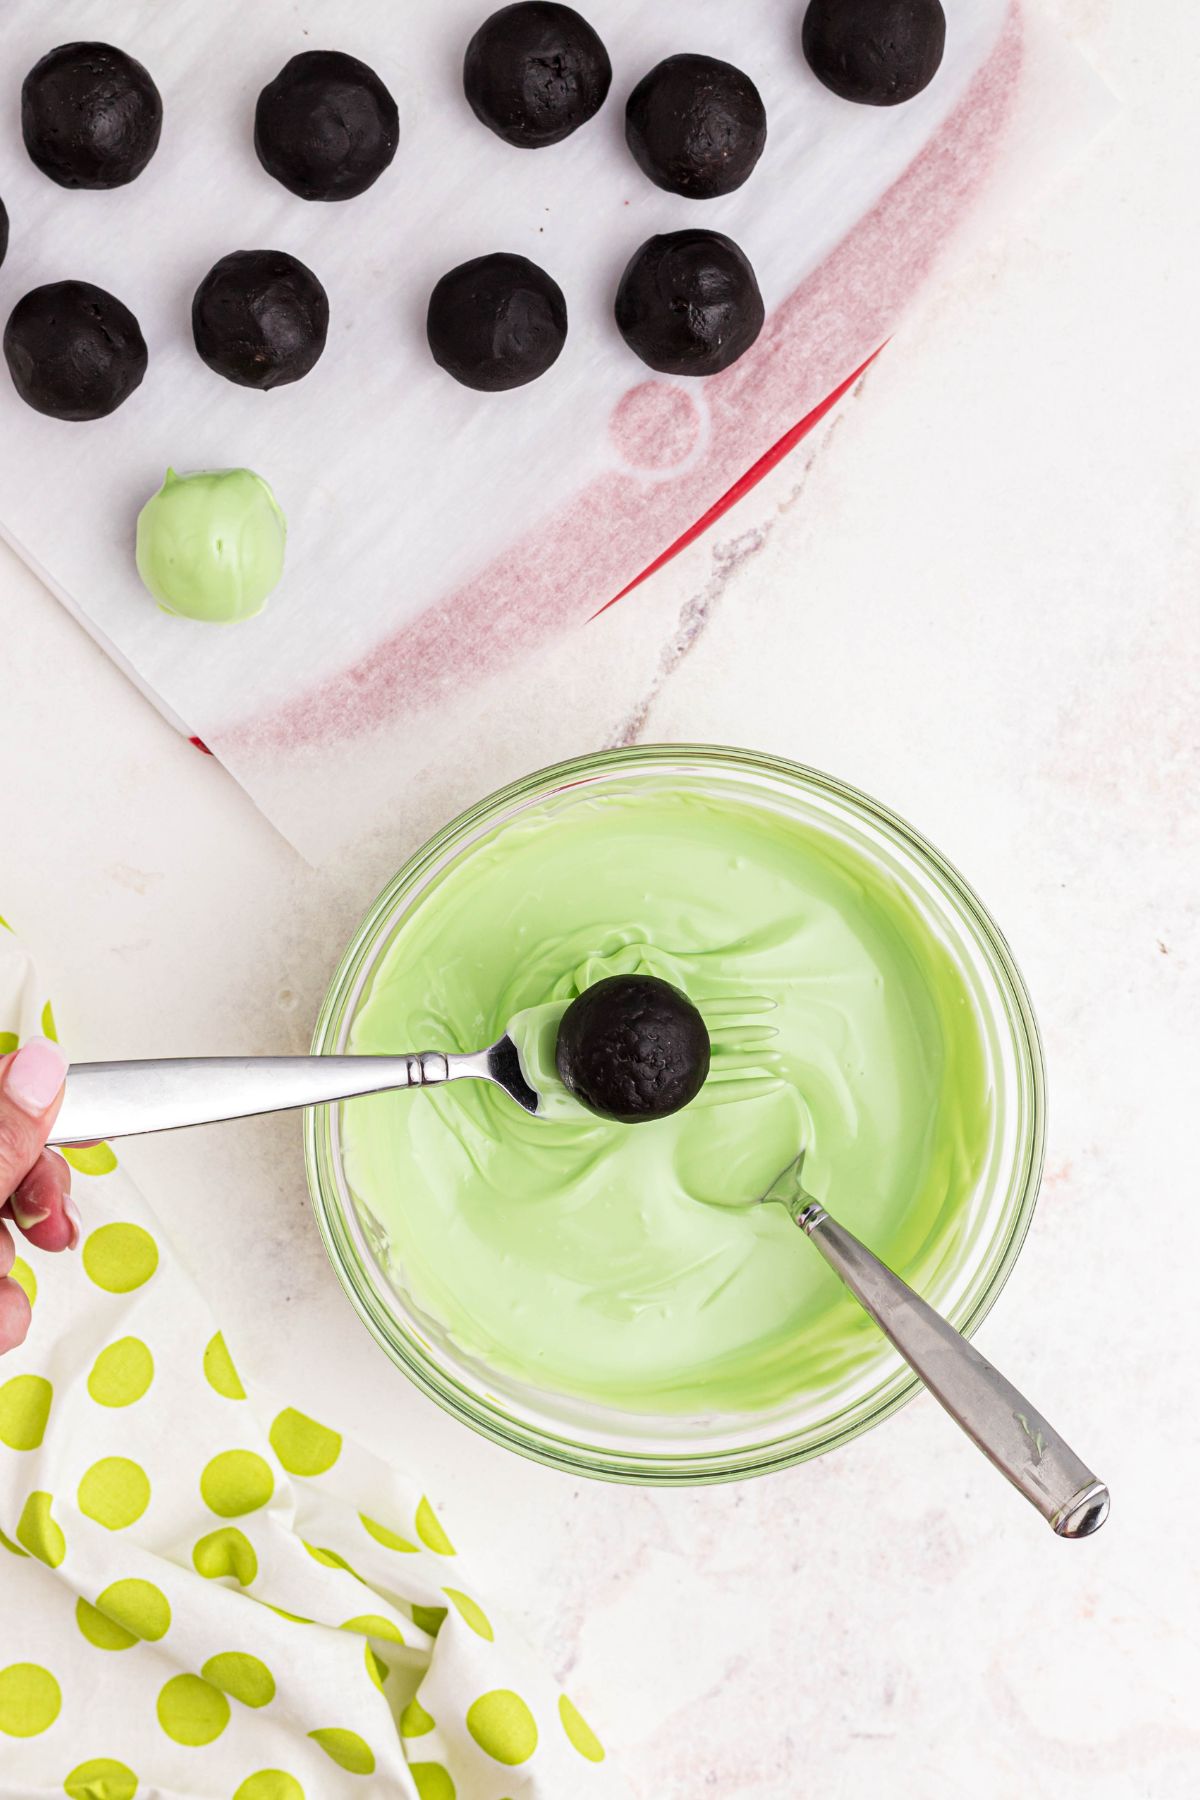
- Place Oreo balls in the freezer for about 15-30 minutes. Place the green candy melts in a microwave-safe bowl. Microwave for a minute, and then in 30 second intervals stirring each time, until they are melted. Remove the Oreo balls from the freezer and, using a fork, dip each ball into the melted green candy coating, until it’s fully coated. Transfer the ball back to the lined baking sheet.

- Add melted coating to a piping bag and cut the tip of the bag. Then drizzle coating back and forth across the tops of the balls. Before the coating hardens, gently press red candy hearts on the top of each Oreo ball. Then let the balls sit for 5-10 minutes, until the coating is firm. You can return the tray to the fridge so they will firm up faster.
Tips
- Microwave Carefully: Be careful you don’t burn the candy melts. Microwave in 30 second intervals, stirring each time to make sure they are melting. They can burn quickly and the coating will seize up.
- Dry Dishes and Hands: Use dry utensils when dipping in the coating. Even a simple drop of water can cause the coating to harden.
- Chill Before Dipping: Make sure the Oreo balls are well chilled before dipping them into the candy coating. This helps the coating set faster and prevents the balls from falling apart.
- Use a Dipping Tool: A fork works fine for dipping, but if you make Oreo balls or truffles often, consider investing in a candy dipping tool for a smoother, more professional finish.
- Customize: If you can’t find heart sprinkles, you can use a small dab of red icing or a candy heart from a Valentine’s pack. You can also switch up the candy melts for a different color if you’re making these for other holidays or events!

FAQ’S
Because they are made with cream cheese, store your Grinch Oreo Balls in an airtight container in the refrigerator. They’ll stay fresh for up to 5 days, making them perfect to make ahead of time for holiday parties or gift boxes.
Yes. Once you can make them up to 3 days in advance. Then transfer them to an airtight container or large freezer bag. Separate the stacks of pieces with parchment paper so they don’t freeze/stick together. When you are ready to serve them, let them thaw in the refrigerator overnight. They can be stored in the freezer for up to 3 months.
Regular Oreos work best because they create the right consistency. Double Stuf Oreos can make the filling too soft.
You can use white candy melts tinted with oil-based green food coloring for the same festive look.
More Easy Holiday Recipes


If you have tried this recipe or any others from Celebrating Simply, I’d love it if you would leave a ⭐ star rating and share your thoughts in the ✍️ comments below. Your feedback means a lot!
Grinch Oreo Balls

Equipment
- Food Processor or large Ziploc bag
- Large Bowl
- Baking Sheet
- Parchment Paper
Ingredients
- 1 16 ounce package Oreos
- 8 ounces cream cheese, softened
- 2 light green bags of candy melts , 12 ounce bags
- 1 tablespoon red heart sprinkles
Instructions
- Line a baking sheet with parchment paper, and then set aside.
- Place the Oreo cookies into a food processor and pulse until they are fine cookie crumbs. If you don’t have a food processor, you can place the cookies in a large Ziploc bag and crush them with a rolling pin.
- Transfer the crushed Oreos to a large mixing bowl. Add the softened cream cheese to the Oreos and stir them together until a thick batter forms.
- Use a portion scoop or small spoon to scoop out about a tablespoon of the mixture. Roll the mixture in the palms of your hands into a ball shape. Place on the prepared baking sheet until all of the batter is used.
- Once all the balls are formed, place the baking sheet in the freezer for 15-30 minutes, so the balls will become firm.
- While the Oreo balls are in the freezer, place the green candy melts in a microwave-safe bowl. Microwave for a minute, and then in 30 second intervals stirring each time, until they are melted.
- Remove the Oreo balls from the freezer and, using a fork or dipping tool, dip each ball into the melted green candy coating, until it's fully coated. Use a spoon to help coat the ball if necessary. Gently tap the fork holding the ball so excess coating falls back into the bowl. Transfer the ball back to the lined baking sheet.
- Add melted coating to a piping bag and cut the tip of the bag. Then drizzle coating back and forth across the tops of the balls. Before the coating hardens, gently press red candy hearts on the top of each Oreo ball. Then let the balls sit for 5-10 minutes, until the coating is firm.
Notes
Nutrition
Nutrition information is automatically calculated, so should only be used as an approximation.












These are so awesome