This post contains affiliate links. Please see our disclosure policy.
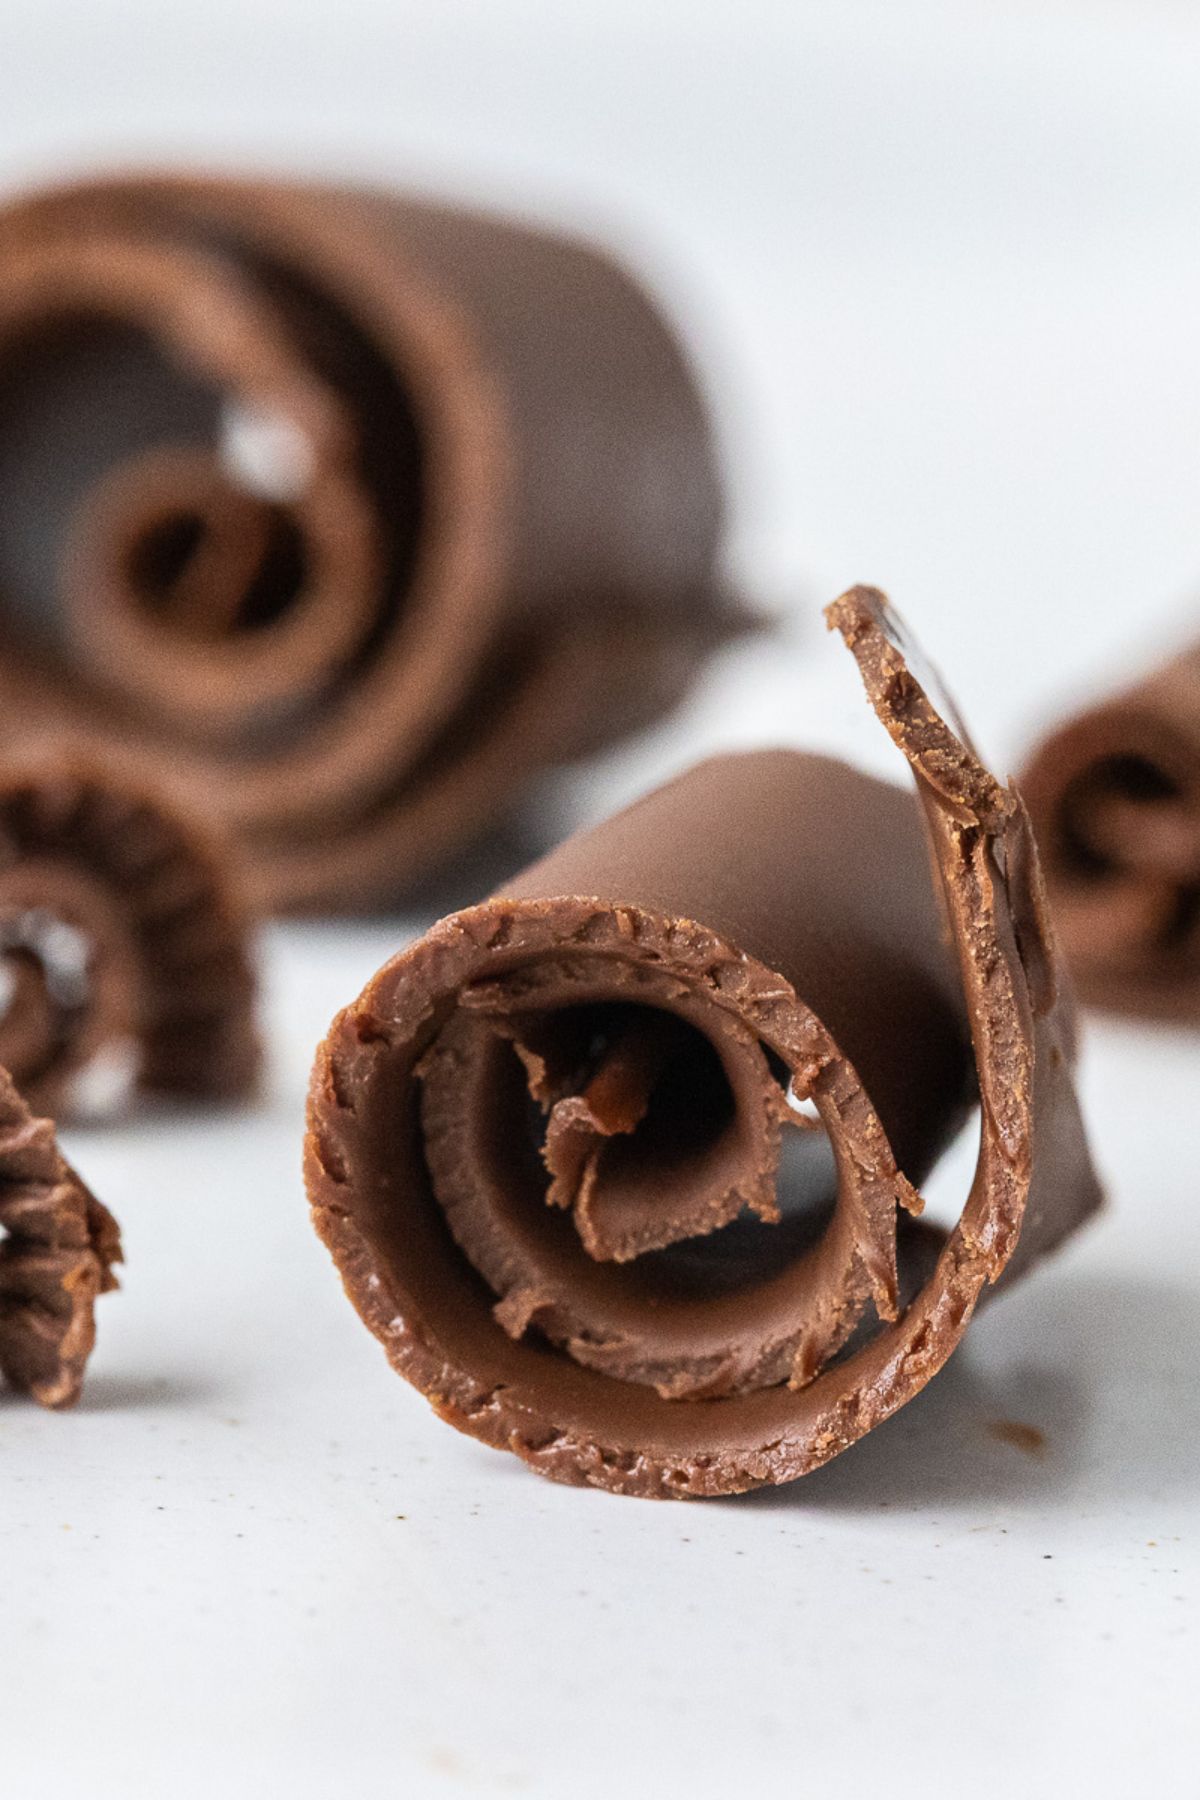
Chocolate curls are the perfect way to add an elegant touch to cakes, cupcakes, and desserts. With just two ingredients and a few simple steps, you can create beautifully delicate curls in minutes.
Easy Chocolate Curls
Making chocolate curls at home is easier than you think. Whether you’re decorating a dessert or looking for a professional finish, this simple method will help you achieve perfect curls every time.
Homemade chocolate curls are an easy and elegant way to elevate your desserts. Try making a batch today and enjoy beautifully crafted garnishes to top cheesecakes, cakes, ice cream, or even drinks!
Ingredients You Will Need
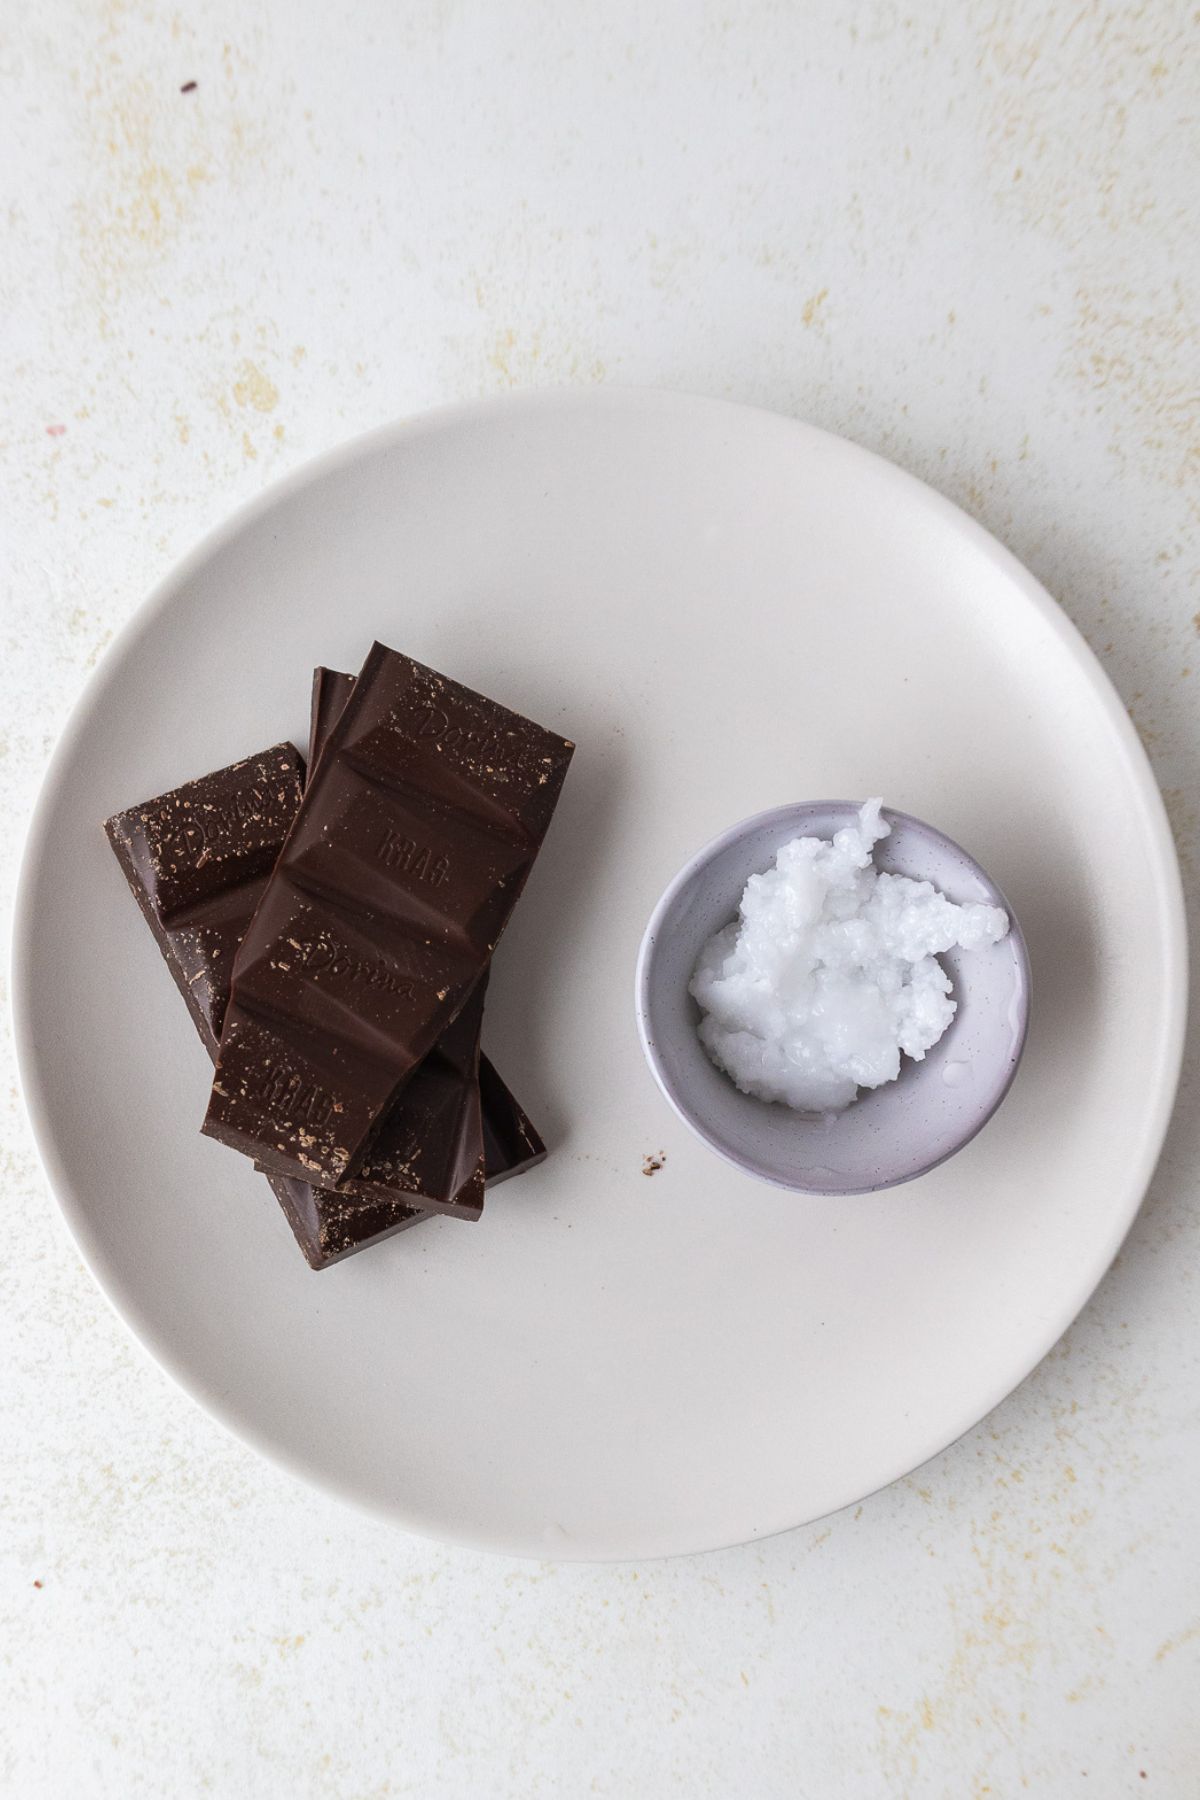
- Chocolate (dark, milk, or white) – Use 1/2 cup (6 ounces) of high-quality chocolate or chocolate chips.
- Coconut oil – Helps the chocolate melt smoothly and gives the curls a glossy finish.
Variations
- Swap coconut oil: You can use a neutral oil like vegetable or canola oil.
- Try different chocolates: Use compound chocolate for easier handling. Experiment with different chocolate types to match your dessert.
- Combine chocolates: For pretty chocolate and white chocolate curls, combine the melted chocolates and use a wooden spoon to swirl them together before letting it cool.
- Use a chocolate bar: If you want a quick way to make curls, grab a milk chocolate candy bar, and use a vegetable peeler to scrape the side of the chocolate bar to make a curl. You will want to let the candy bar be at room temperature.
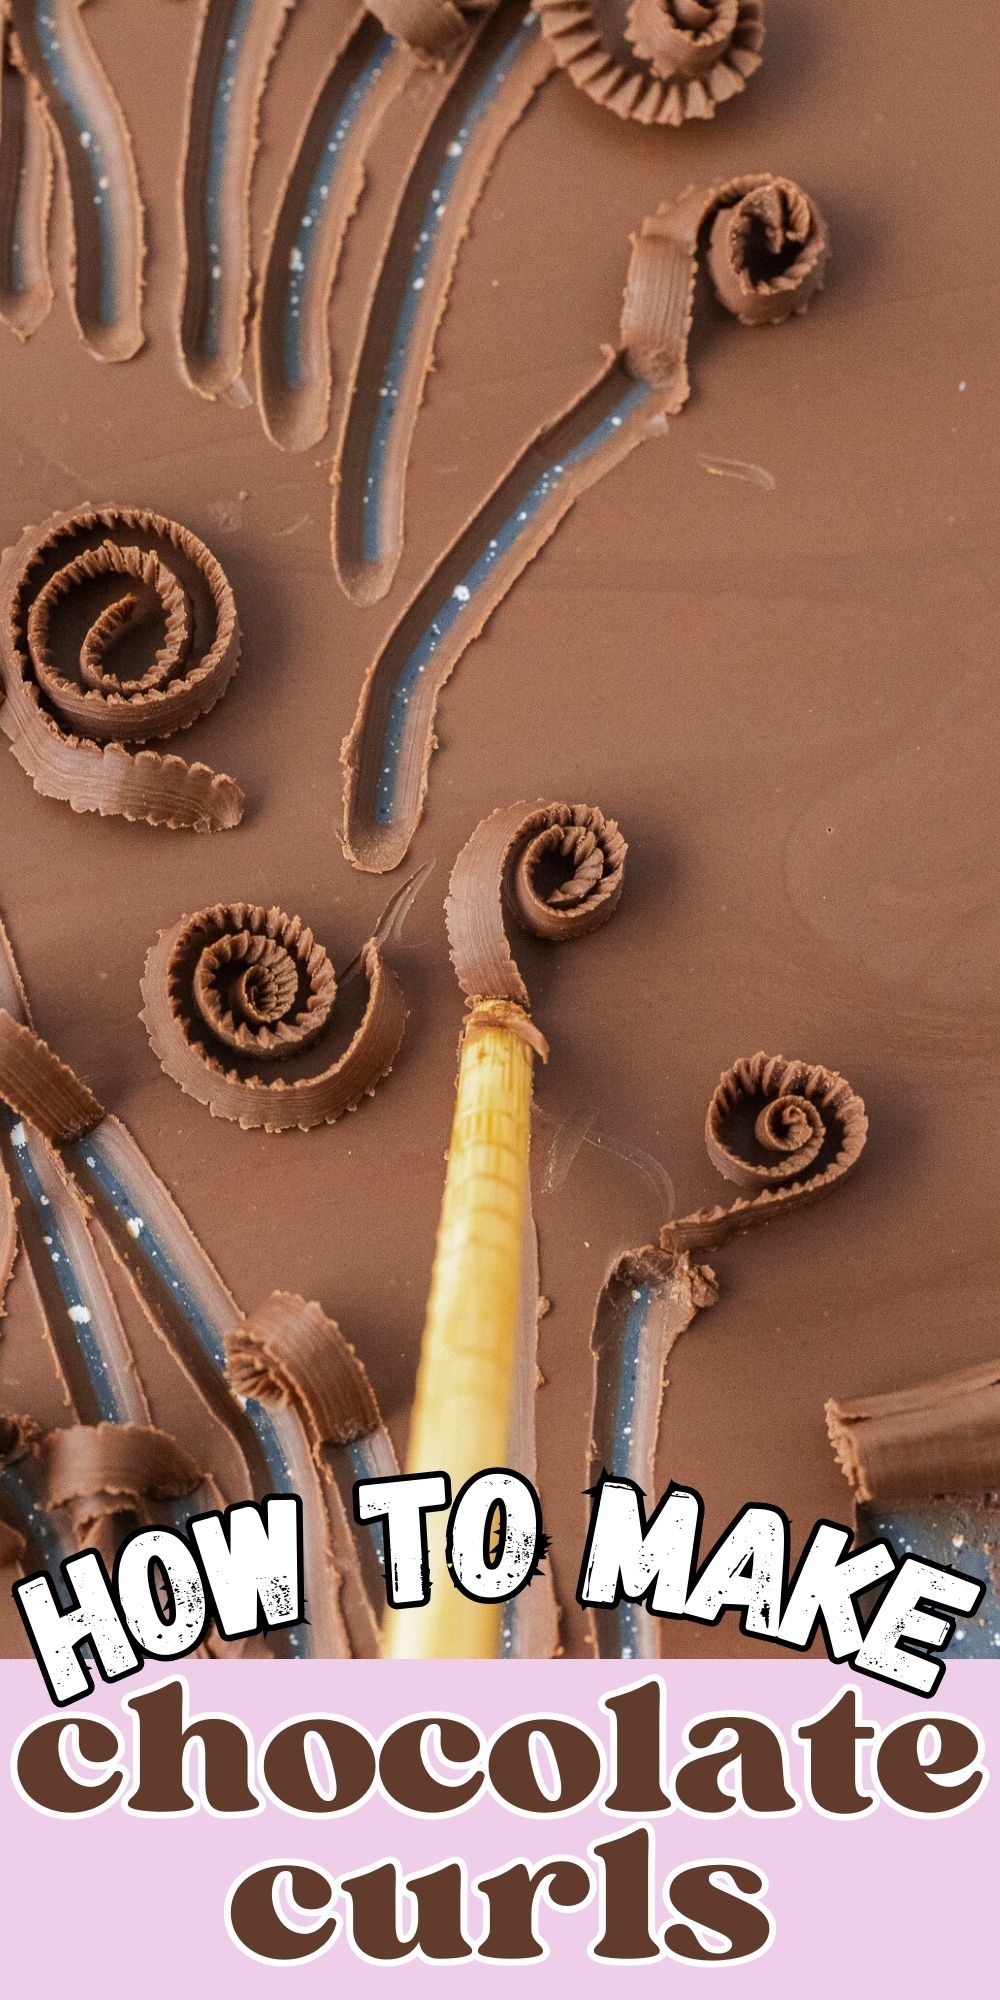
How to Make Chocolate Curls
STEP 1 – Chop the chocolate into small pieces or use high quality chocolate chips.
STEP 2 – Add the coconut oil to the chopped chocolate in a microwave-safe bowl, and microwave in 15 second intervals, stirring after each interval, until it’s smooth.
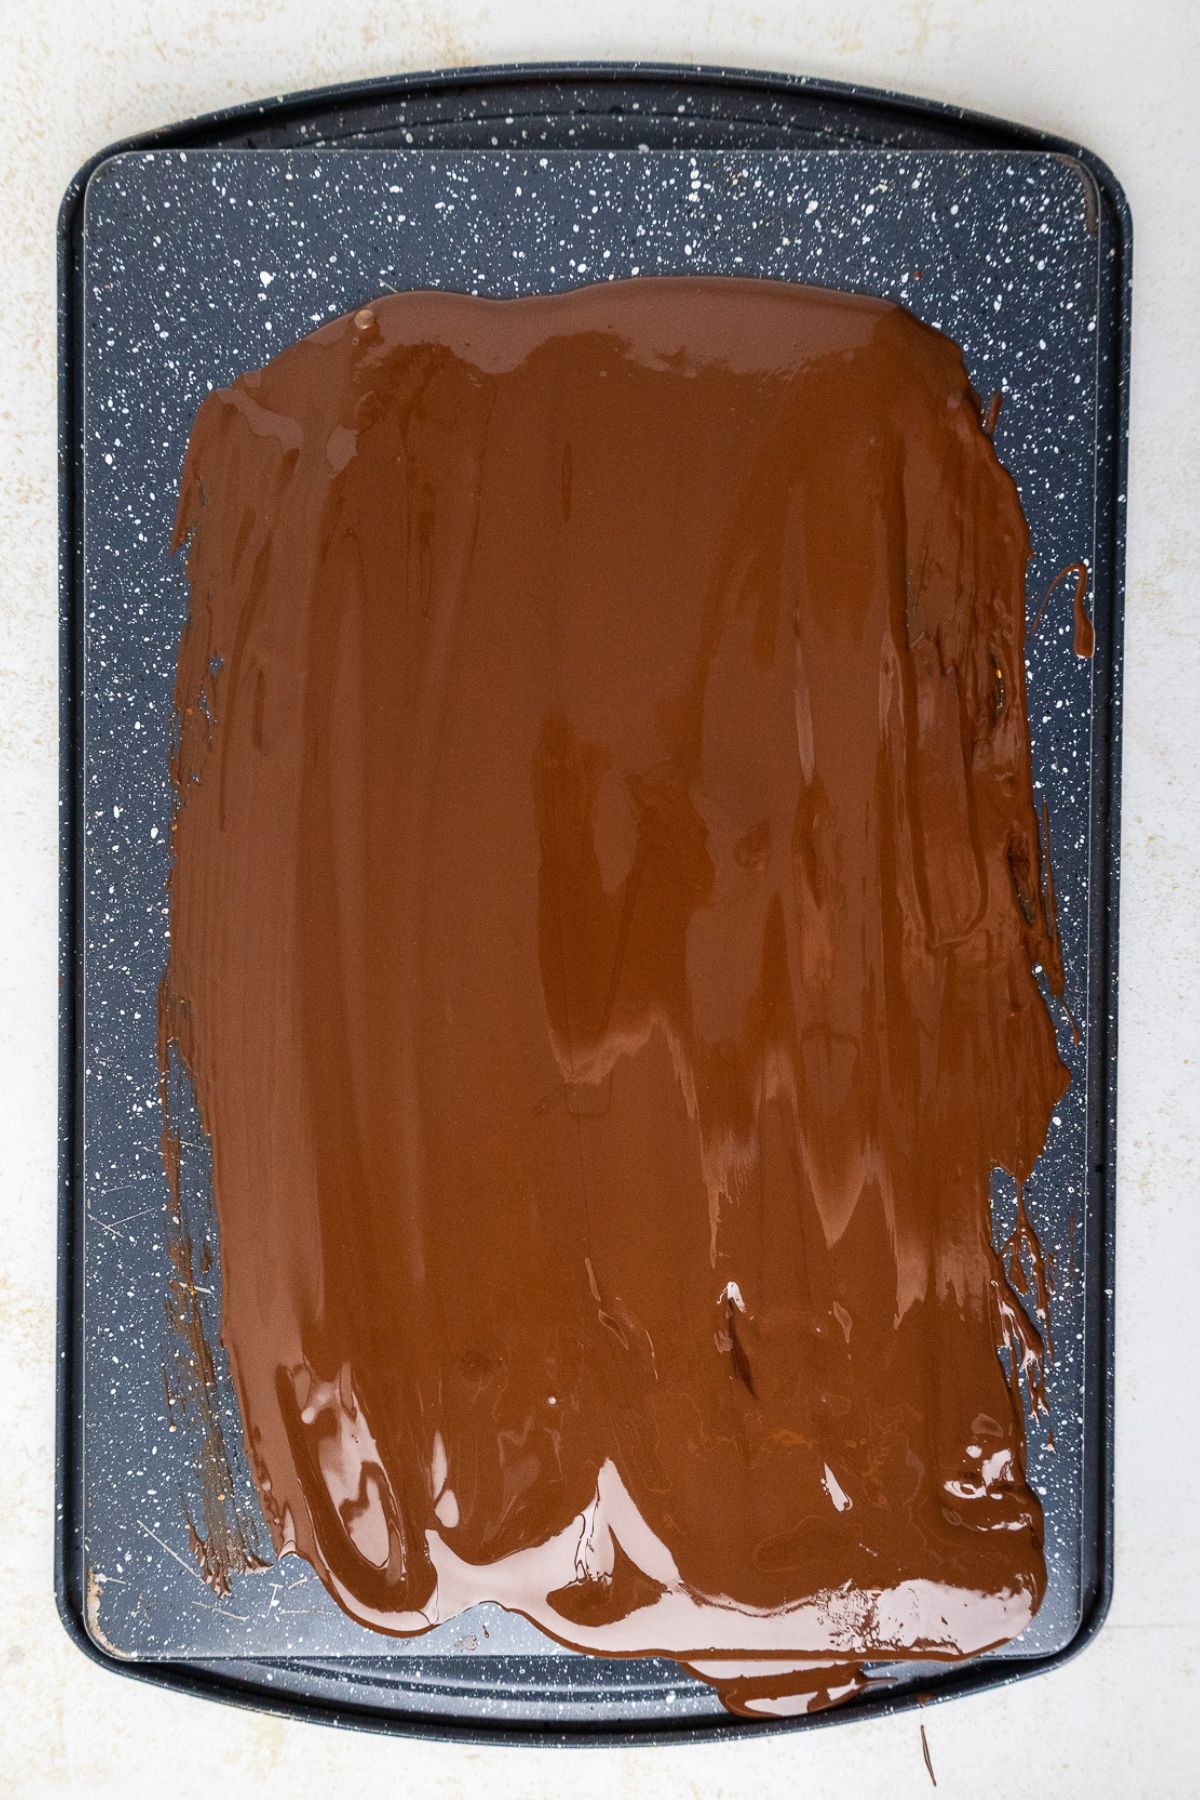
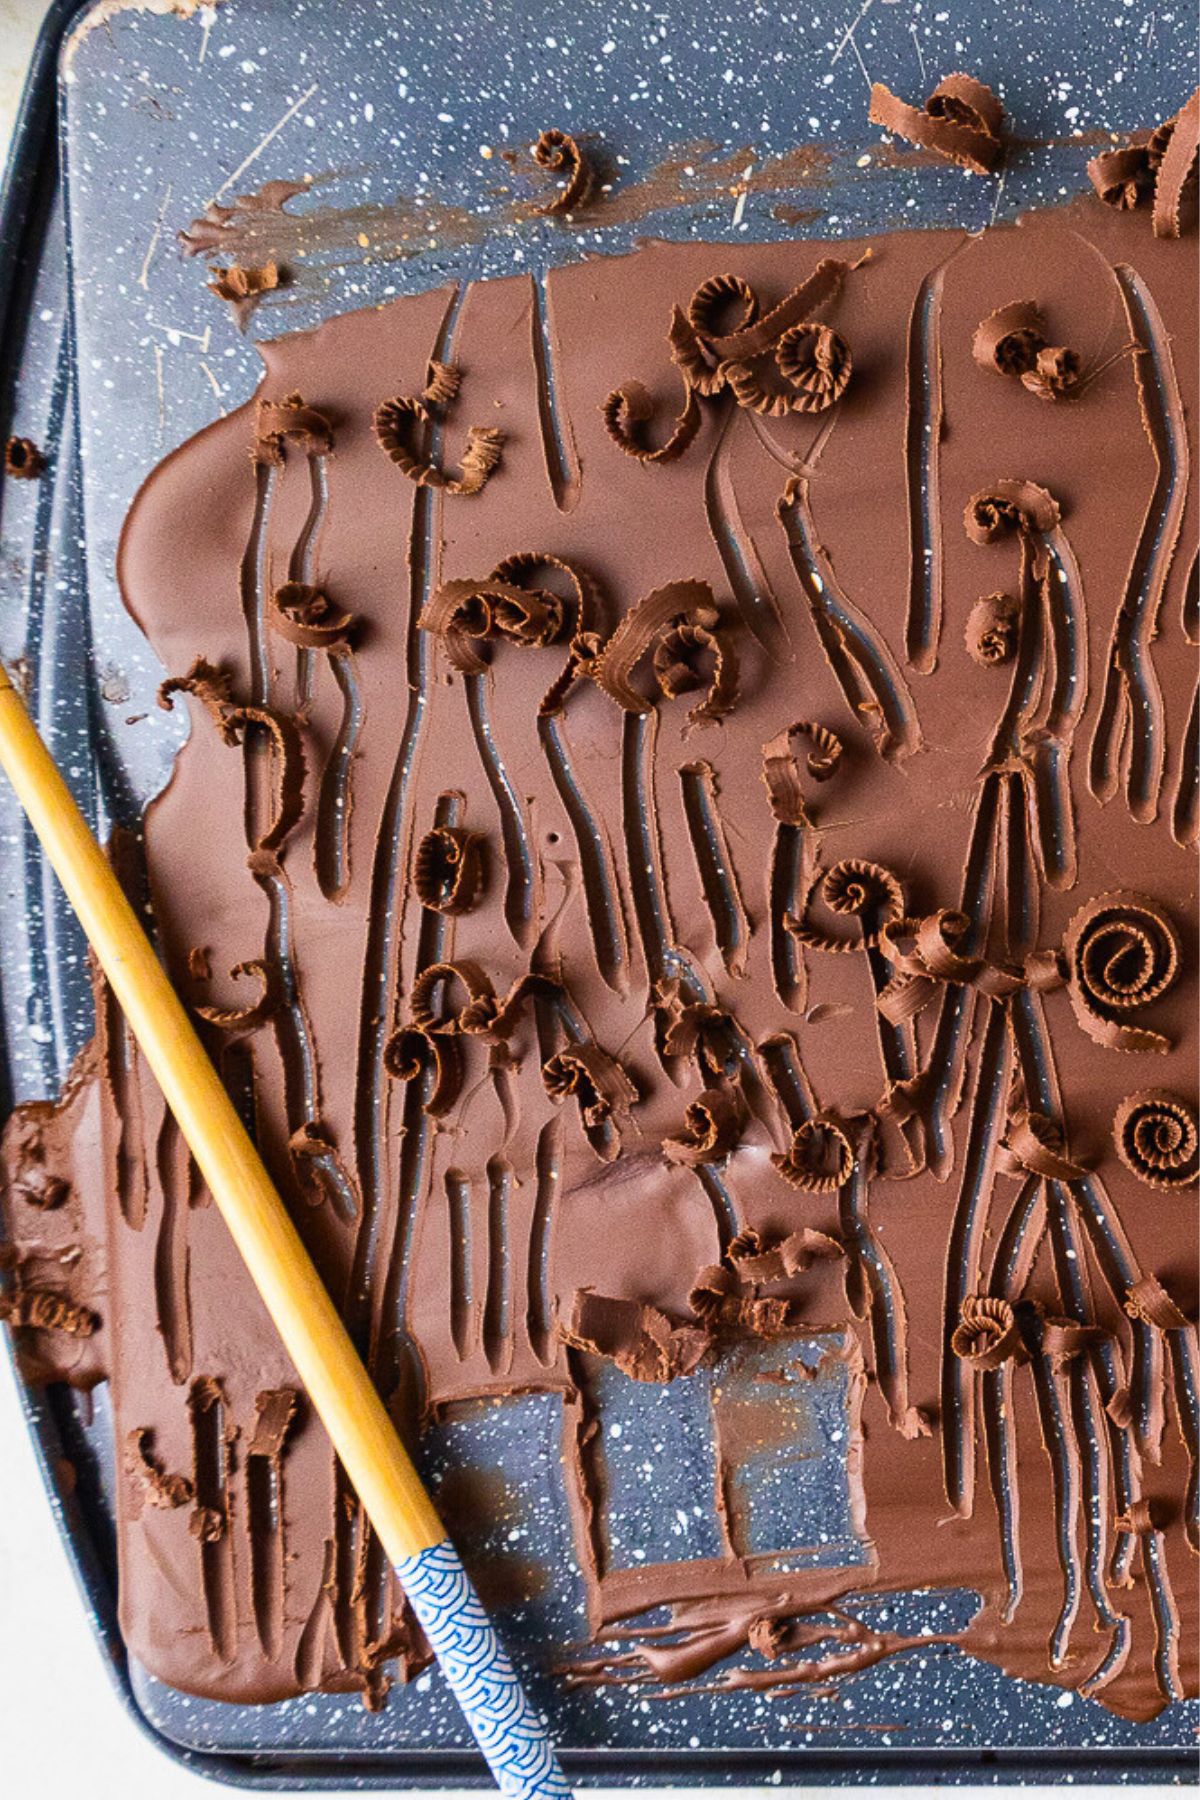
STEP 3 – Pour the melted chocolate onto a clean, flat surface (like the back of a baking sheet) and spread into a thin layer with a metal spatula.
STEP 4 – Place the tray in the freezer for about 3 minutes so it lightly begins to firm again. Check by gently pressing your finger on the chocolate. If it leaves a mark, it’s too soft; if it breaks instead of curling, it’s too cold. Let it sit at room temperature until you can work with it.
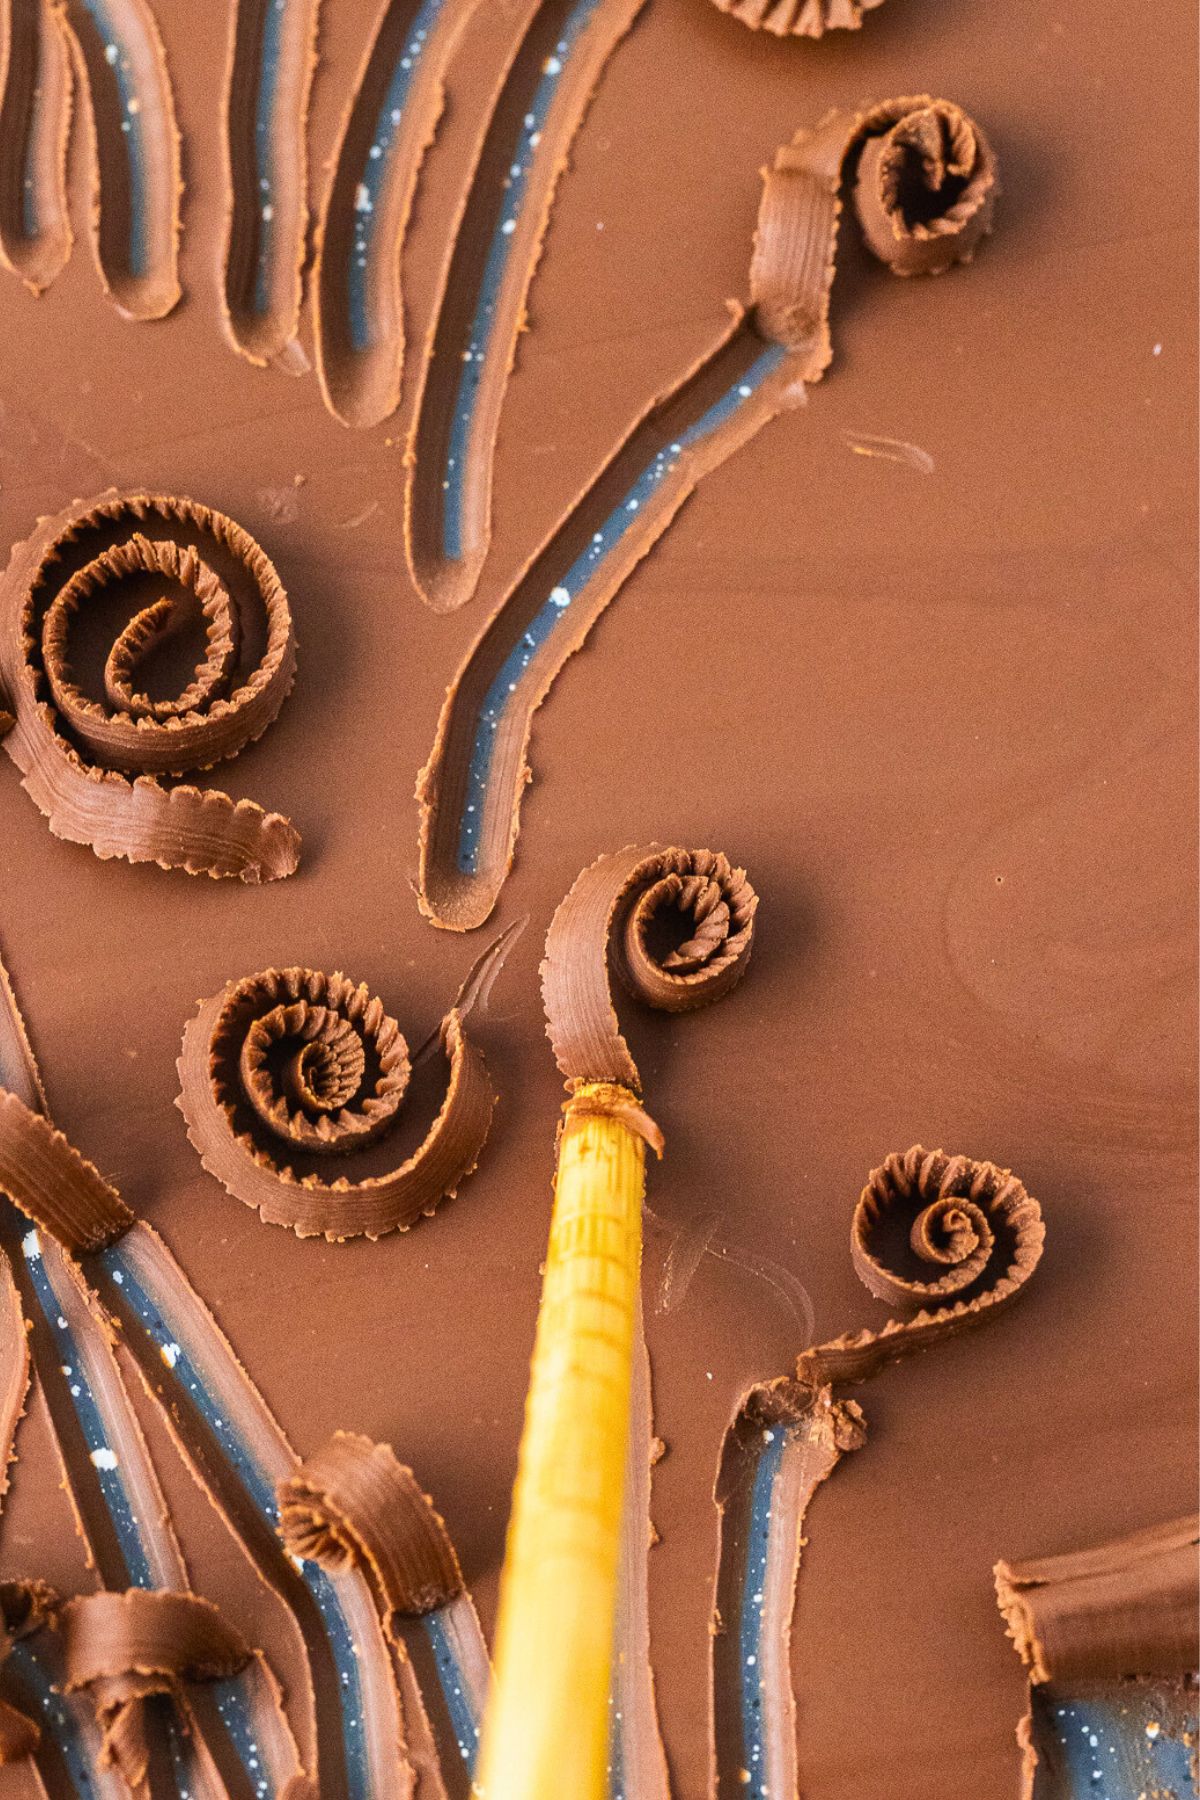
STEP 5 – Create the curls:
- For thin curls: Use a chopstick or the flat side of a wooden small skewer to gently scrape the surface.
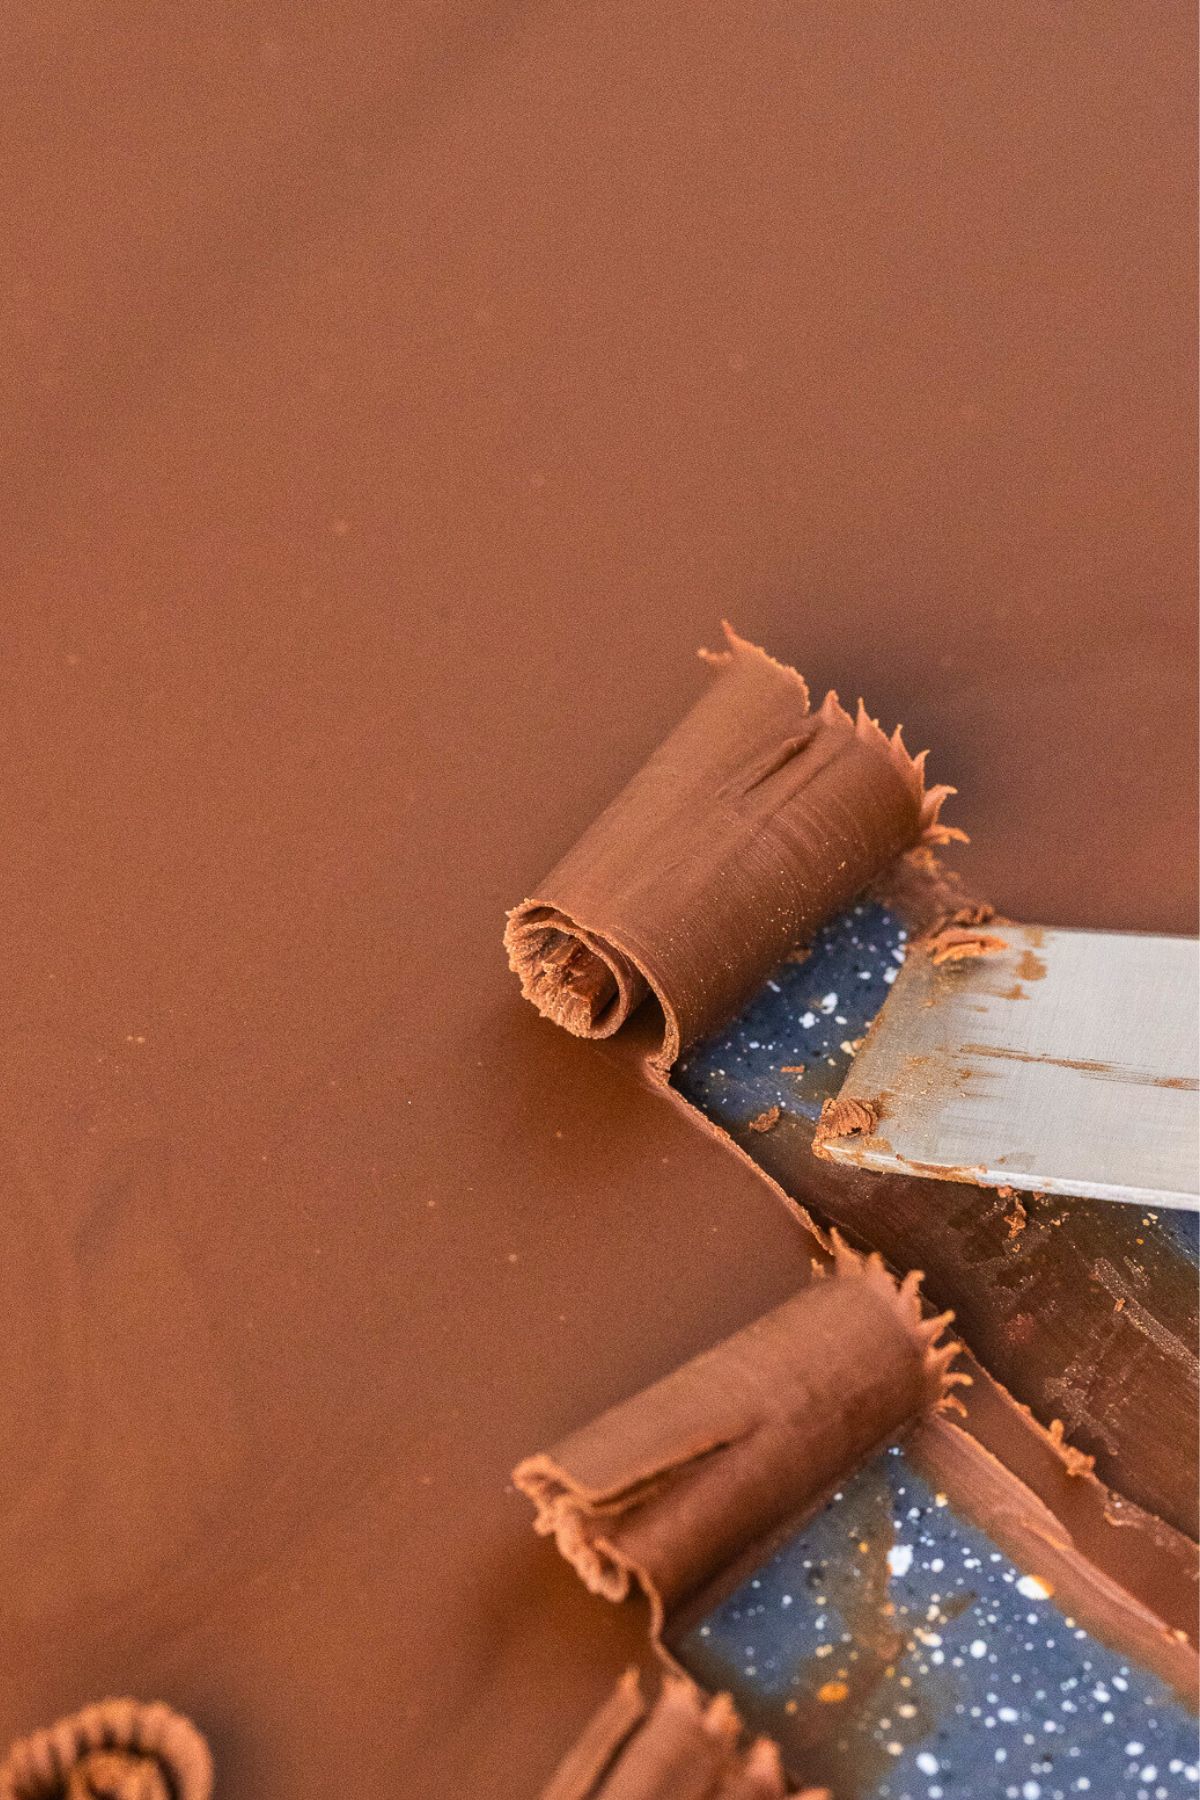
- For thicker curls: Use a cheese knife at a 45° angle to scrape along the chocolate’s surface.
- For larger curls: Use a bench scraper or offset spatula to roll the curls.
STEP 6 – Carefully transfer the curls to a plate or tray and refrigerate for about 5-10 minutes, until it completely sets.
STEP 7 – Once hardened, carefully transfer the curls to an airtight container and store in the refrigerator until ready to use.
Tips for Making the Best Chocolate Curls
- Use a high quality chocolate: Better taste and smoother curls.
- Work quickly: In warm environments, chocolate softens fast.(I live in Arizona so that’s one of the tricky parts about working with chocolate.)
- Check consistency: The chocolate should be firm but also soft for the best curls. I know that sounds tricky, so just know it shouldn’t be completely set.
- If chocolate hardens: If it gets too firm, let it sit at room temperature or warm it slightly with a hairdryer before trying to scrape curls.
FAQs
Yes, you can use a neutral oil like vegetable or canola oil, but I find that coconut oil gives the smoothest texture and best shine.
The chocolate may be too hard or too soft. Let it cool to a pliable consistency before scraping.
Store them in an airtight container in the fridge for up to 2 weeks. Avoid humid environments to prevent melting or stickiness.
More Fun Chocolate Recipes
Pin this now to find it later
Pin It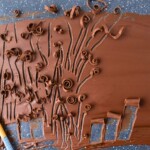
Chocolate Curls
Equipment
- Baking Sheet
- Chopstick or Offset Spatula
Materials
- 6 ounces chocolate white, milk, or dark chocolate or 1/2 cup of high quality chips
- 1 teaspoon coconut oil
Instructions
- Chop the chocolate into small pieces or use high quality chocolate chips. Add the coconut oil to the chopped chocolate in a microwave-safe bowl, and microwave in 15 second intervals, stirring after each interval, until it's smooth.
- Pour the melted chocolate onto a clean, flat surface (like the back of a baking sheet) and spread into a thin layer with a metal spatula.
- Place the tray in the freezer for about 3 minutes so it lightly begins to firm again. Check by gently pressing your finger on the chocolate. If it leaves a mark, it’s too soft; if it breaks instead of curling, it’s too cold. Let it sit at room temperature until you can work with it.
- Create the curls:For thin curls: Use a chopstick or the flat side of a wooden small skewer to gently scrape the surface.For thicker curls: Use a cheese knife at a 45° angle to scrape along the chocolate’s surface.For larger curls: Use a bench scraper or offset spatula to roll the curls.
- Carefully transfer the curls to a plate or tray and refrigerate for about 5-10 minutes, until it completely sets.
- Once hardened, carefully transfer the curls to an airtight container and store in the refrigerator until ready to use.