

This post contains affiliate links. Please see our disclosure policy.
These homemade Rice Krispie Treats are soft, gooey, and perfectly chewy, with just three simple ingredients! Made with crispy rice cereal, melted marshmallows, and butter, this classic no-bake dessert is easy to make in minutes and always a favorite with kids and adults.

“I love making these treats for parties, holidays, and family gatherings because they are so quick to put together. You don’t need an oven or mixer, and you can easily customize them with colorful sprinkles or candies for any occasion.”
-Becky
Why You’ll Love This Recipe
I love making these Rice Krispie Treats for parties, holidays, and family gatherings because they’re so quick and easy to put together. When I want them extra gooey, I’ll sometimes use just 5 cups of cereal instead of 6, or add a few extra marshmallows. That’s one of my favorite things about this recipe. It’s so easy to adjust depending on how soft and gooey you like your treats!
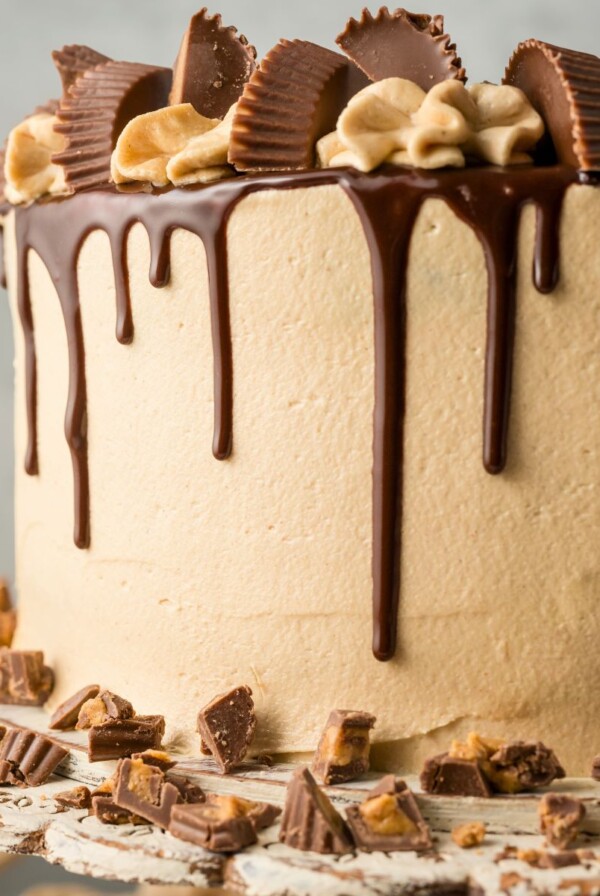
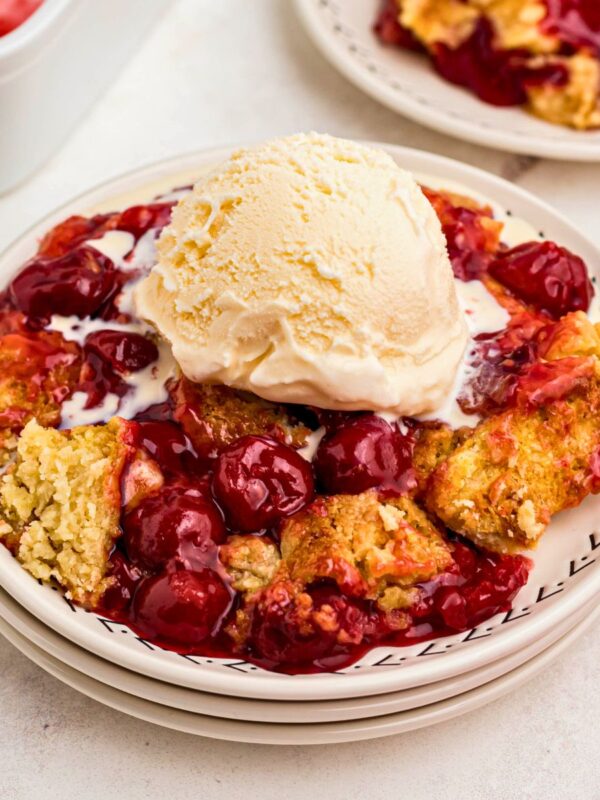
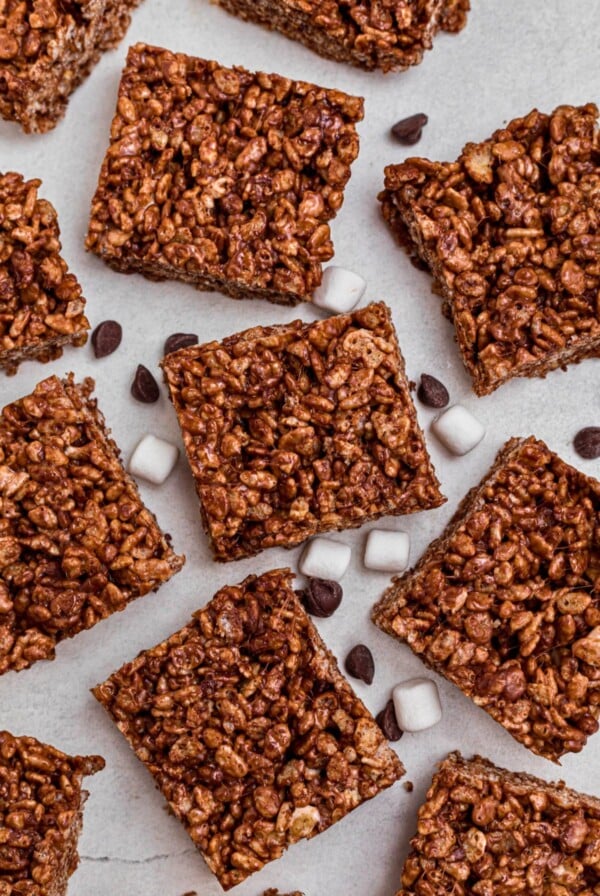
If you love this recipe, you might also enjoy my Chocolate Rice Krispie Treats, Christmas Rice Krispie Treats, Grinch Fudge, Chocolate Peanut Butter Cake, and Cherry Dump Cake.
Ingredients You Will Need

- unsalted butter– melted butter combined with marshmallows, makes the sticky mixture to hold the cereal together.
- marshmallows- this is going to make the treats have their gooey texture, and stick together.
- rice krispies cereal- crispy rice cereal is what gives the treats their crisp texture and is the only other main ingredient besides the marshmallows.
The full list of ingredients and instructions is in the recipe card below.
How to Make Rice Krispie Treats

- In a large saucepan or in a microwave safe bowl, melt butter and marshmallows over low heat. Stir gently to combine. If using stove top, remove from heat. Add in the cereal, stirring until it is all mixed together. You will want to try and do this quickly because as the marshmallows cool, they are harder to stir.

- Transfer the mixture into a 9×13 dish or pan, lightly sprayed with nonstick spray. Use a spatula to press it into an even layer. If it starts to stick to the spatula, you can butter the spatula or lightly spray it with nonstick cooking spray.

- Let the treats cool and then cut them into squares.
How to Make Rice Krispie Treats in Microwave
Combine butter and marshmallows in a microwave-safe bowl. Heat on high for 2-3 minutes, stirring after 2 minutes. Stir until smooth, then follow remaining steps.
Tips for Making the Best Rice Krispie Treats
- Use Fresh Marshmallows: Expired or dried out marshmallows won’t melt as smoothly and can affect the texture and taste of your treats.
- Don’t Press Into the Pan: When using the spatula to press the treats into the pan, don’t press to hard because that can compress the treats, and make them hard when they cool down.
- Extra Gooey: Add extra mini marshmallows for even more gooey treats. I like to use mini marshmallows because they can be easier to work with when melting and mixing cereal.
- Make them Chocolate: Try these Chocolate Rice Krispie Treats for an extra bonus flavor!
Rice Krispie Treats Variations
- Mix-Ins: Stir in mini M&Ms, white chocolate or chocolate chips, or sprinkles for fun colors or holiday themes.
- Flavored Cereal: Swap out Rice Krispies for Fruity Pebbles, Cocoa Krispies, or another favorite cereal.
- Holiday Treats: Use food coloring to dye the marshmallow mixture into festive colors without changing the flavor.

FAQ’S
Keep treats in an airtight container for 3-4 days and store at room temperature. (Refrigerating can harden the treats, and dry them out.) For longer storage, freeze in layers separated by wax paper for up to 6 weeks. Thaw overnight before serving.
Use fresh marshmallows, and don’t burn the marshmallows and butter. They can also taste like they are hard if they are pressed too hard into the pan.
Yes, you can make them up to a day ahead. Just store them in an airtight container at room temperature for the freshest results.
More Easy Dessert Recipes


Rice Krispie Treats

Equipment
- Saucepan
- 9×13 Baking Dish or Pan
Ingredients
- 4 tablespoons unsalted butter
- 10 ounces marshmallows, 40 large marshmallows or 6 cups mini marshmallows
- 6 cups rice cereal
Instructions
- Prepare a 9×13 inch baking dish by lightly spraying it with non-stick cooking spray, rubbing it very lightly with butter, or line it with parchment paper. Set the pan aside.
- In a large saucepan melt the butter over low heat, then add the marshmallows to the saucepan. Stir constantly until they are fully melted and smooth. Remove from heat. (If microwaving, place butter and marshmallows in microwave safe bowl, and microwave for 2-3 minutes, stirring after two minutes.)
- Add in the cereal, stirring until it is all mixed together. You will want to try and do this quickly because as the marshmallows cool, they are harder to stir.
- Transfer the mixture into the pan, and use a spatula to press it into an even layer. If it starts to stick to the spatula, you can butter the spatula or lightly spray it with nonstick cooking spray.
- Let the treats cool and then cut them into squares.
Video
Notes
- Use fresh marshmallows. Older marshmallows can become dry and may not melt as smoothly, affecting the texture of your treats.
- Keep the heat low. Melt the butter and marshmallows slowly over low heat. Overheating the marshmallow mixture can make the finished treats harder.
- Don’t pack the mixture down. Gently spread the cereal mixture into the pan. Pressing too firmly can make your Rice Krispie Treats dense instead of soft and chewy.
- Work quickly. Once the cereal is mixed with the marshmallows, transfer it to the pan before the mixture begins to cool and stiffen.
- Use a buttered spatula. Lightly coating your spatula with butter or cooking spray makes it easier to spread the sticky mixture without making a mess.
Nutrition
Nutrition information is automatically calculated, so should only be used as an approximation.











You can’t beat homemade rice krispie treats!