
This post contains affiliate links. Please see our disclosure policy.


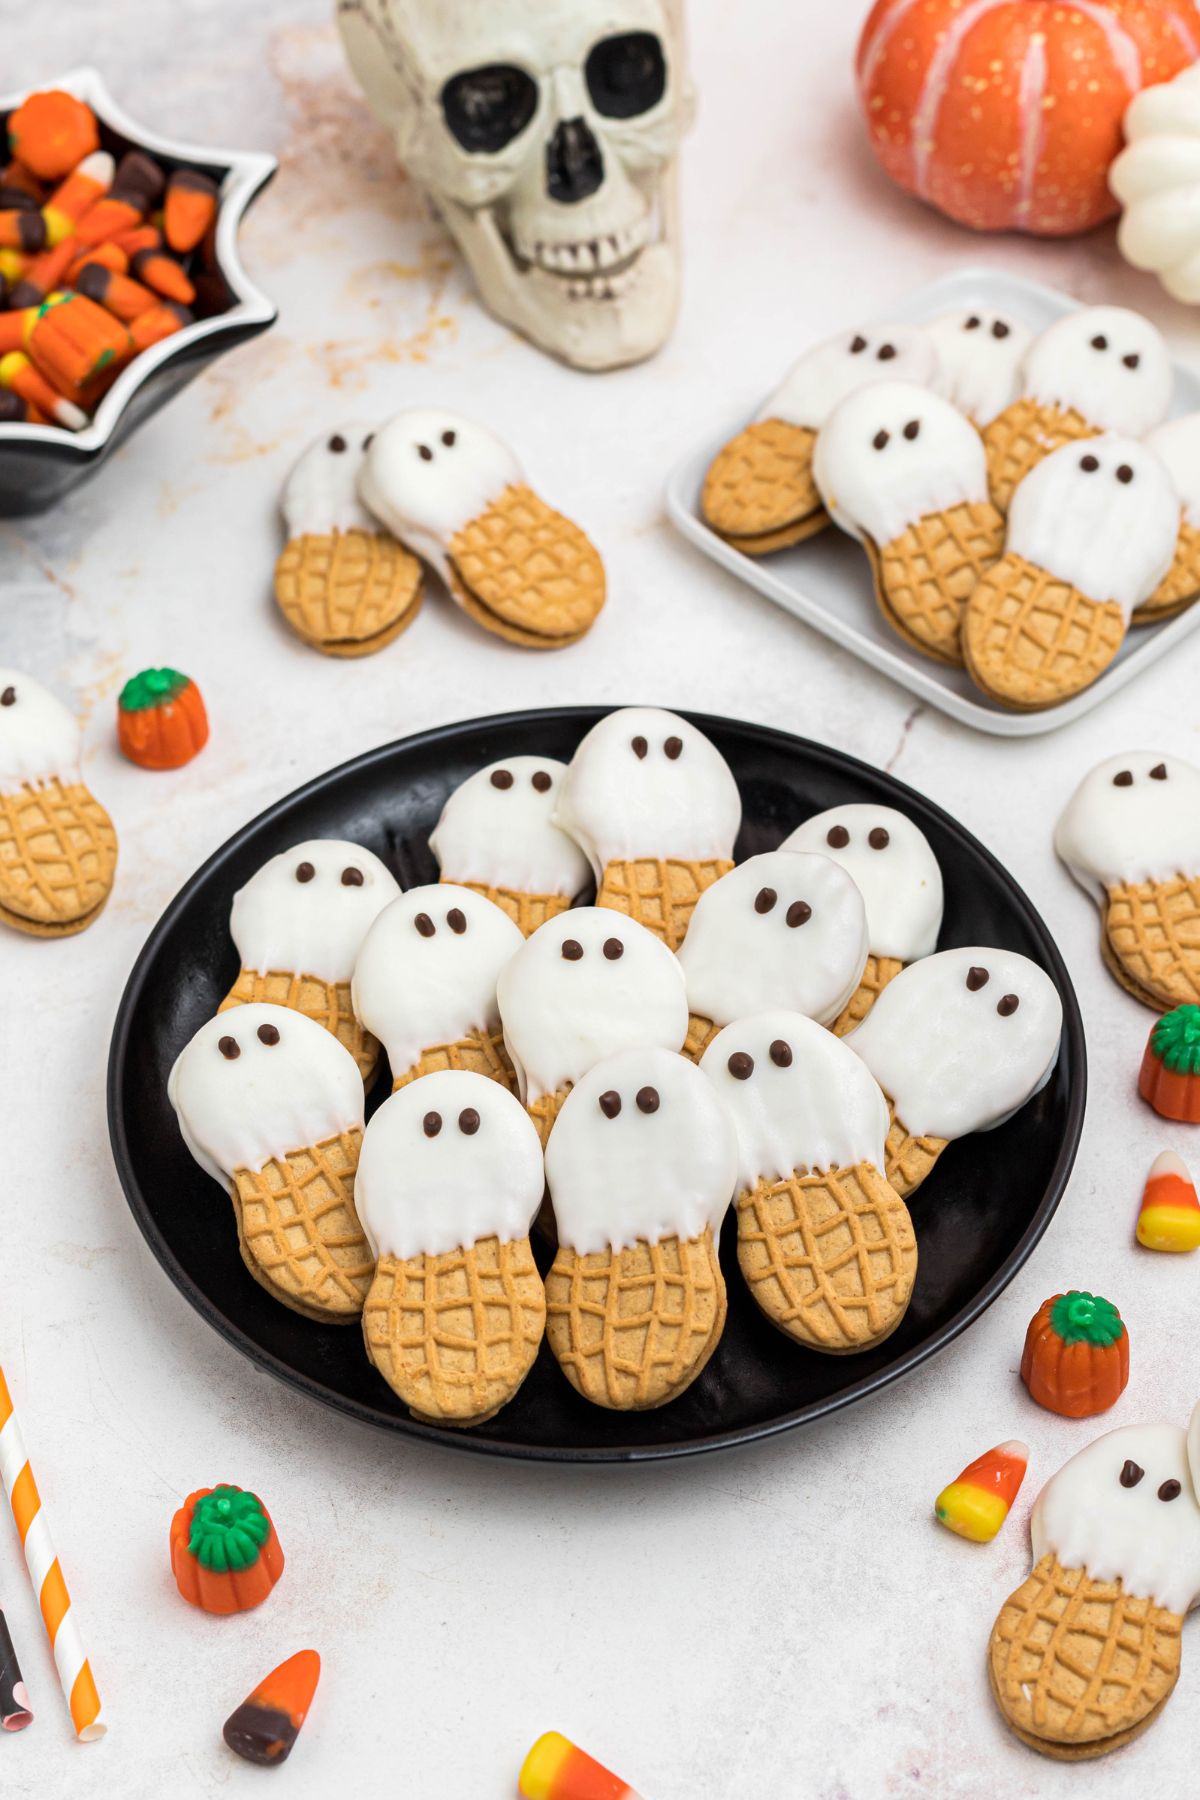
I’ve made Nutter Butter Ghost Cookies so many times, and they are always a Halloween hit. These cute little ghost cookies are easy Halloween treats that kids and adults love. They’re festive, delicious, and are a cute Halloween party food that always vanishes quickly.
“These dipped cookies are as easy as they are adorable! They are perfect for Halloween parties and trick or treaters!”
-Becky
These ghost cookies only need two ingredients to make, and with a little creativity, you can turn a peanut butter cookie into a spooky ghost. They’re the kind of fun treats that make Halloween night extra special.
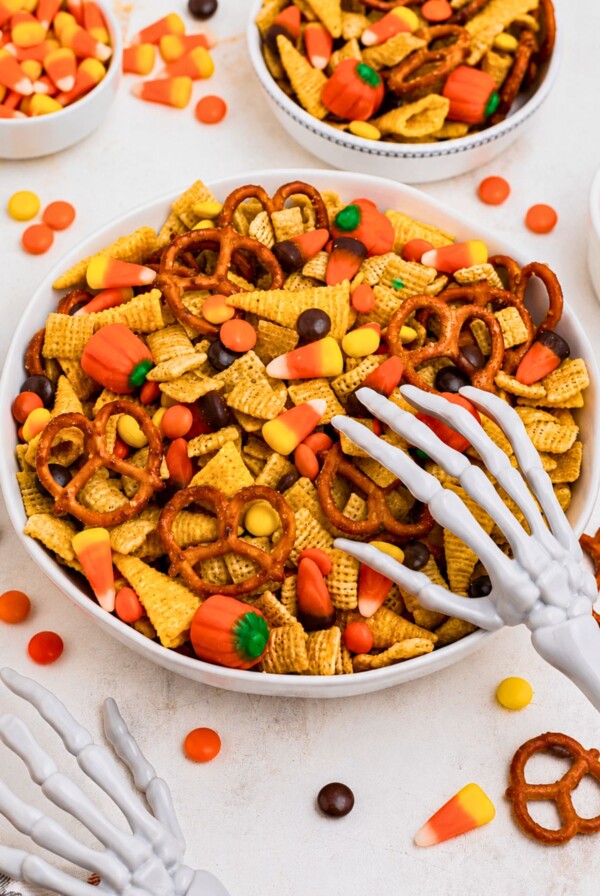
If you’re looking for more Halloween fun, you might also love my Caramel Apples with Sprinkles, Frankenstein Rice Krispie Treats, and Homemade Pop Tarts. Or for fun fall drinks, try a batch of these Fall Sangrias or Pumpkin Spice Coffee.
Table of Contents
Ingredients You Will Need
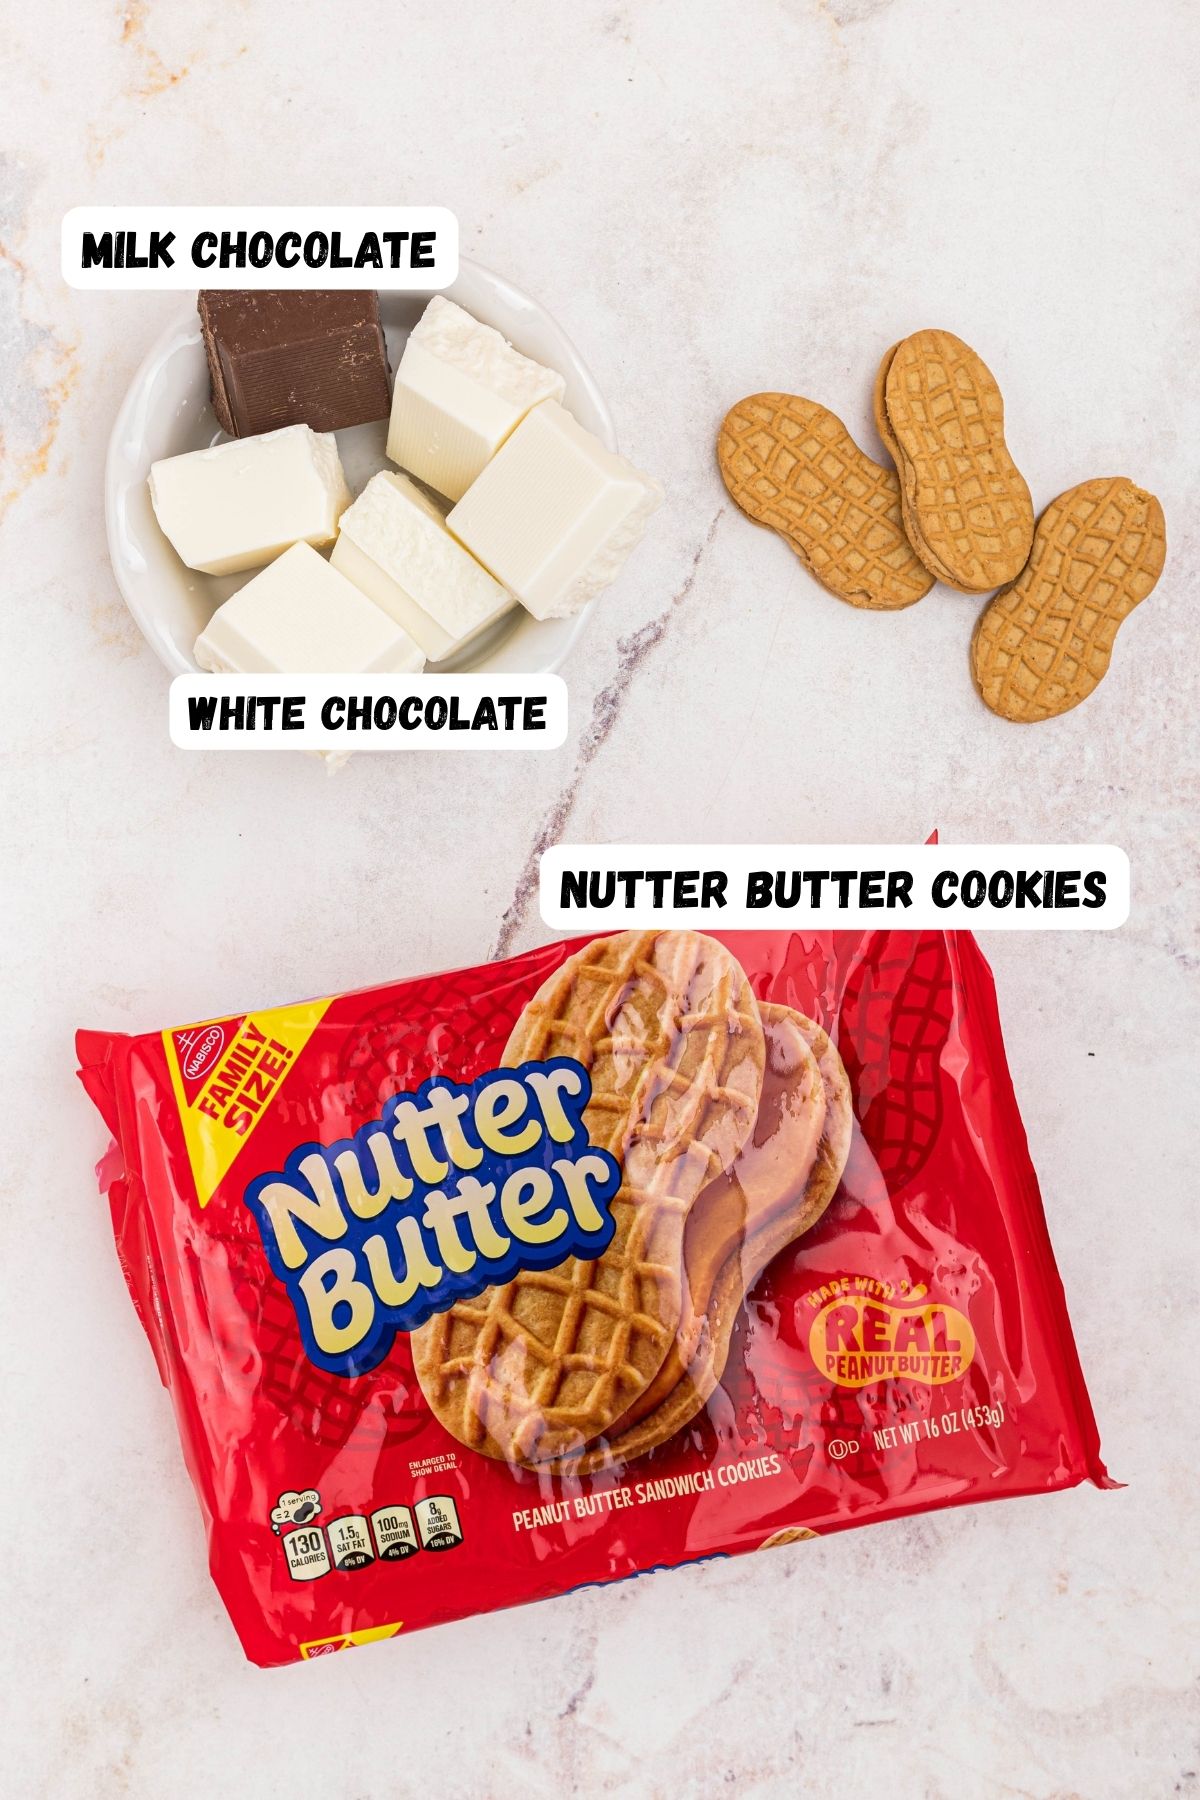
- Nutter Butter cookies: The classic peanut butter cookie shape makes the best ghost base.
- White candy coating or melted white chocolate: Use candy melts, melted almond bark, or white almond bark for smooth dipping. Follow the package instructions for melting.
- Melting chocolate, mini chocolate chips or black frosting: Add eyes and mouths to bring your ghosts to life. If you don’t have piping bags, or want to keep if even easier, simply press on mini chocolate chips or candy eyes for the easiest alternative.
- Parchment paper, wax paper, or a cookie sheet with a rack: Keeps your coated cookies from sticking while they dry.
A full list of ingredients is included in the recipe card below.
Variations
- Candy eyes: Swap mini-chocolate chips with candy eyes for a fun twist.
- Colored ghosts: Try orange or green white candy coating for more Halloween fun.
- Different cookies: Milano cookies also make great ghosts.
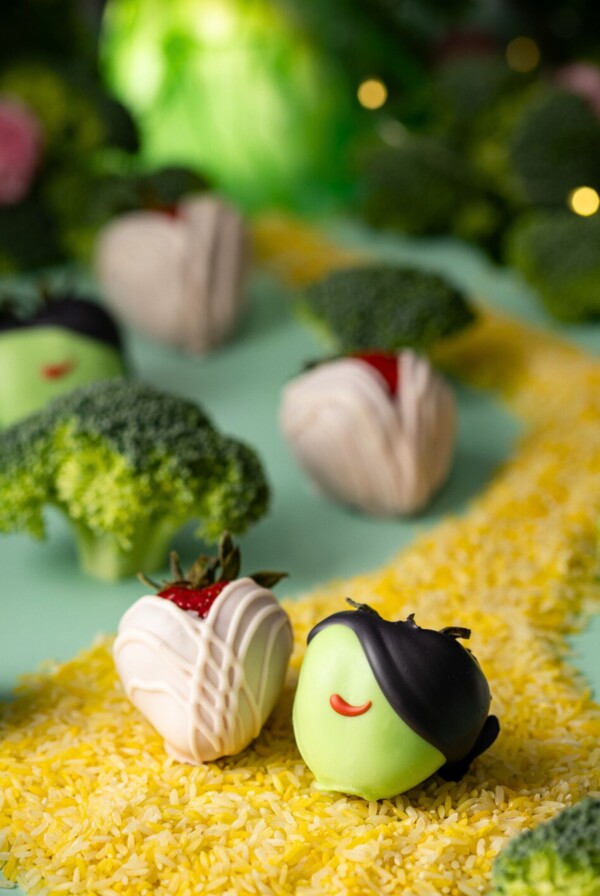
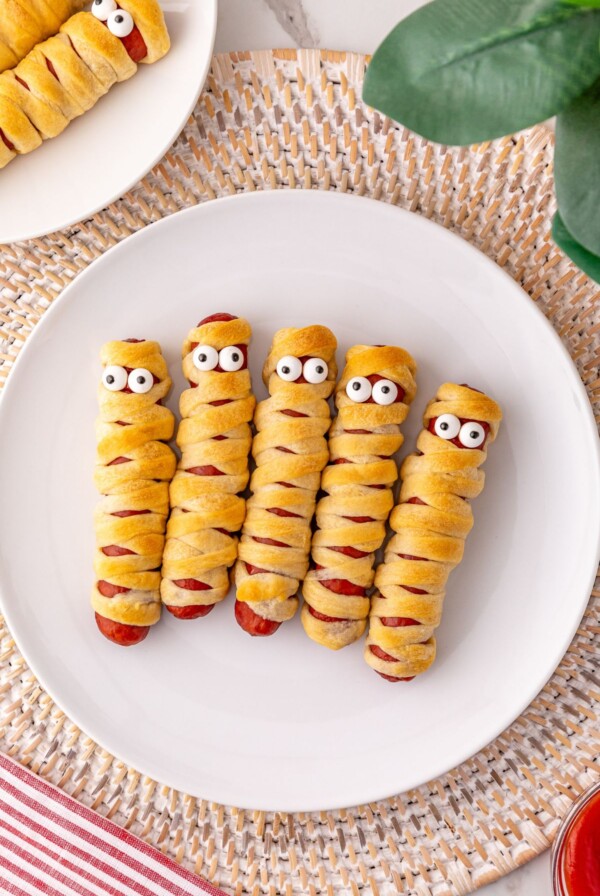
- Themed variety: Add these alongside mummy dogs for a platter of spooky fun treats.
How to Make Nutter Butter Ghost Cookies
Line a cookie sheet with wax paper or parchment paper and set out your Nutter Butter cookies.
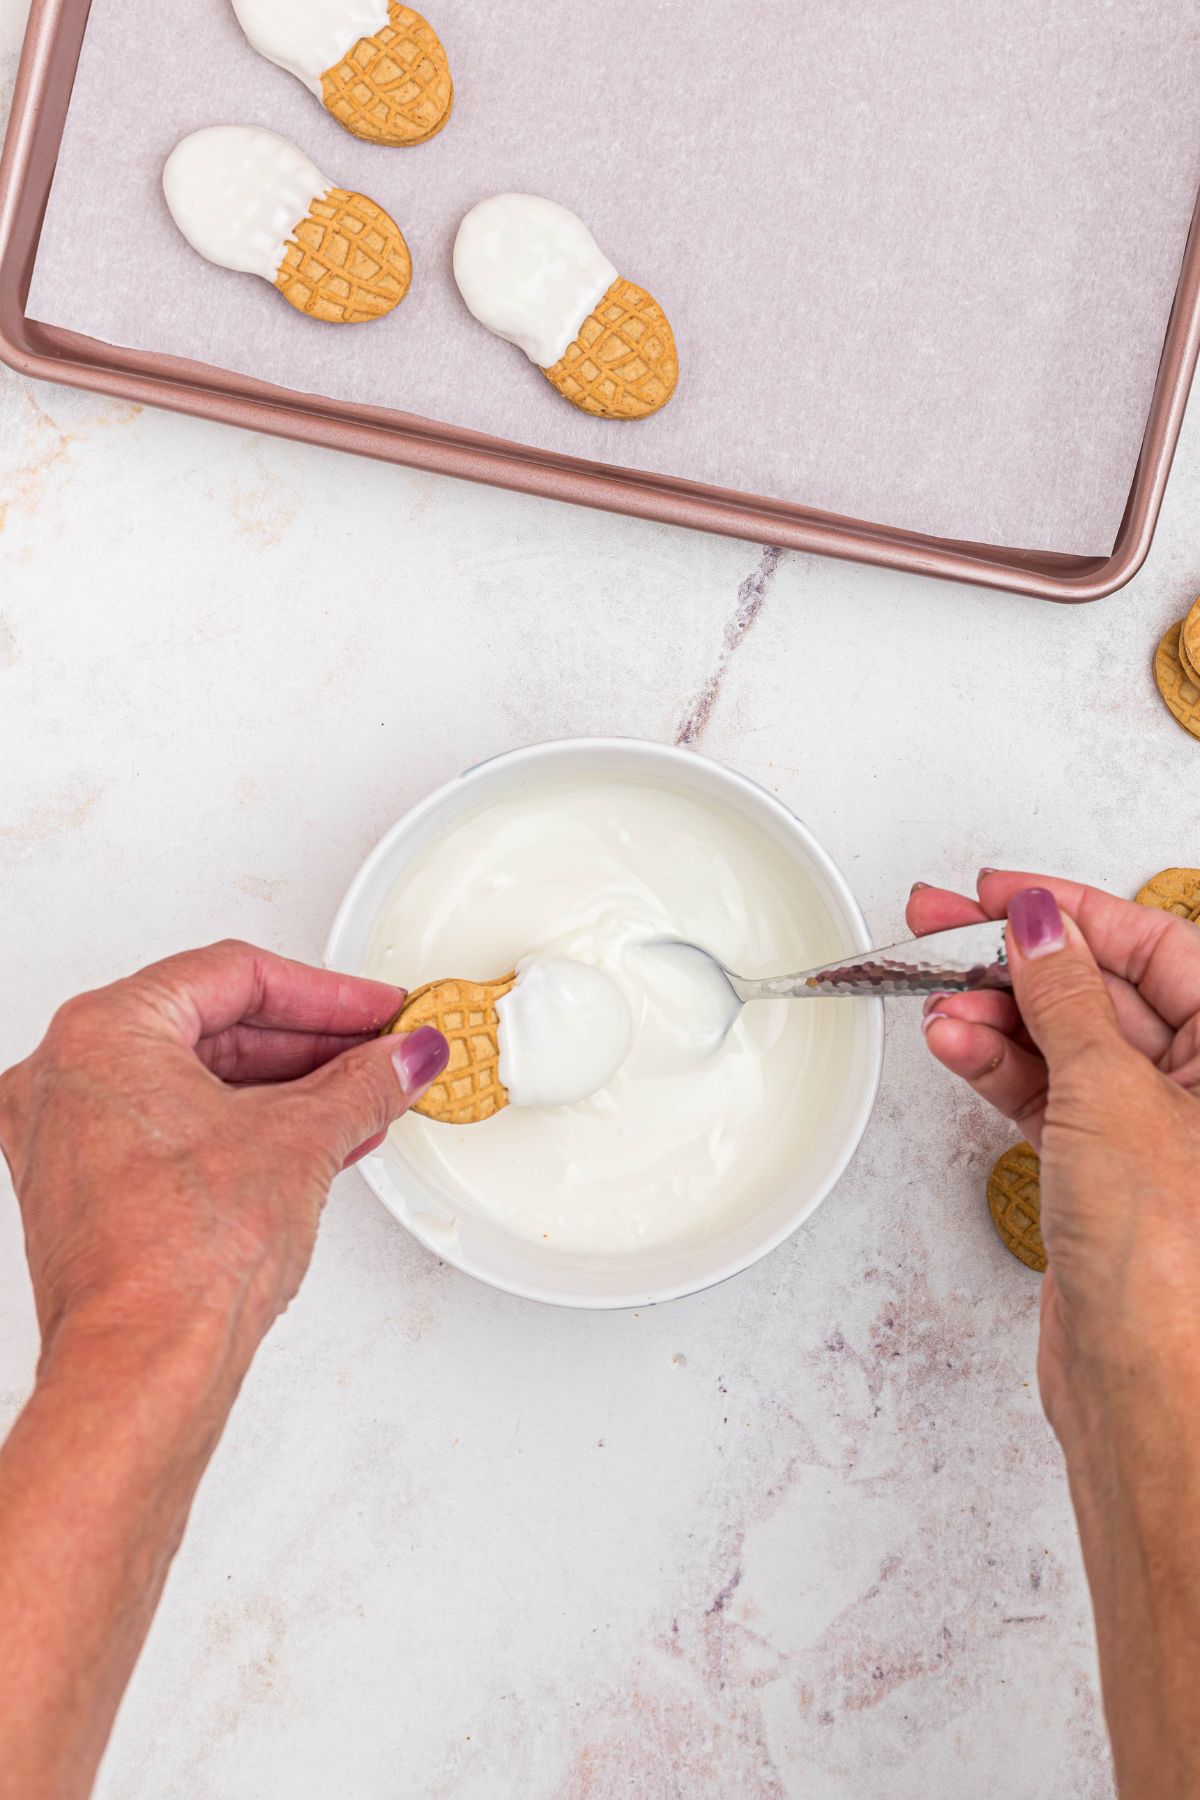
- In a microwave-safe bowl, melt white candy coating, melted almond bark, or melted white chocolate in 30 second intervals, stirring until smooth. Dip each Nutter Butter halfway, or spoon the coating over the tops to create a ghostly shape. Shake off any excess before placing on the prepared cookie sheet.

- Before the chocolate sets, use a piping bag and pipe small dots of melted chocolate for the eyes and mouth. Allow the coated cookies to set completely on a rack or wax paper-lined cookie sheet until firm.
Expert Tips
- Use the right coating: White almond bark or white candy coating melts smoothly and hardens quickly.
- Avoid excess chocolate: Tap each cookie gently to shake off extra coating before drying.
- Keep it fun: Make some ghosts look scared, some surprised, and others silly for cute little ghost cookies with personality.
- Make ahead: Store these dipped cookies in an airtight container between layers of wax paper for up to 5 days.

Nutter Butter Ghost Cookies FAQs
Yes, If it’s easier to make them ahead of time, Nutter Butter ghost cookies can be made up to 3 days in advance. Store the coated cookies in an airtight container lined with wax paper to prevent sticking.
Yes, Nutter Butter ghost cookies can be frozen for up to 2 months. Place them on a cookie sheet in a single layer first, then transfer to a freezer-safe container with wax paper between the layers.
White candy melts, melted white chocolate, or white almond bark all work well. Follow the package instructions for melting. If using chocolate chips, add a little oil to keep the coating smooth.
These fun treats pair perfectly with other Halloween recipes like mummy dogs, monster cupcakes, or caramel apples. Together, they make a spread of easy Halloween treats everyone will love.
More Halloween Recipes

If you have tried this recipe or any others from Celebrating Simply, I’d love it if you would leave a ⭐ star rating and share your thoughts in the ✍️ comments below. Your feedback means a lot!
Nutter Butter Ghosts

Equipment
- Parchment Paper
- Baking Sheet
- Microwave safe bowl
Ingredients
- 32 Nutter Butter Cookies
- 12 ounces melting white chocolates
- 1 ounce melting chocolate
Instructions
- Line a cookie sheet with wax paper or parchment paper and set out your Nutter Butter cookies.
- In a microwave-safe bowl, melt white candy coating, melted almond bark, or melted white chocolate in 30 second intervals, stirring until smooth.
- Dip each Nutter Butter halfway, or spoon the coating over the tops to create a ghostly shape. Shake off any excess before placing on the prepared cookie sheet.
- Before the chocolate sets, use a piping bag and pipe small dots of melted chocolate for the eyes and mouth. Allow the coated cookies to set completely on a rack or wax paper-lined cookie sheet until firm.
Notes
- Servings: I used the whole package. A 16 oz package of Nutter Butters has about 32 cookies.
- Use the right coating: White almond bark or white candy coating melts smoothly and hardens quickly.
- Avoid excess chocolate: Tap each cookie gently to shake off extra coating before drying.
- Keep it fun: Make some ghosts look scared, some surprised, and others silly for cute little ghost cookies with personality.
- Make ahead: Store these dipped cookies in an airtight container between layers of wax paper for up to 5 days.
Nutrition
Nutrition information is automatically calculated, so should only be used as an approximation.


These are awesome and a great treat around Halloween for the kids, and they are delicious (Inhad a hard time not eating them all) 🤣🤣🤣
These are so cute! And easy to make!