This post contains affiliate links. Please see our disclosure policy.
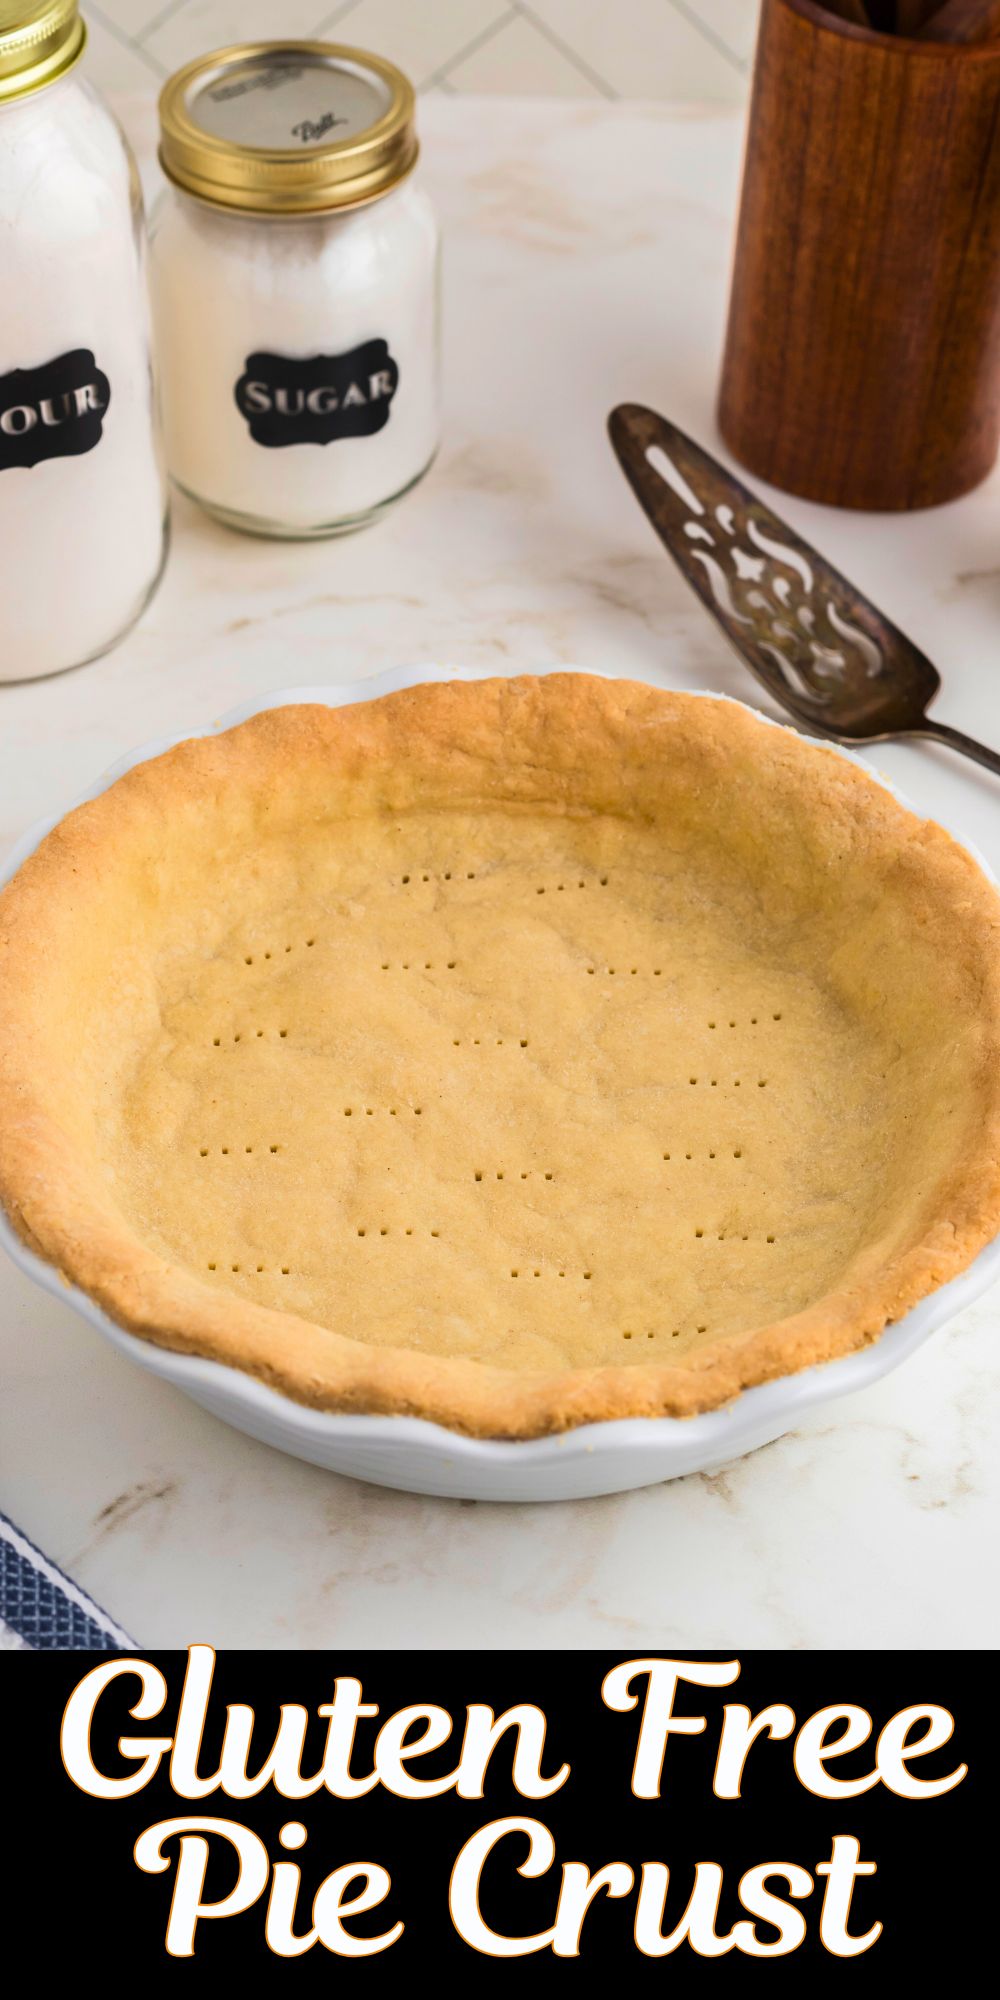
This gluten free pie crust recipe is ideal for both sweet and savory pies. This pie crust recipe allows you to have a flaky soft crust, minus the gluten. It makes a delicious crust to complement your favorite holiday pies.
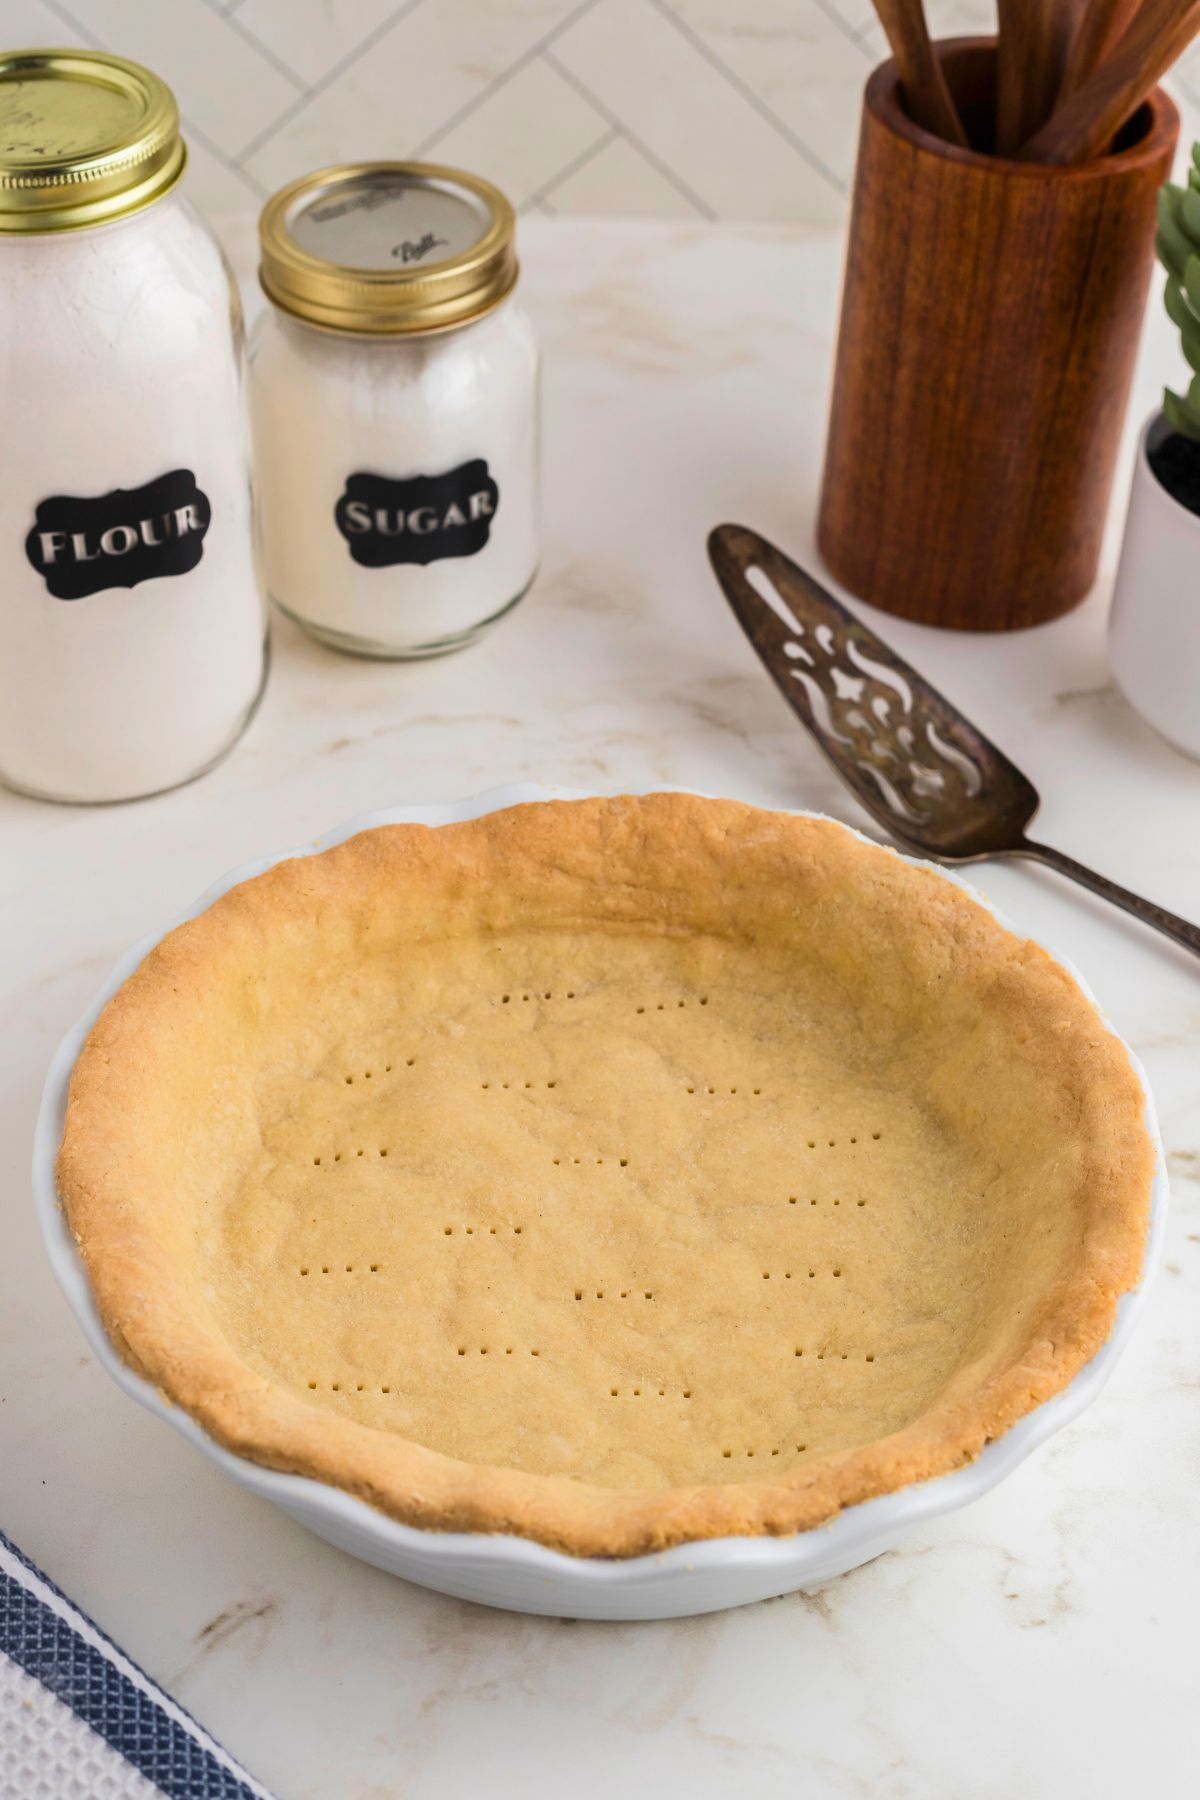
Easy Gluten Free Pie Crust Recipe
A gluten-free pie crust can be just as flaky, buttery, and delicious as a traditional crust, and it’s actually pretty easy to make. Whether you’re gluten-intolerant, have Celiac disease, or you just want to provide a gluten free pie to guests, use this recipe to keep flaky pie crusts that everyone will love.
If you’ve ever tried gluten-free baking, you know it can be tricky to make them look and taste like non-gluten free recipes. Luckily, this recipe makes it easy to have a flaky gluten-free pie crust that is just as delicious as traditional pie crust!
Ingredients You Will Need
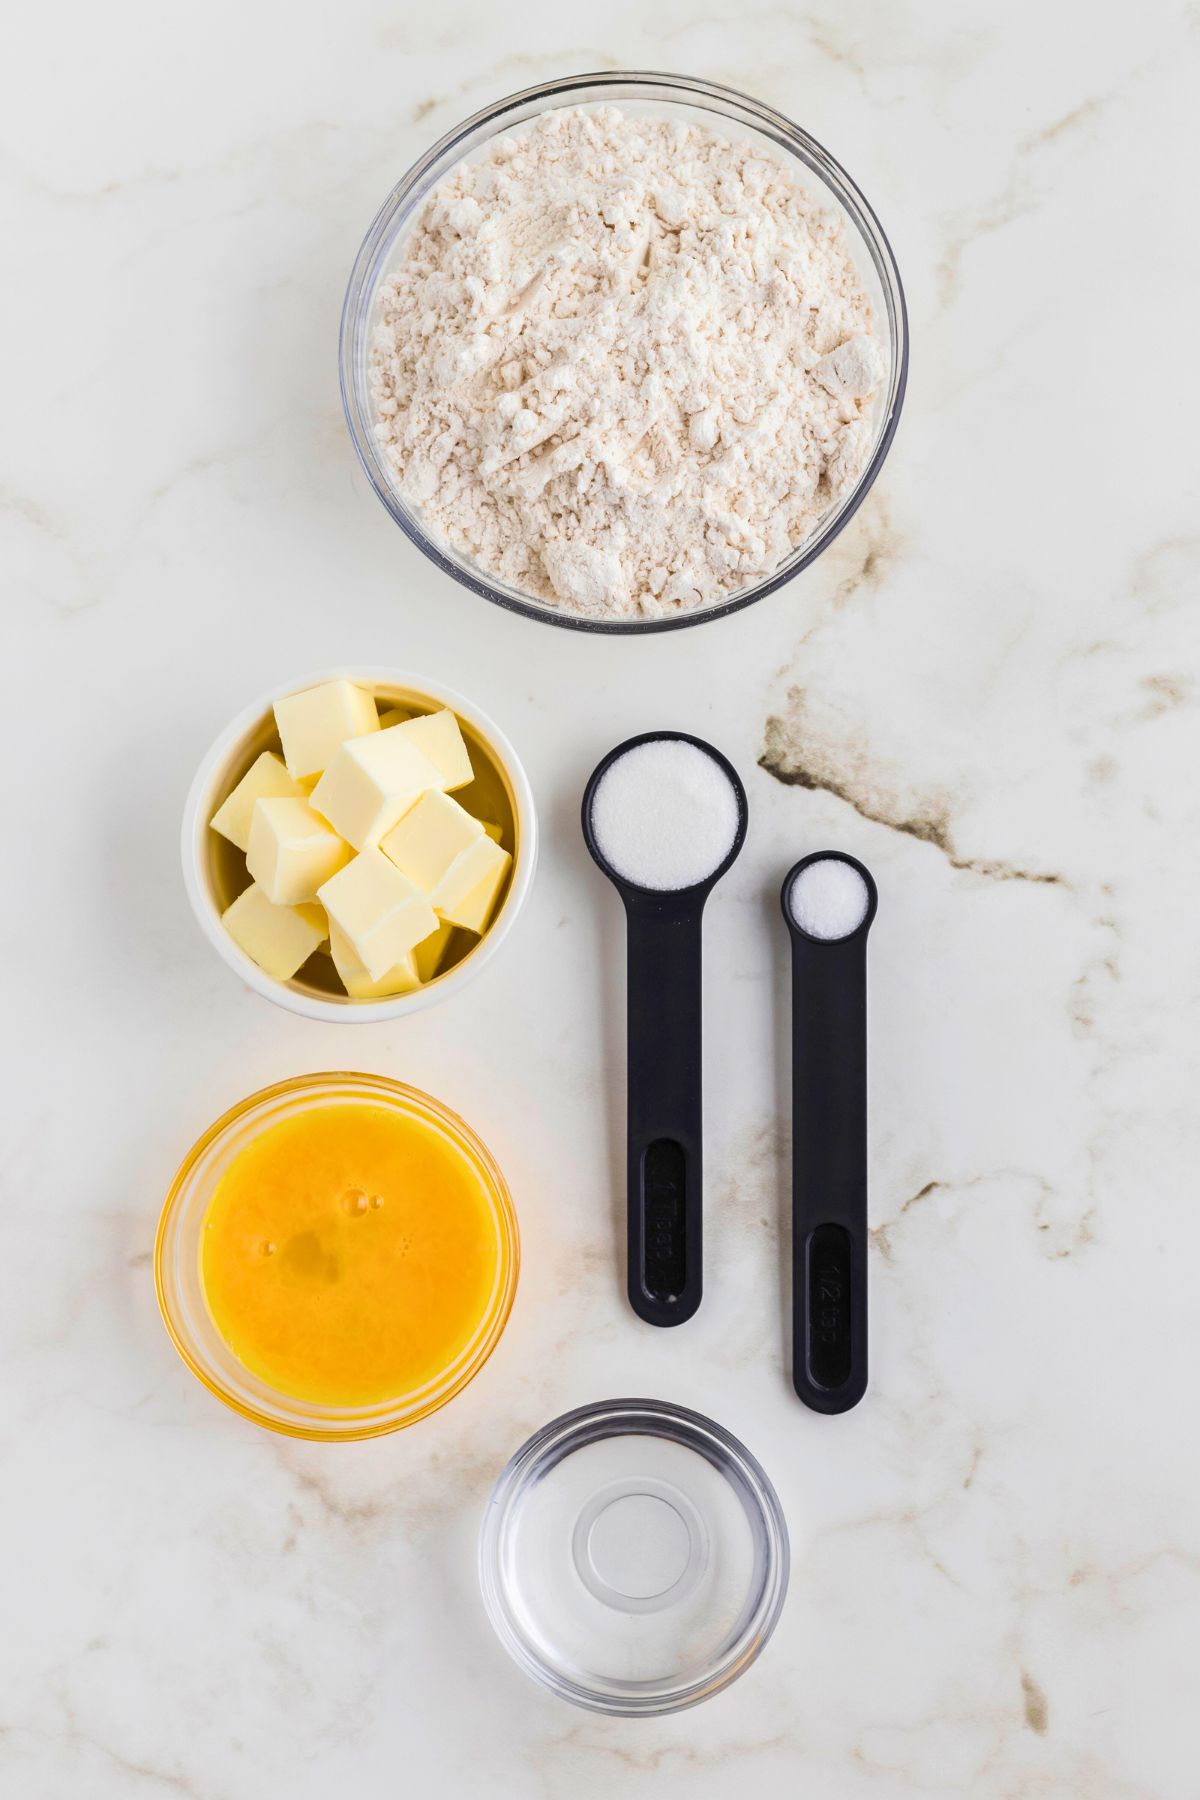
- gluten-free all-purpose flour (make sure it contains xanthan gum or add 1/2 teaspoon if it doesn’t)
- salt-enhances the flavor of the crust.
- unsalted butter, cut into 1 inch cubes- cold chunks of butter combined with the flour, creates the perfect flakiness of the crust.
- egg, lightly beaten
- ice-cold water-keeps the butter cold and helps combine the dough without making it sticky.
- granulated sugar (optional, omit when using the crust with savory foods, such as pot pies)
If you are looking for an easy pie recipe to make with this dough, try a fresh apple pie, pumpkin pie, or sweet potato pie.
How to Make Gluten-Free Pie Dough
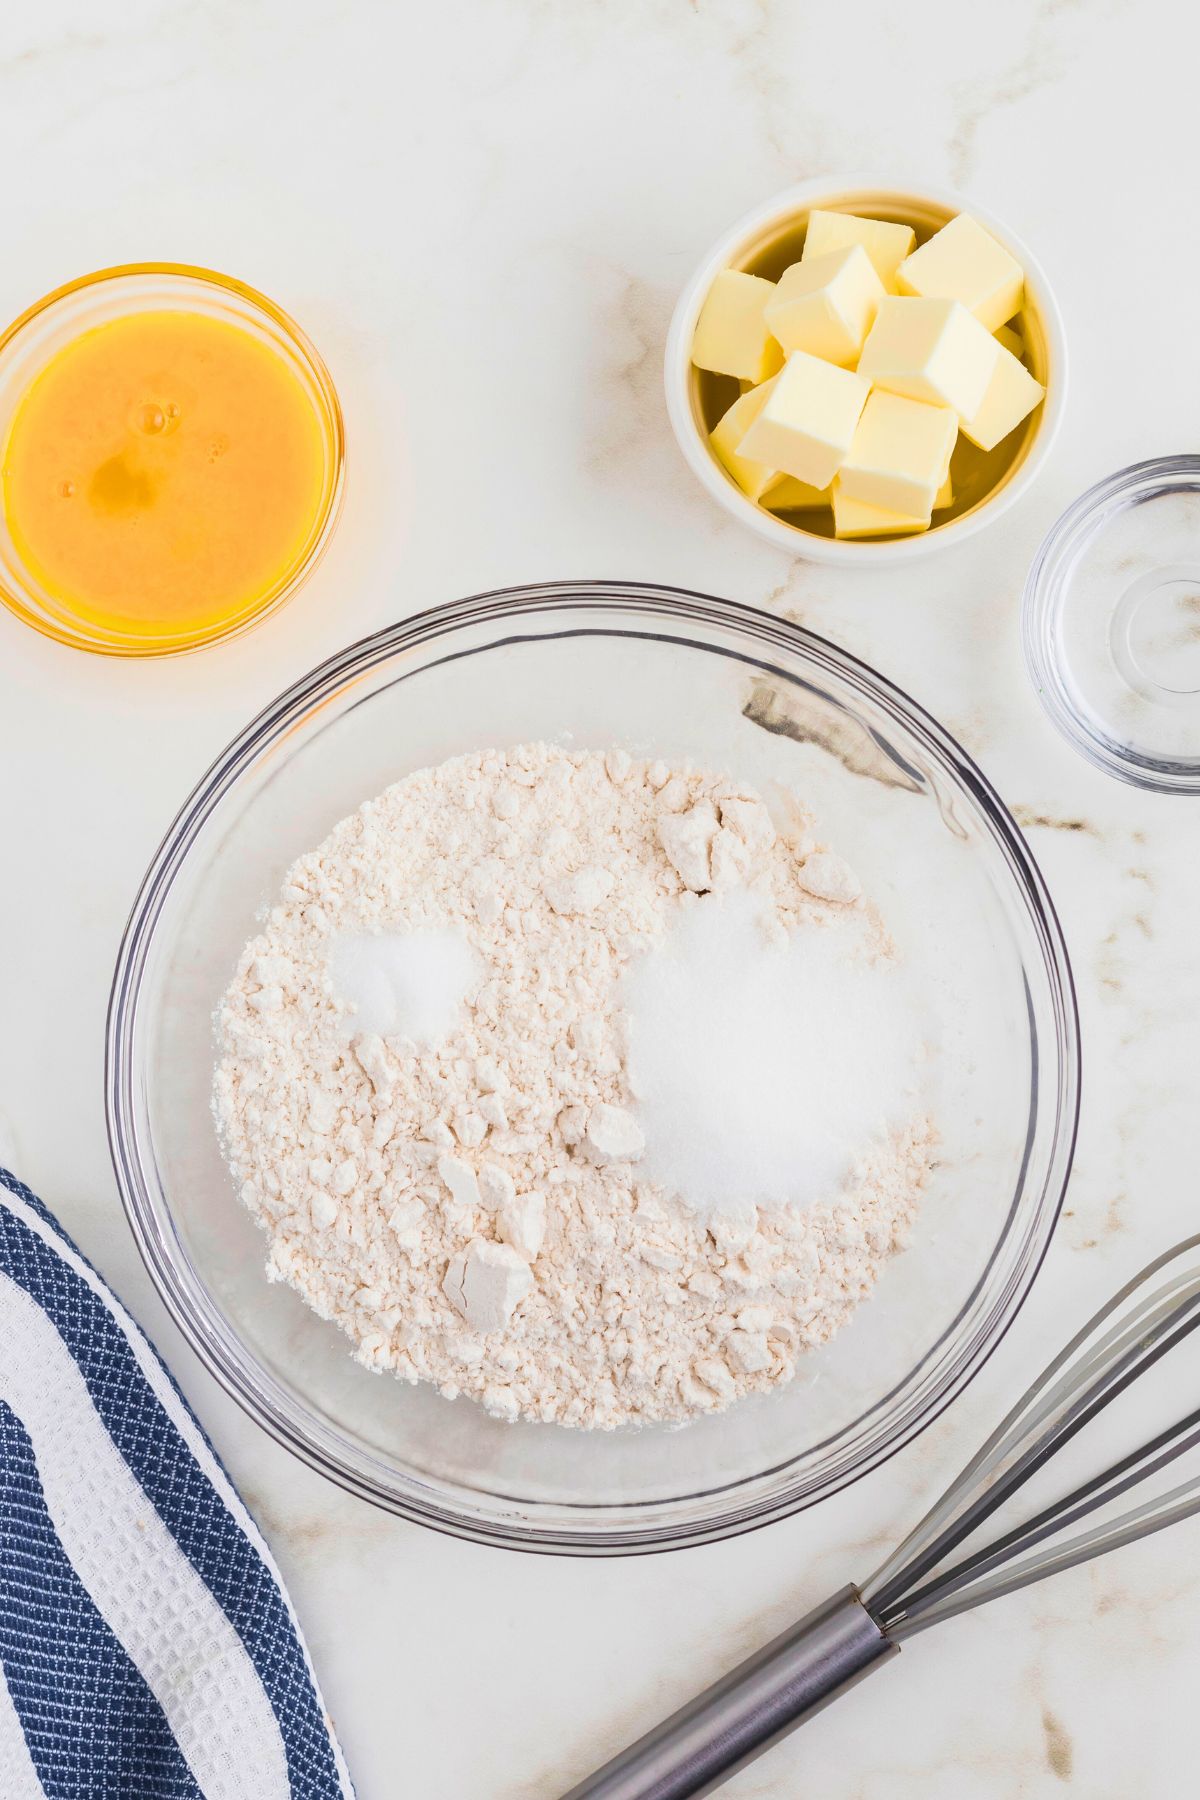
STEP 1. In a large bowl, whisk together the dry ingredients of gluten-free flour, salt, and sugar (if using) until everything is well combined.
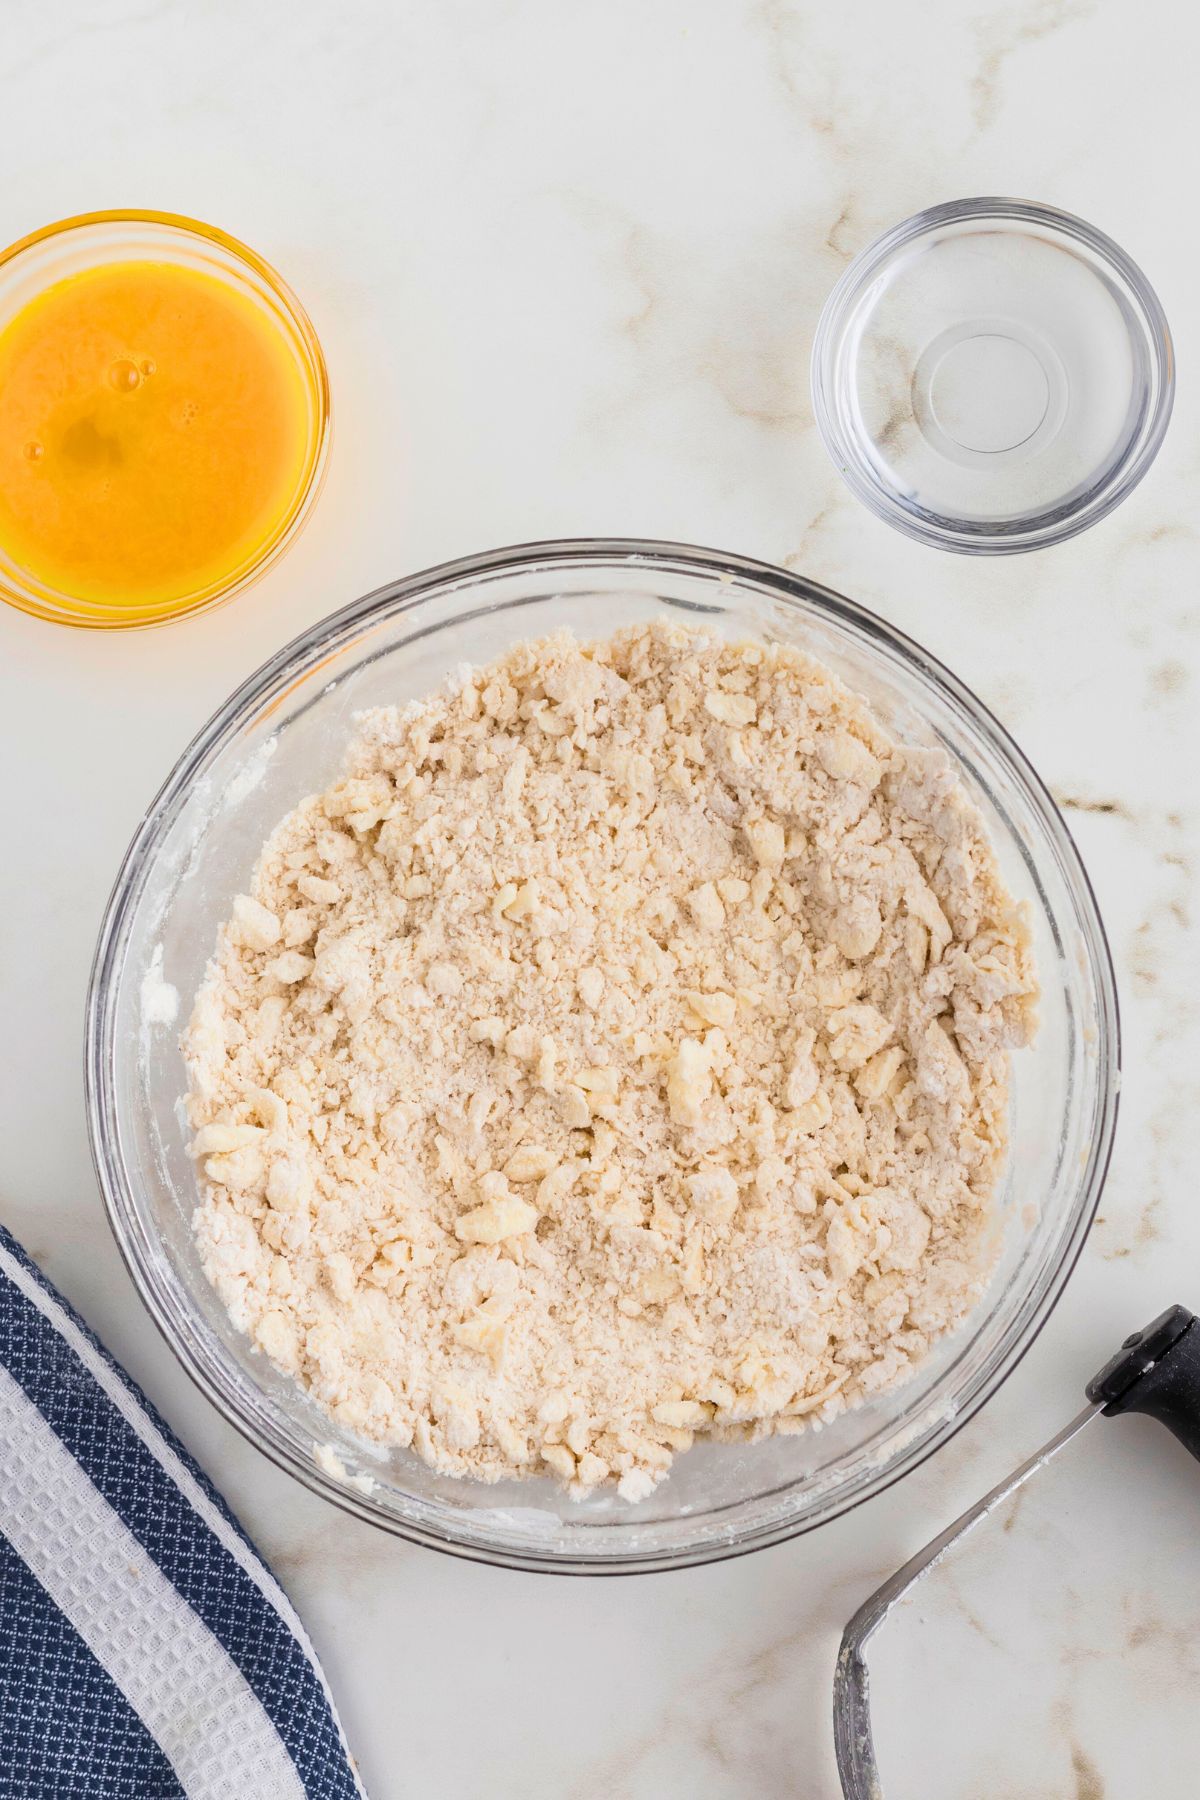
STEP 2. Add the cold butter cubes to the flour mixture. Then, using either a pastry cutter, your fingers, a large fork, or even a food processor, and press the butter into the flour mixture, until the butter pieces are pea-sized and the mixture looks like coarse crumbs.
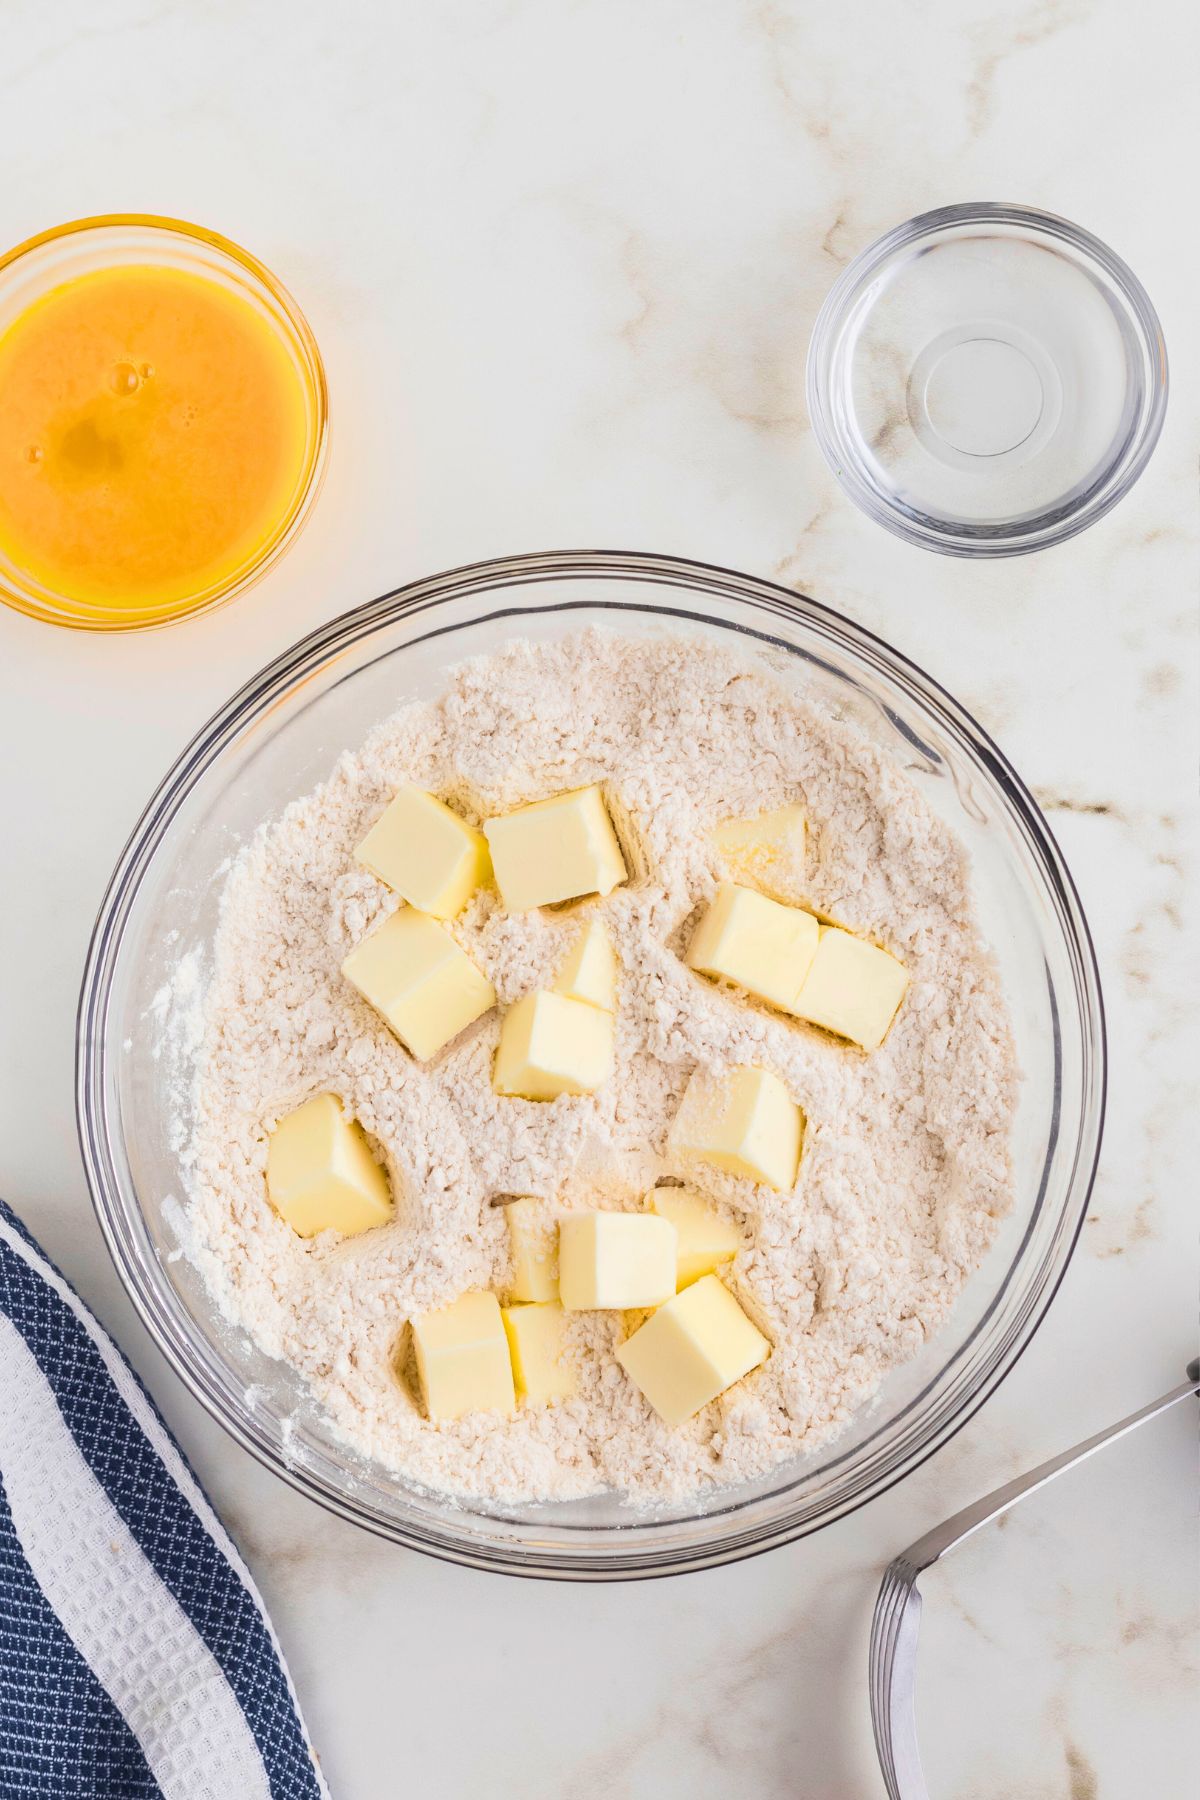
STEP 3. Pour the beaten egg into the mixture and stir to combine. It is okay if the dough is still a bit crumbly.
STEP 4. Next, you’ll add the ice-cold water, one tablespoon at a time, and mix thoroughly until the dough starts to come together. Be careful not to overwork the dough. You’ll know it is done when the dough can hold together when pressed but it shouldn’t be sticky.
STEP 5. Gather the dough and form it into a ball, then flatten it into a round disc. Wrap it in plastic wrap and refrigerate for at least 30 minutes (or up to 2 days) until the dough is firm.
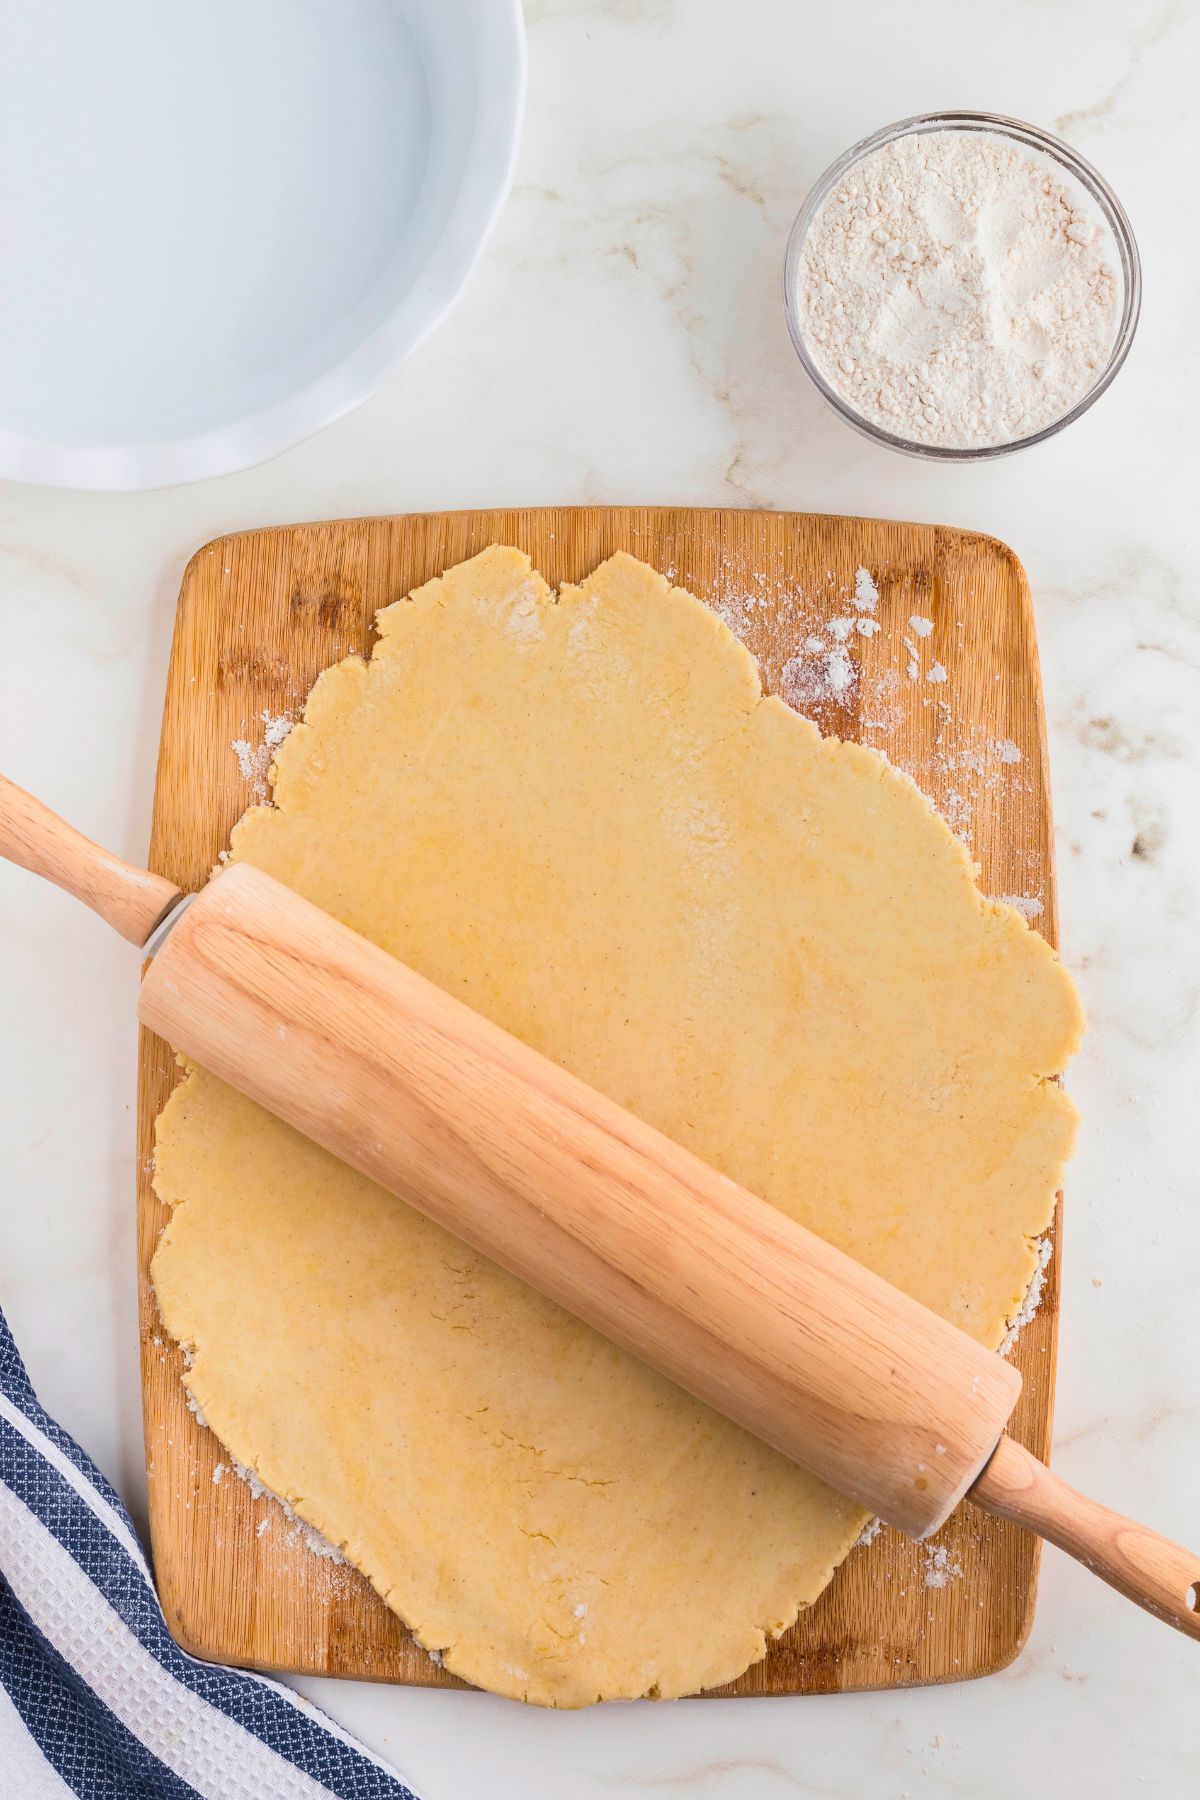
STEP 6. On a lightly floured surface or between two pieces of parchment paper, use a rolling pin to roll out the dough to the size of your pie dish. If the dough cracks, use your fingers to gently patch it together.
STEP 7. Carefully transfer the rolled pie crust dough to the pie pan. Gently using your fingertips, fit the crust to the bottom and up the sides of the pie plate. If there is any excess dough hanging over the edge, carefully trim the dough to line up with the edge of the pie plate.
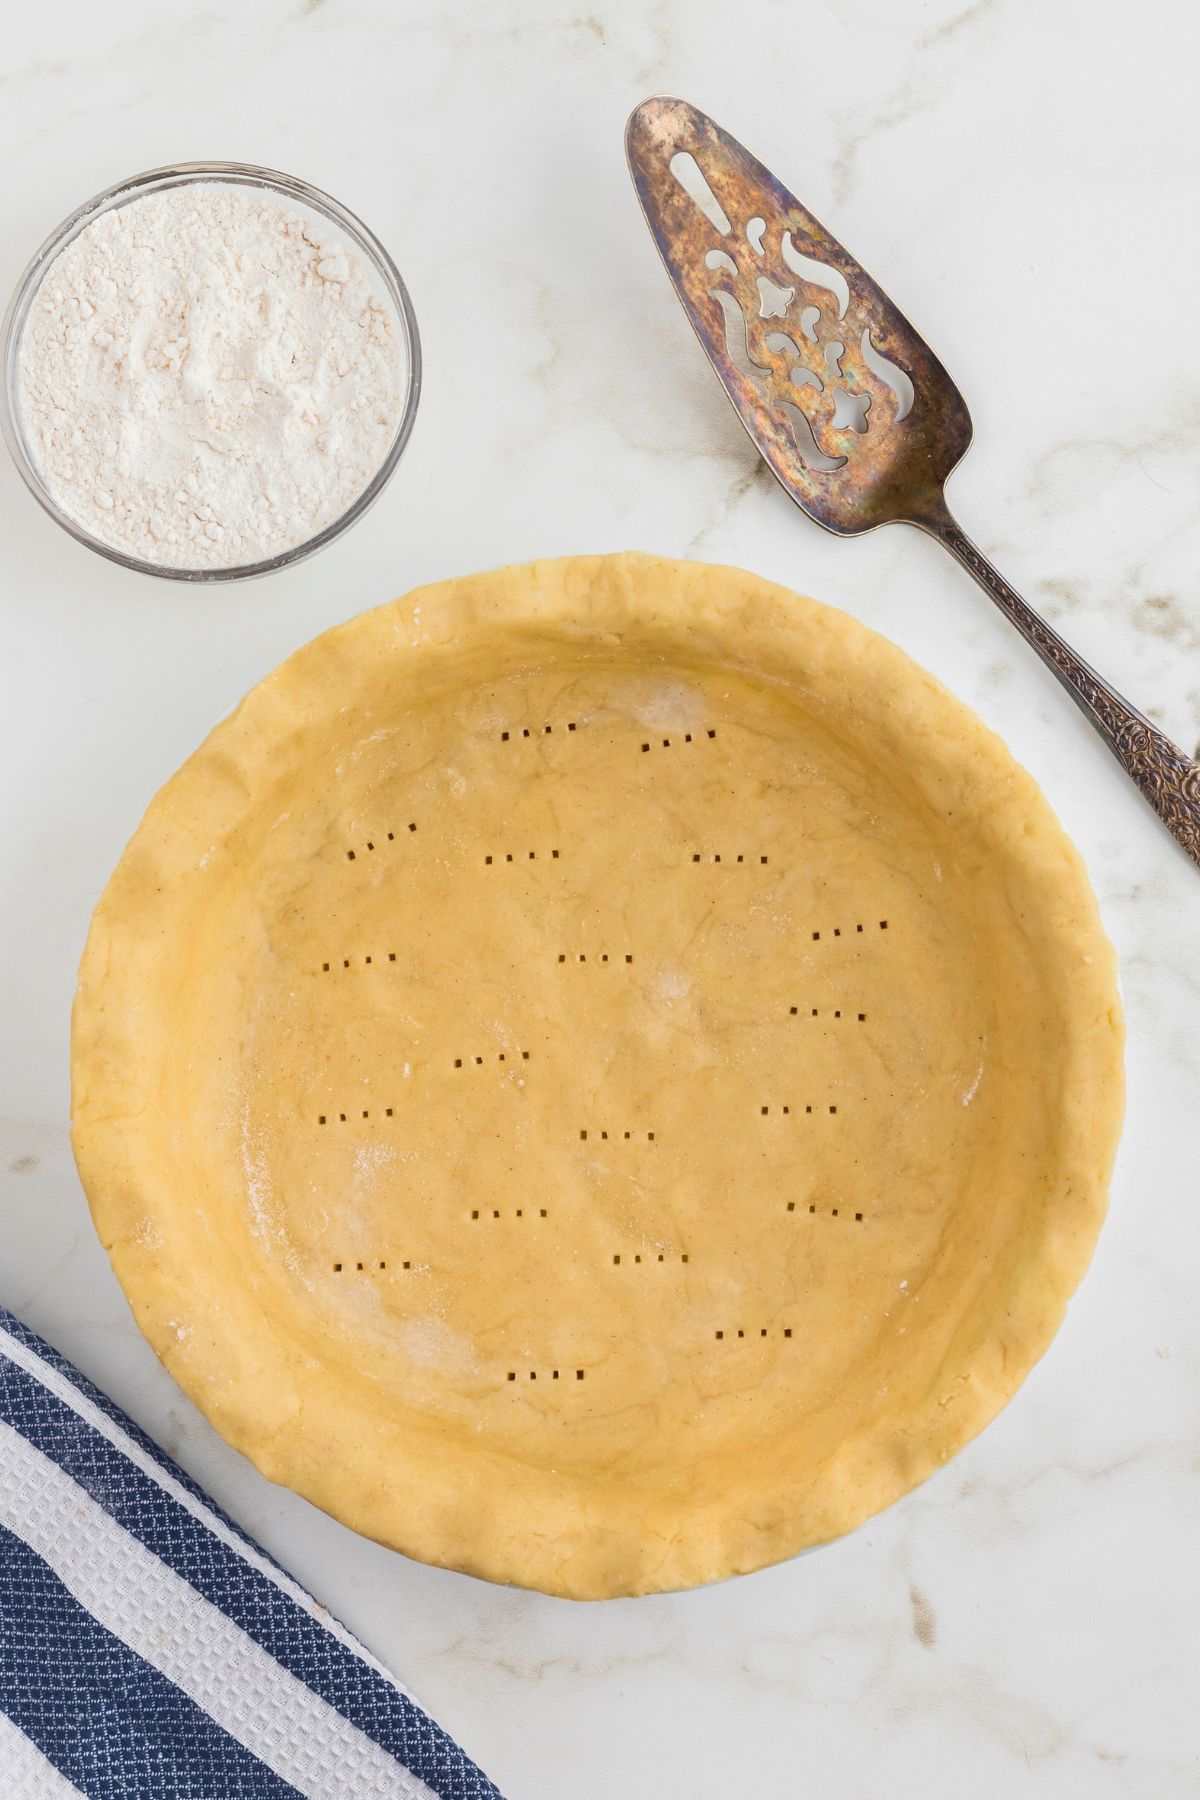
STEP 8: Using your fingertips, carefully make a design along the edge of the crust. You can pinch every inch, make a wave with the crust, or using the prongs of a fork, gently press along the edges.
STEP 9. Place the pie crust in the fridge for another 15 minutes to prevent shrinking during baking.
Blind-Bake Single Crust Pies
If you are using this crust for a cream or a solid-set pie, then you will want to pre-bake the crust. While your crust is chilling in the fridge in step 8, preheat your oven to 375°F.
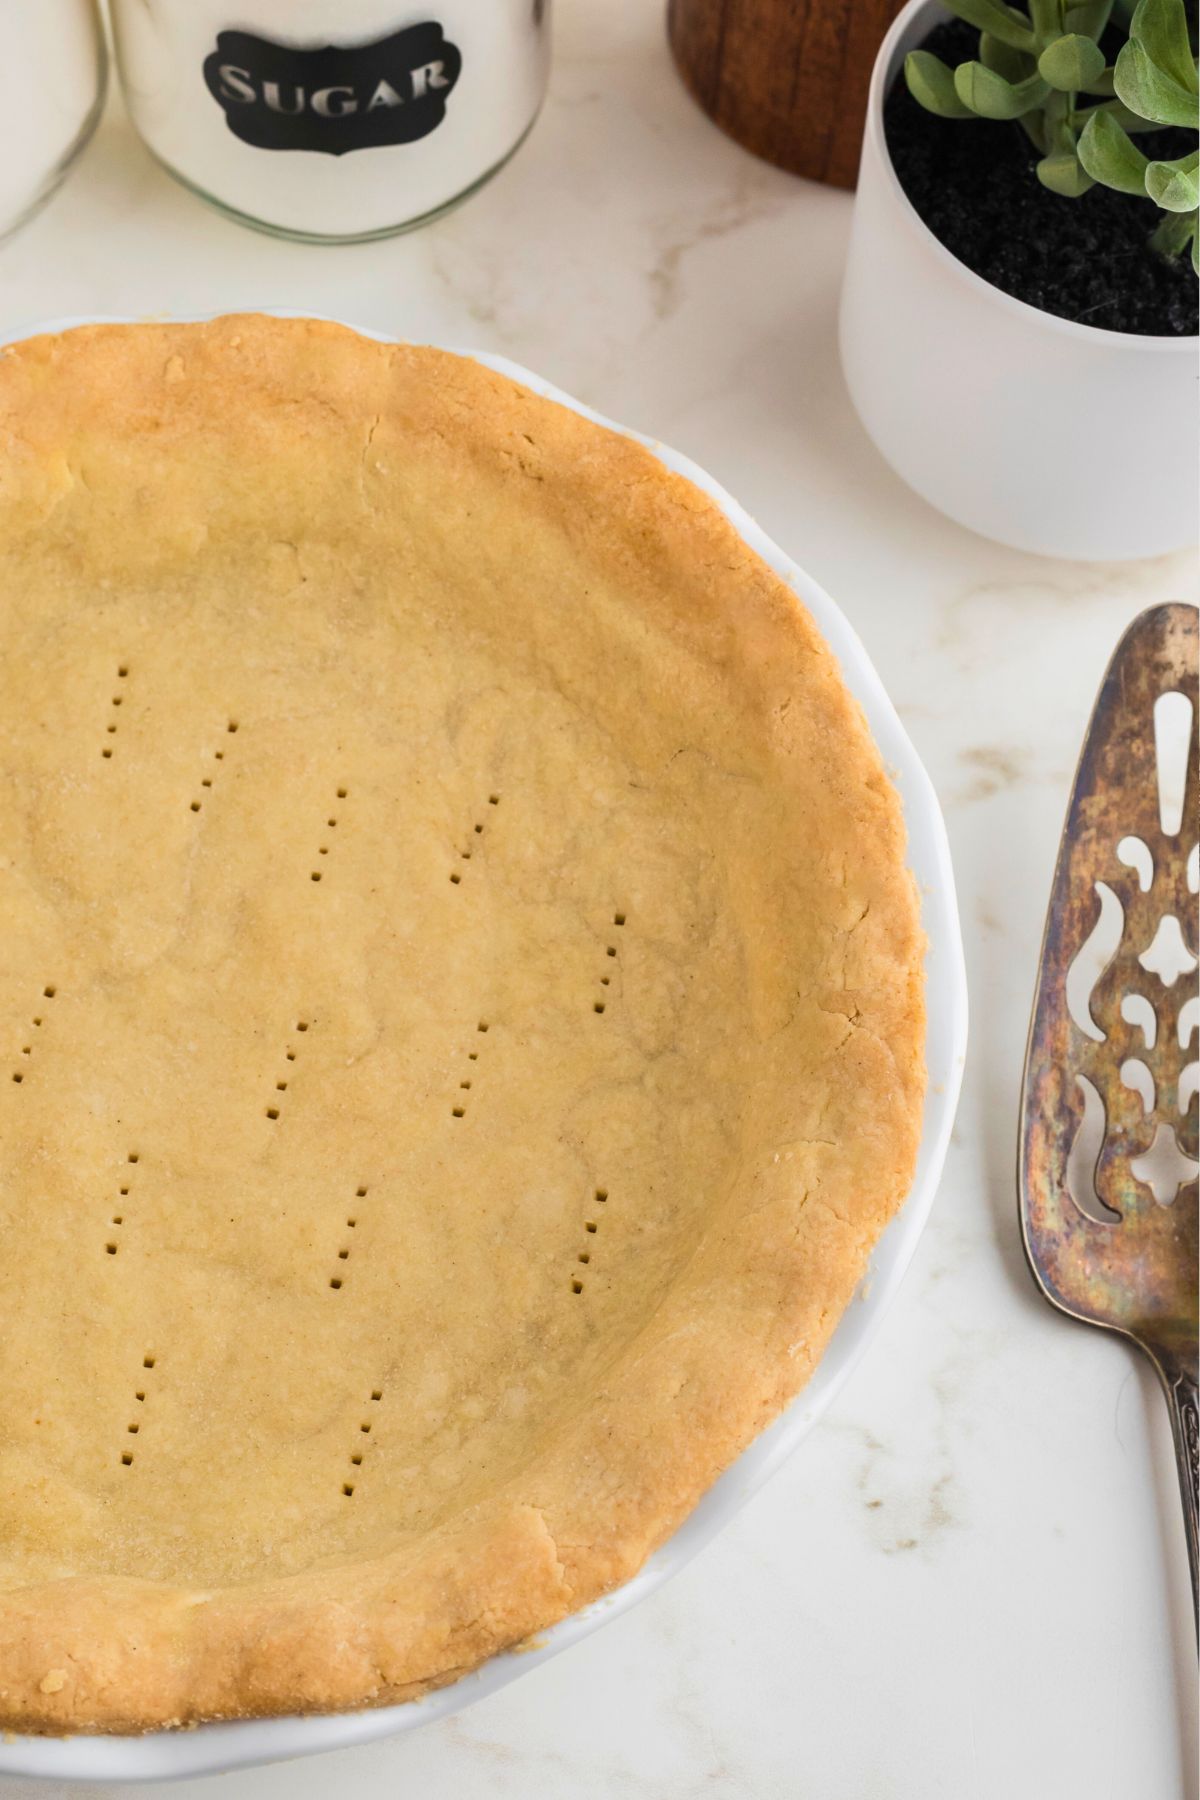
After your crust is finished chilling, lay parchment paper across the whole crust and fill with pie weights or pre-cooked beans. This will help prevent your crust from forming any air pockets. Bake the empty pie for 20-25 minutes or until the crust is golden brown.
Note: If you do not have pie weights or pre-cooked beans, prick the bottom of the crust with a fork several times.
Tips for Making Homemade Pie Crust
- Weigh it Down: If you have pie weights or dried beans, lay parchment paper over the bottom of the uncooked pie crust and line it with the weights or beans.
- Keep Watch: Be sure to check your crust every 5 minutes after the first 10 minutes.
- Tools: If you do not have a pastry cutter, you can also use a fork to mash the butter into the flour.
- Keep Ingredients Cold: The key to achieving the perfect flaky crust is the cold water and butter. Do not let these two ingredients get to room temperature.
- Perfect Dough: If your dough cracks when transferring to the pie dish, don’t stress! The great thing about dough is you can gently rub or press the dough to help the dough come back together.
- Use a stand mixer or food processor: If using a processor, just give the dough a few pulses until ingredients mix together. Be careful you don’t overmix the dough.
- Use the right flour: I use King Arthur’s Measure-to-Measure Gluten Free Flour and it tasted delicious. Other flours may alter the taste a bit. This is something you will want to experiment with and find what tastes best to you.
FAQ’S
Yes, the biggest thing to watch for is if it contains xanthan gum or not. If it does not, be sure to add ½ teaspoon when you are mixing the ingredients together. Also, it is important to note that every gluten-free flour has its own flavor.
Yes! Once you have made your dough, leave it in a ball and wrap it tightly with a plastic wrap and/or seal it in a Ziploc freezer bag. You can store the crust for up to 3 months. When you are ready to use it, place it in the refrigerator to thaw 24-48 hours in advance.
You can either add tin foil sheets or a crust shield halfway through the baking process to help prevent the edge from burning. Remove them when the crust is finished.
Wet pies, such as fruit pies, custard-based pies, and cream pies, will keep the bottom of the crust wet.
More Dessert Recipes
Gluten Free Pie Crust
Equipment
- Large Mixing Bowl
- Mixer or Food Processor, or forks
- Pie Pan
Ingredients
- 1 1/2 cups gluten free all purpose flour, make sure it contains xanthan gum or add 1/2 teaspoon if it doesn’t
- 1/2 teaspoon salt
- 1/2 cup unsalted butter, cold, cut into cubes
- 1 large egg
- 4 tablespoons water, ice-cold
- 1 tablespoon sugar
Instructions
- In a large bowl, whisk together the dry ingredients of gluten-free flour, salt, and sugar (if using) until everything is well combined.
- Add the cold butter cubes to the flour mixture. Then, using either a pastry cutter, your fingers, a large fork, or even a food processor, and press the butter into the flour mixture, until the butter pieces are pea-sized and the mixture looks like coarse crumbs.
- Add the ice-cold water, one tablespoon at a time, and mix thoroughly until the dough starts to come together. Be careful not to overwork the dough. You’ll know it is done when the dough can hold together when pressed but it shouldn’t be sticky.
- Gather the dough and form it into a ball, then flatten it into a round disc. Wrap it in plastic wrap and refrigerate for at least 30 minutes (or up to 2 days) until the dough is firm.
- On a lightly floured surface or between two pieces of parchment paper, use a rolling pin to roll out the dough to the size of your pie dish. If the dough cracks, use your fingers to gently patch it together.
- Transfer the rolled pie crust dough to the pie pan. Gently using your fingertips, fit the crust to the bottom and up the sides of the pie plate. Trim excess dough and make a design along the edge of the crust or use a fork to crimp edging.
- Place the pie crust in the fridge for another 15 minutes to prevent shrinking during baking.
Notes
Nutrition
Nutrition information is automatically calculated, so should only be used as an approximation.

