
This post contains affiliate links. Please see our disclosure policy.

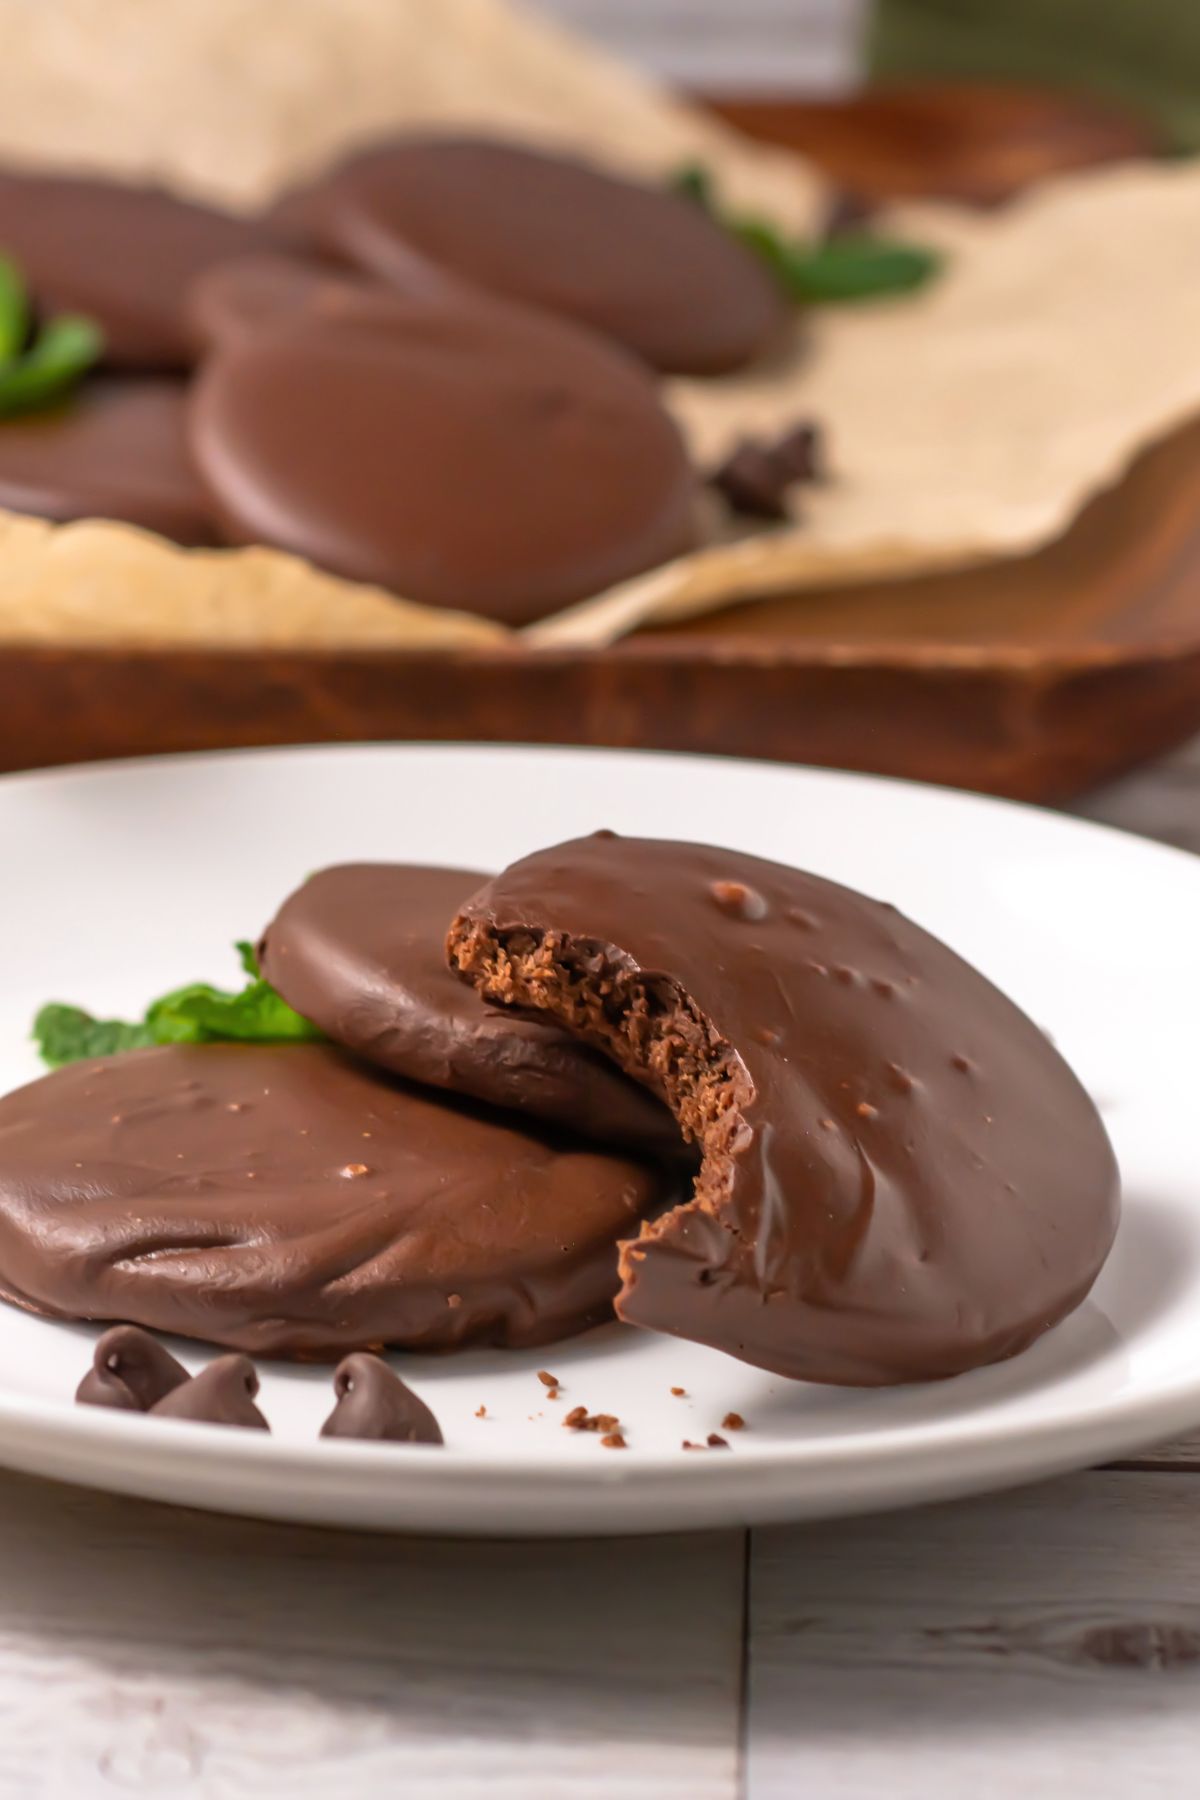
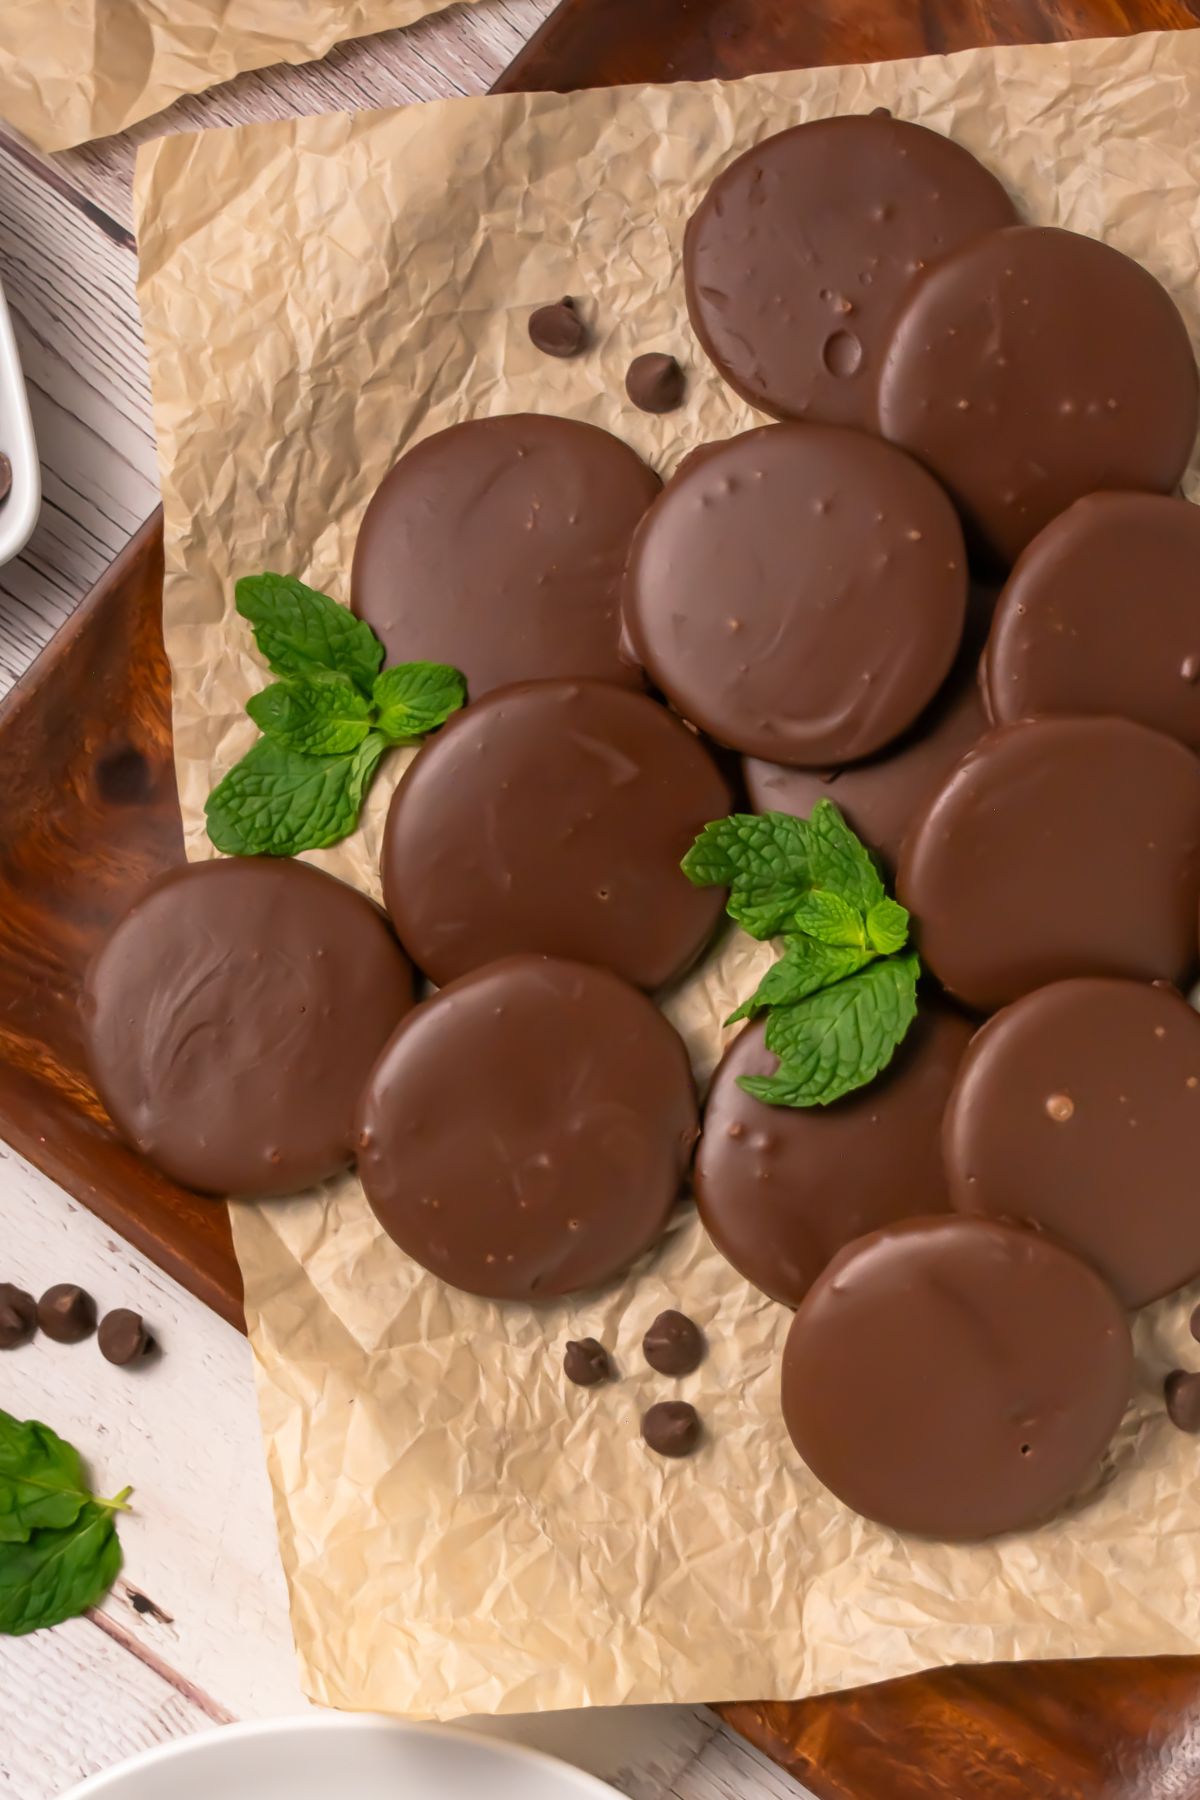
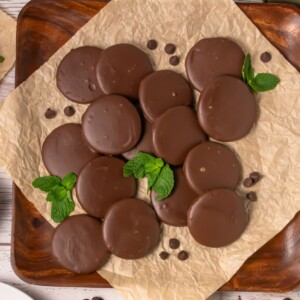
Homemade Thin Mint Cookies taste just like the classic Thin Mint cookies everyone loves from Girl Scout season. The chocolate cookies are rich and crispy, then get dipped in a smooth mint chocolate coating. This recipe lets you enjoy that rich chocolate flavor anytime you want.
“Cool, minty, chocolate cookies, that are perfect any time of the year!”
-Becky
Of course nothing will ever replace the original Girl Scout Thin Mints. There’s just something fun about cookie season and sneaking a few straight from the freezer. They taste super close to the real thing, and the best part is, you don’t have to wait all year to enjoy them.
If you need more easy cookie recipes, try these adorable no-bake Mini Hamburger Cookies, these 3 ingredient Strawberry Cake Mix Cookies, or these fun Cookie Monster Cookies. For fall and winter cookies, you will love these Snowball or White Chocolate Cranberry Cookies.
Table of Contents
Ingredients You Will Need
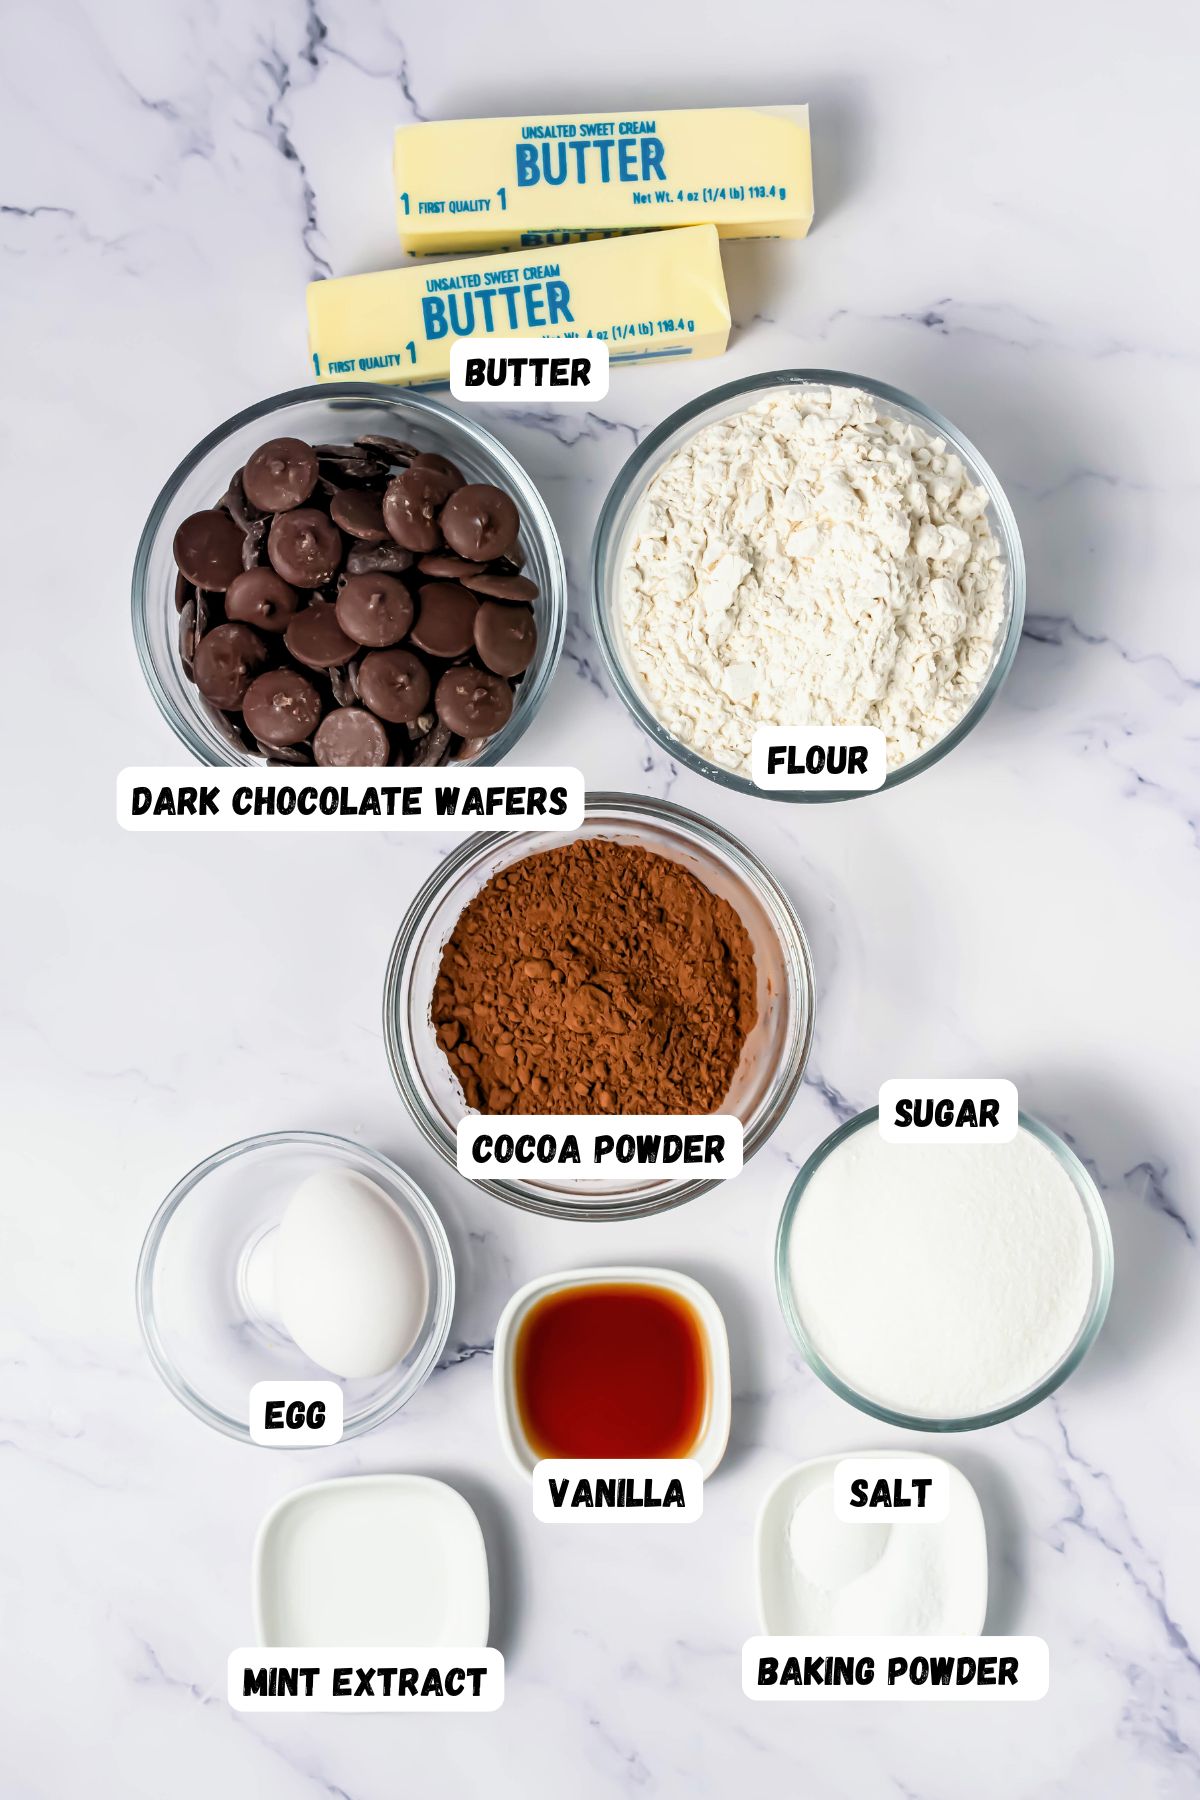
For the cookies
- unsalted butter, softened
- sugar
- egg
- vanilla– like this Homemade Vanilla extract recipe
- mint extract (or peppermint)
- all purpose flour
- unsweetened cocoa powder
- baking powder
- salt
For the coating
- dark chocolate melting wafers
- mint extract (or peppermint)
A full list of ingredients is included in the recipe card below.
Variations
Peppermint flavor: Use peppermint extract if you like a stronger mint flavor similar to Thin Mints.
Semisweet chocolate: You can coat the cookies in semisweet chocolate for a slightly sweeter finish.
How to Make Homemade Thin Mints
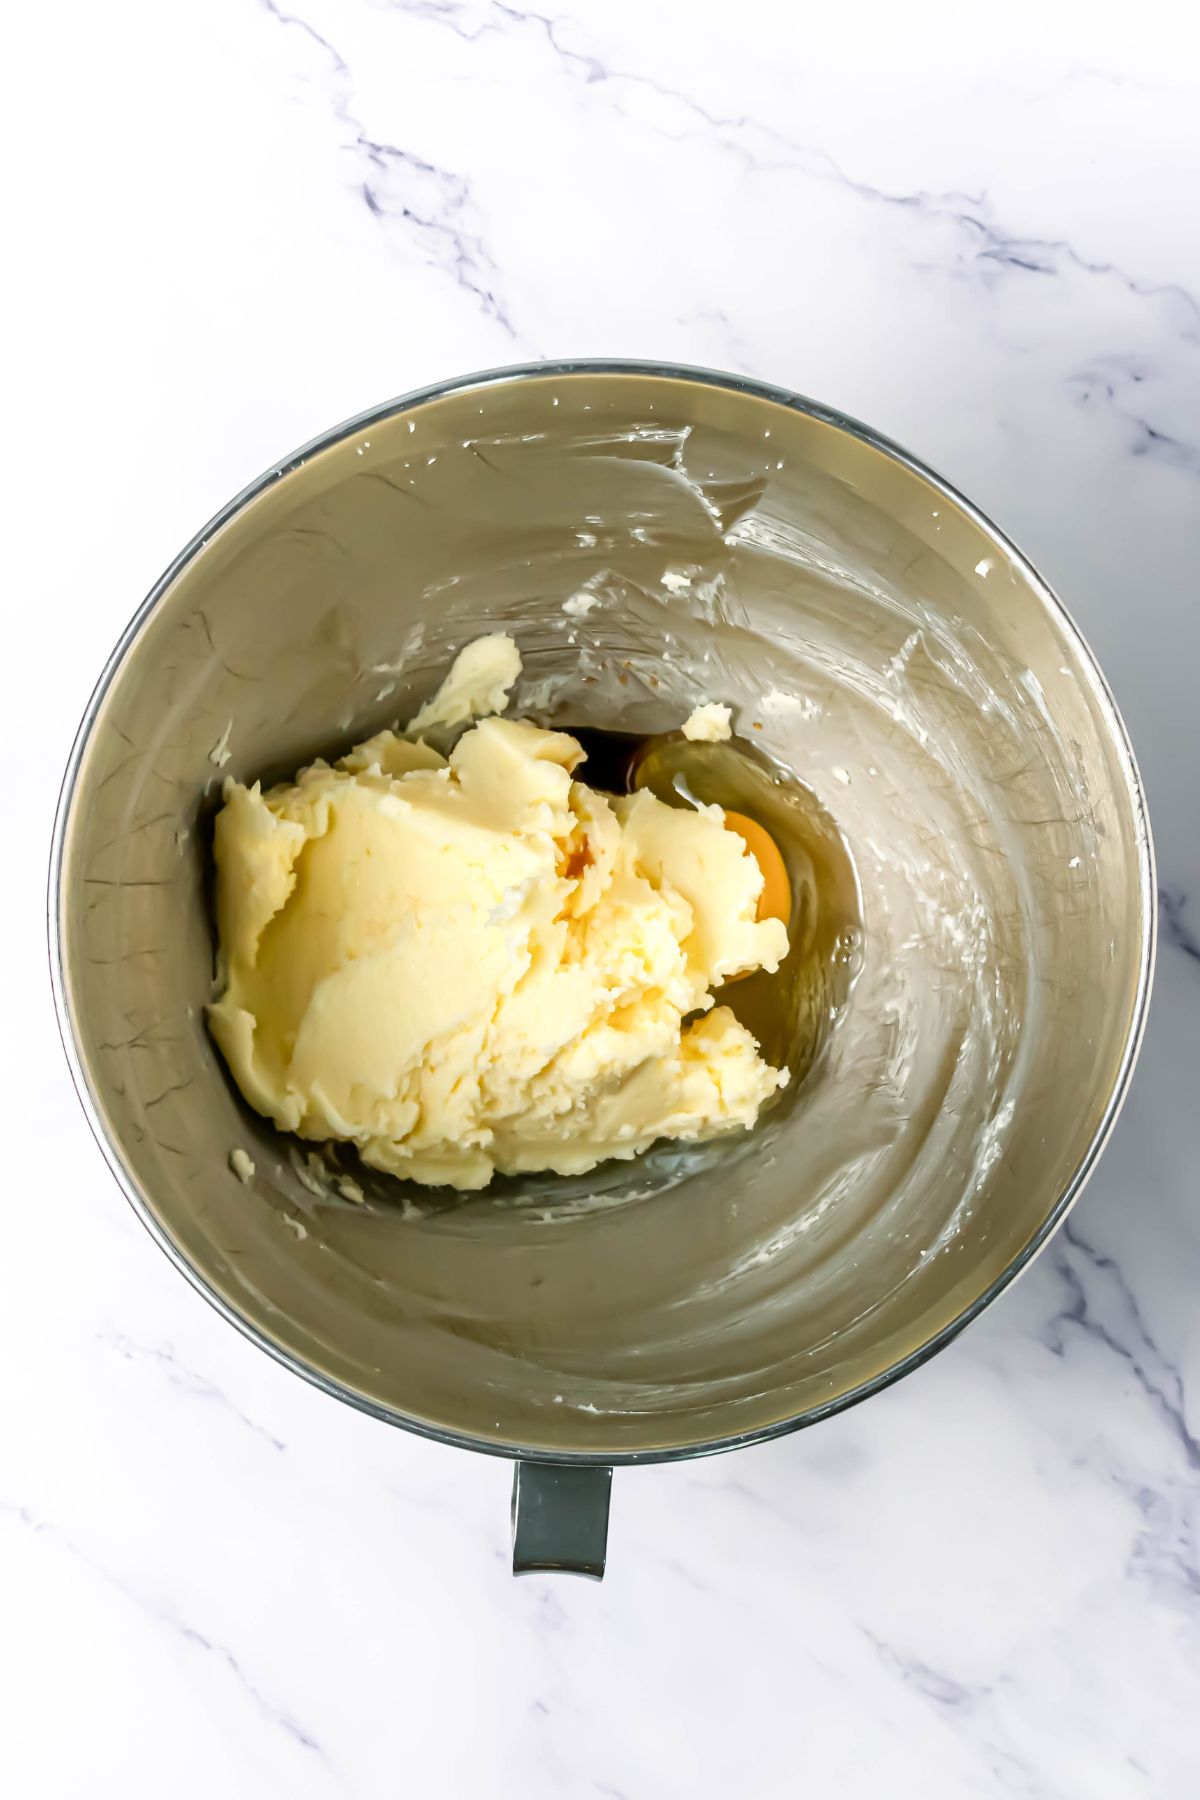
- Preheat the oven to 350°F (175°C). Line baking sheets with parchment paper. In a stand mixer, cream the butter and sugar until smooth, scraping the sides of the bowl as needed. Add the egg, vanilla, and mint extract. Mix until fully combined.
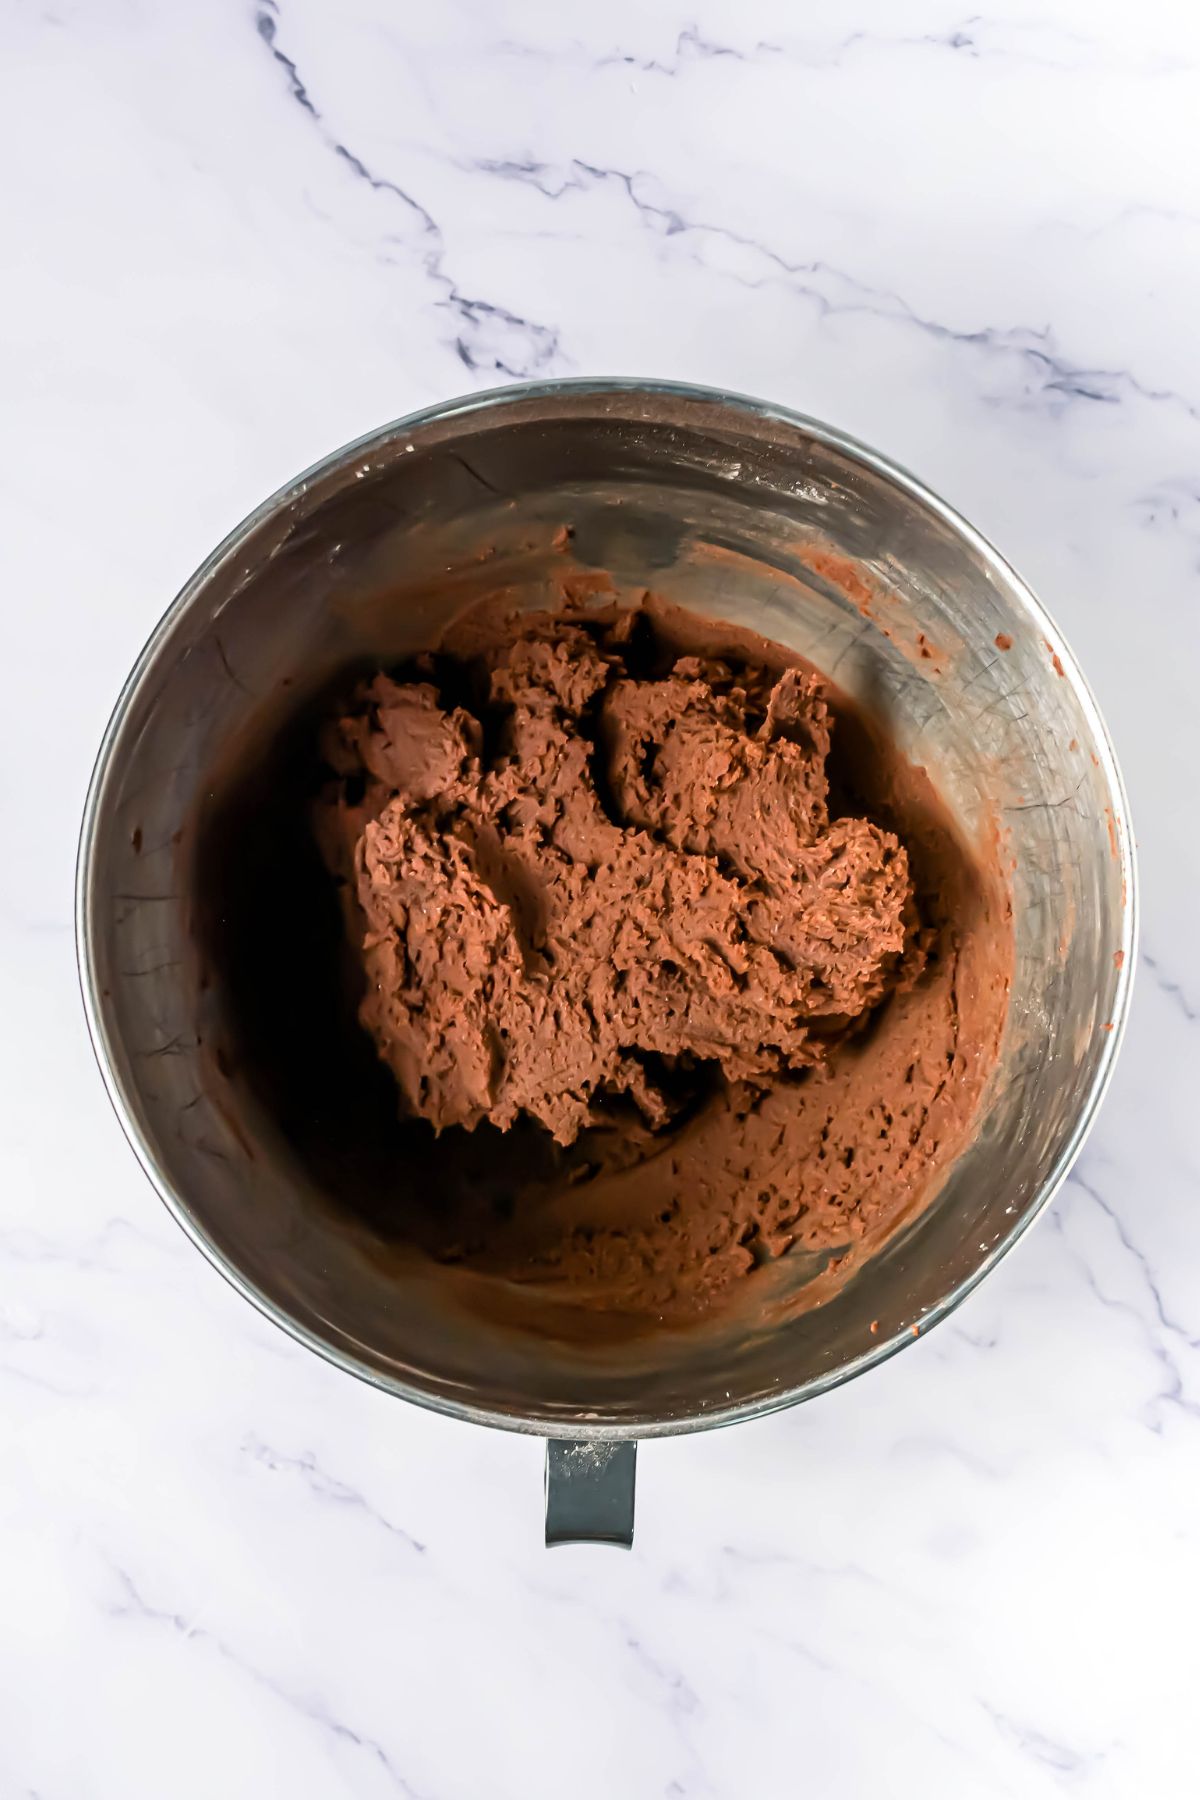
- Add flour, cocoa powder, baking powder, and salt. Mix just until a thick cookie dough forms.
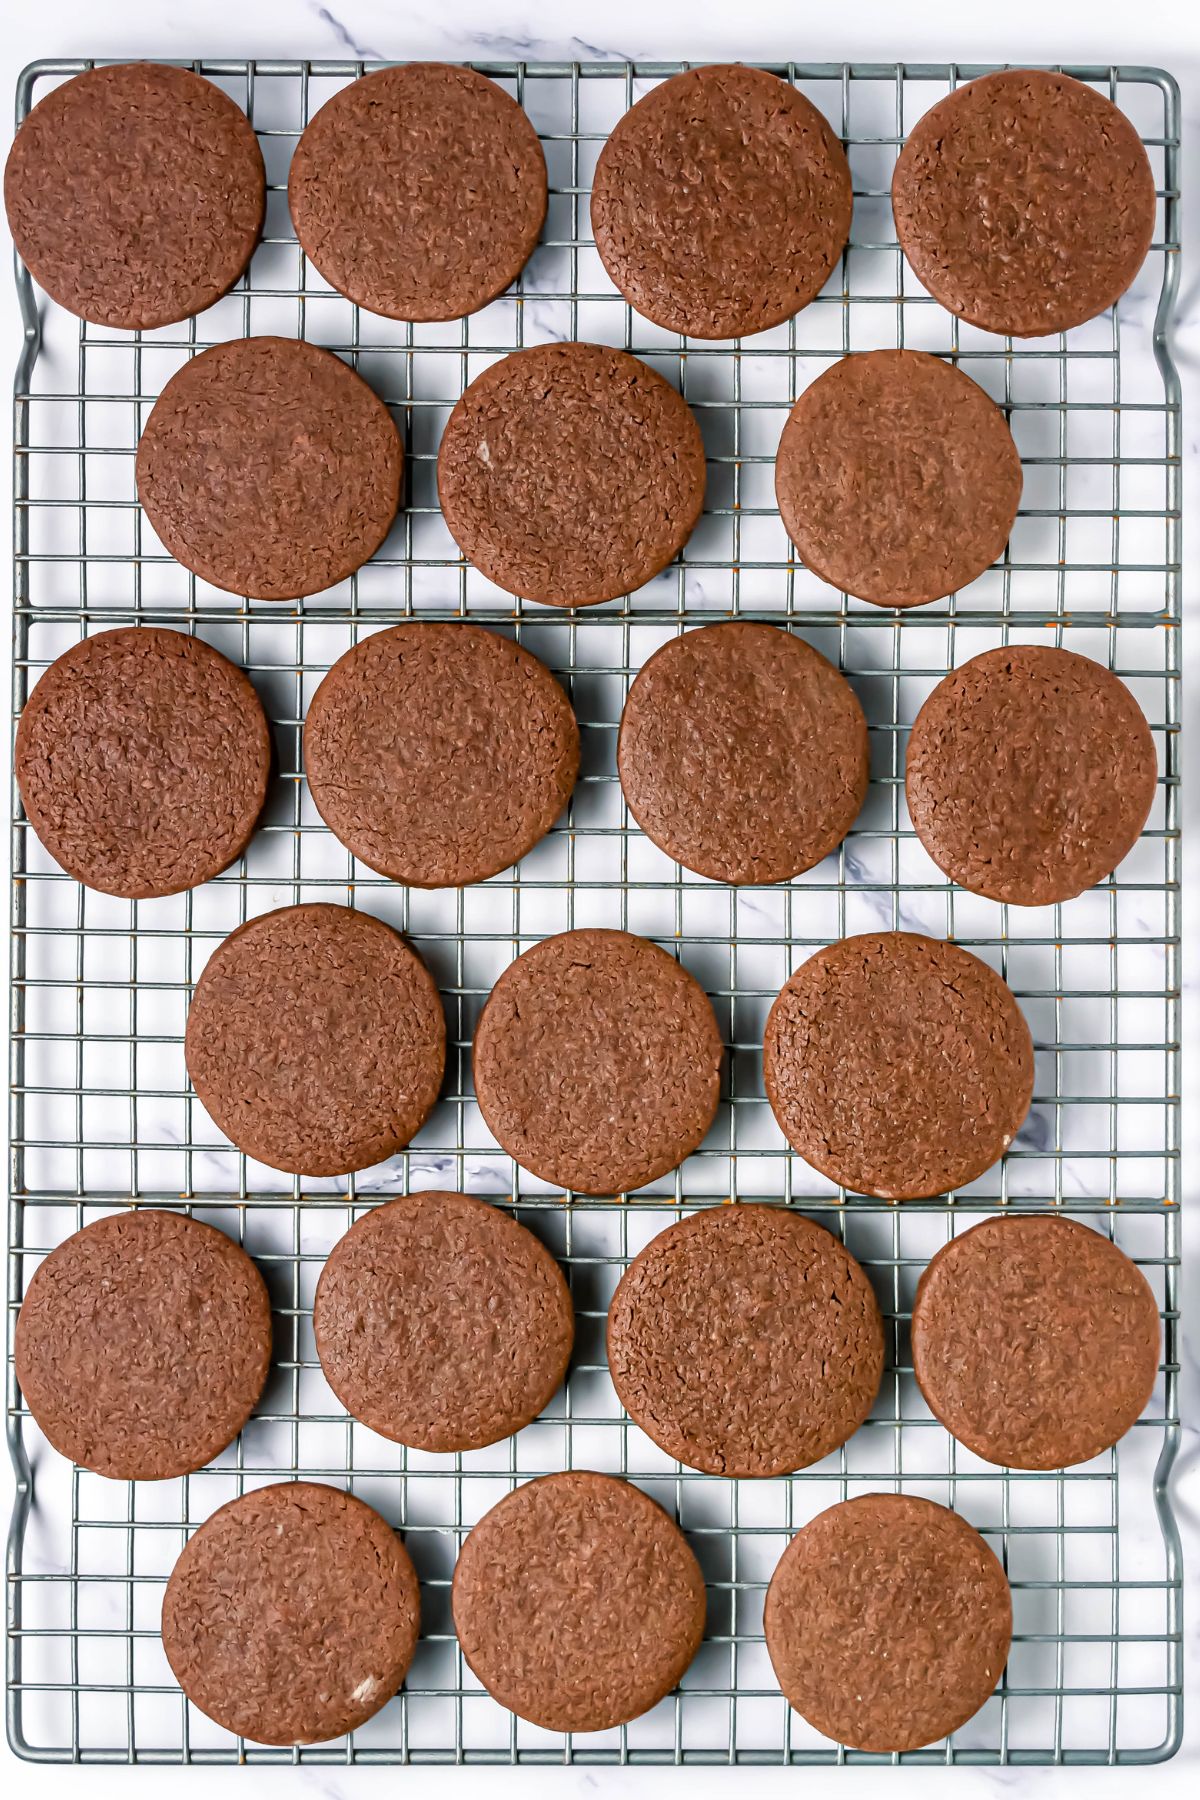
- Roll dough on a lightly floured surface to about 1/4 inch thickness. Use a 1 1/2-2 inch round cutter to cut circles. Place cookies on the prepared baking sheets. Chill the shaped cookies for about 15-30 minutes, then bake for 10 to 12 minutes or until the centers are set. Cool completely on a wire rack until room temperature.
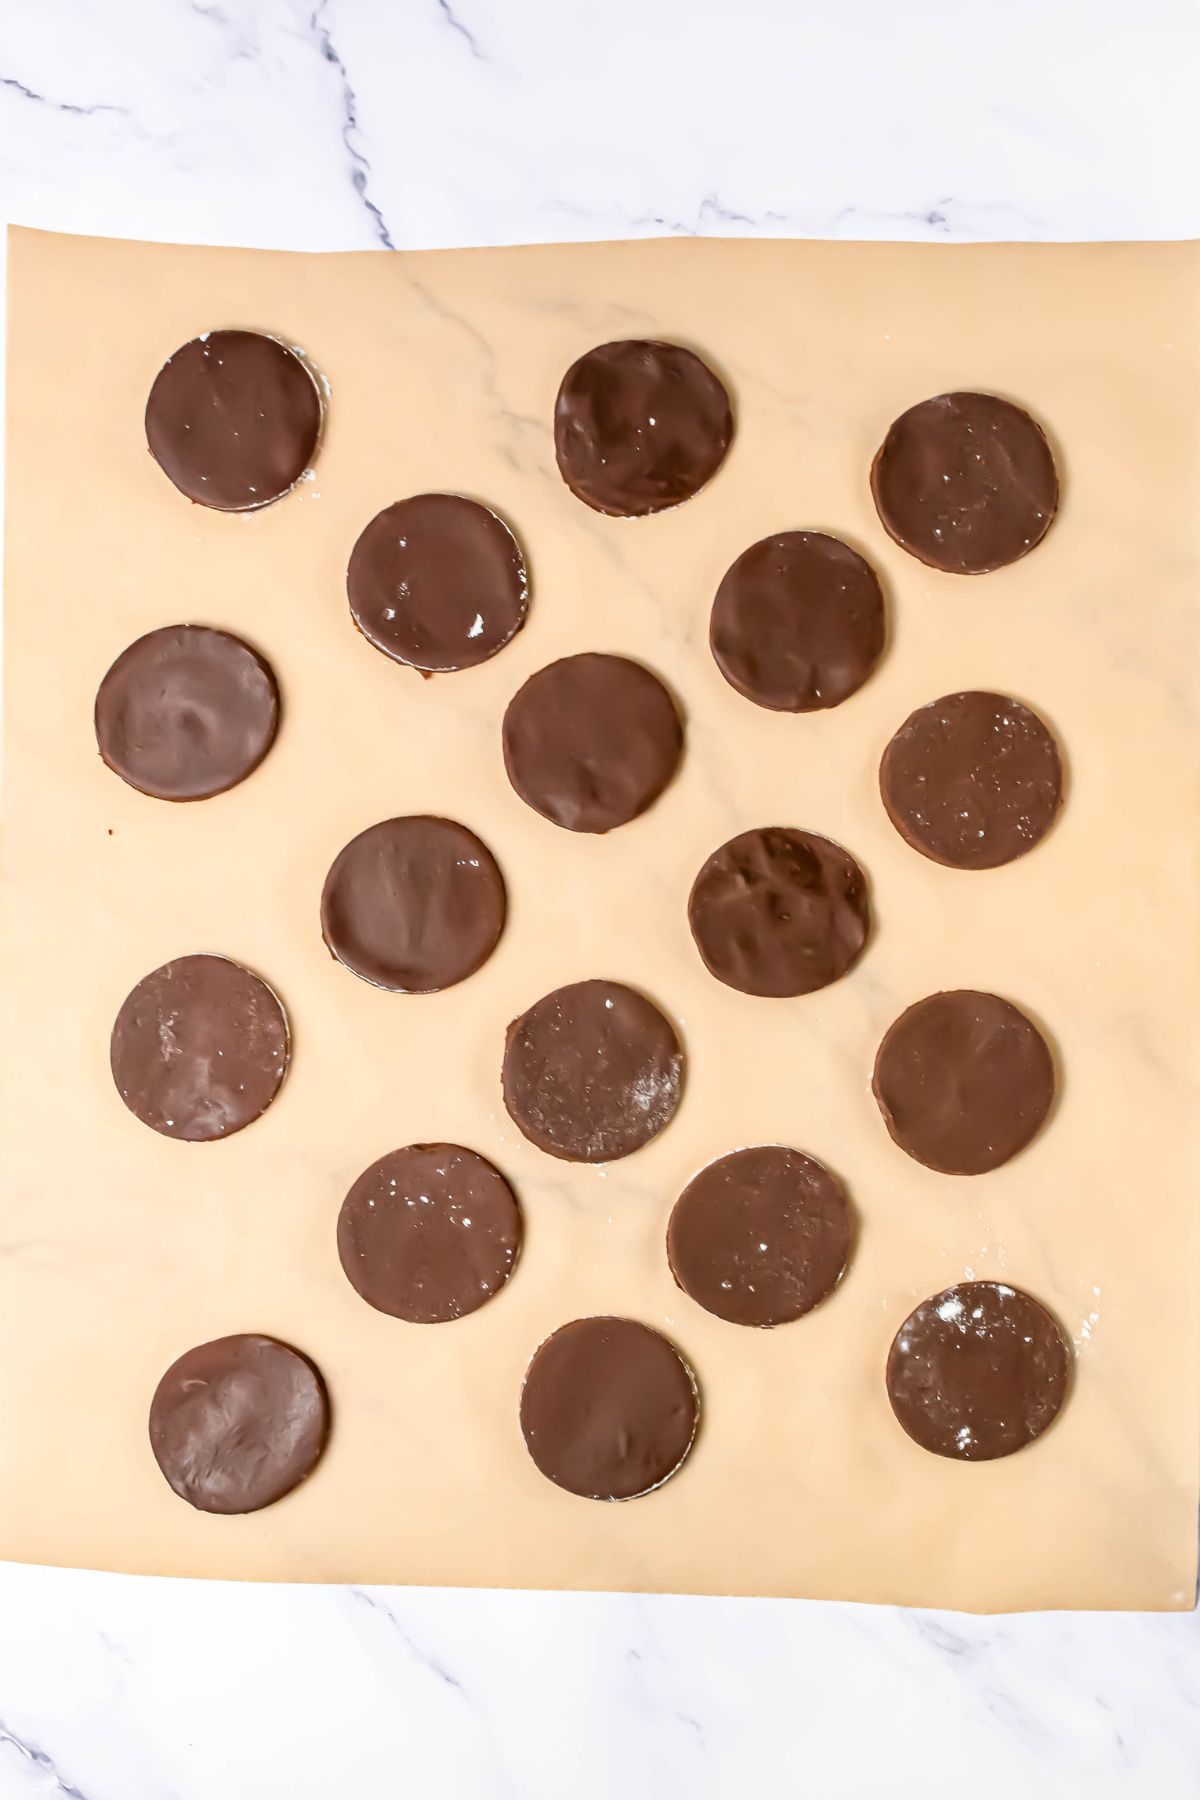
- Melt the chocolate wafers with mint extract until smooth and glossy. Dip each cookie in the chocolate coating using a fork, allowing excess chocolate to drip off. Set the cookies on parchment to dry, or place them in the refrigerator to speed up the process.
Expert Tips
Chill the dough: Chilled dough helps create perfectly round cookie edges.
Tap off extra coating: Removing excess chocolate keeps the finish smooth and even.
Cool before dipping: Cookies should be at room temperature before coating.
Freeze to serve: Just like the originals, they are amazing straight from the freezer.
Homemade Thin Mint Cookies FAQs
These cookies don’t need to be chilled, but I personally think they are even more delicious if they are a little cold.
I like using mint extract in both layers so I feel like they are more similar to the traditional cookies. However, be careful when adding extracts so you don’t overpower the cookie with peppermint flavor.
Absolutely. They freeze perfectly and taste amazing cold.
Store your cookies in an airtight container in the fridge or freezer. They keep beautifully and taste incredible chilled.
More Delicious Cookie Recipes


If you have tried this recipe or any others from Celebrating Simply, I’d love it if you would leave a ⭐ star rating and share your thoughts in the ✍️ comments below. Your feedback means a lot!
Homemade Thin Mint Cookies
Equipment
- Baking Sheet
- Mixing Bowls
Ingredients
Cookie Ingredients
- 1 cup unsalted butter, softened
- 1 cup sugar
- 1 teaspoon vanilla extract
- 1/2 teaspoon mint extract, or 1/4 tsp peppermint extract
- 2 cups all purpose flour
- 1/2 cup unsweetened cocoa powder
- 1 teaspoon baking powder
- 1/2 teaspoon salt
Coating Ingredients
- 10 ounces dark chocolate melting wafers
- 1/2 teaspoon mint extract, or 1/4 teaspoon peppermint extract
Instructions
- Preheat the oven to 350 degrees F (175 degrees C). Line baking sheets with parchment paper.
- In a stand mixer, cream the butter and sugar until smooth, scraping the sides of the bowl as needed. Add the egg, vanilla, and mint extract. Mix until fully combined.
- Add flour, cocoa powder, baking powder, and salt. Mix just until a thick cookie dough forms.
- Roll dough on a lightly floured surface to about 1/4 inch thickness. Use a 1 1/2-2 inch round cutter to cut circles. Place cookies on the prepared baking sheets.
- Chill the shaped cookies for about 15-30 minutes before baking. (This helps keep the edges neat.) Bake for 10 to 12 minutes or until the centers are set. Cool completely on a wire rack until room temperature.
- Melt the chocolate wafers with mint extract until smooth and glossy. Dip each cookie in the chocolate coating using a fork, allowing excess chocolate to drip off. Set the cookies on parchment to dry, or place them in the refrigerator to speed up the process.
Notes
Tap off extra coating: Removing excess chocolate keeps the finish smooth and even.
Cool before dipping: Cookies should be at room temperature before coating.
Freeze to serve: Just like the originals, they are amazing straight from the freezer.
Nutrition
Nutrition information is automatically calculated, so should only be used as an approximation.


These are so good and an easy recipe to follow
Thank you!
These minty chocolate cookies are delicious!